Attaching the Viewfinder
39
Chapter 2 Preparations
Removing the eyepiece gives a clearer view of the
screen from further away. It is also easy to
remove dust from the viewfinder screen and
mirror when the eyepiece is detached.
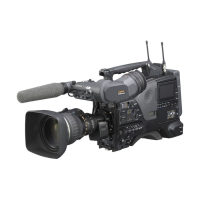
1 Turn the eyepiece locking ring fully
counterclockwise, to align the red
marks on the locking ring and the
viewfinder barrel.
2 Detach the eyepiece.
To reattaching the eyepiece
1 Align the red marks on the eyepiece
locking ring and the viewfinder barrel.
2 Align the red mark on the end of the
eyepiece end with the red marks on the
eyepiece locking ring and the
viewfinder barrel. Then insert the
eyepiece into the viewfinder barrel.
3 Turn the eyepiece locking ring
clockwise until its “LOCK” arrow
points at the red mark on the viewfinder
barrel.
When the eyecup is worn out, replace it with a
new one.
For details of a replacement eyecup, contact a Sony
service representative.
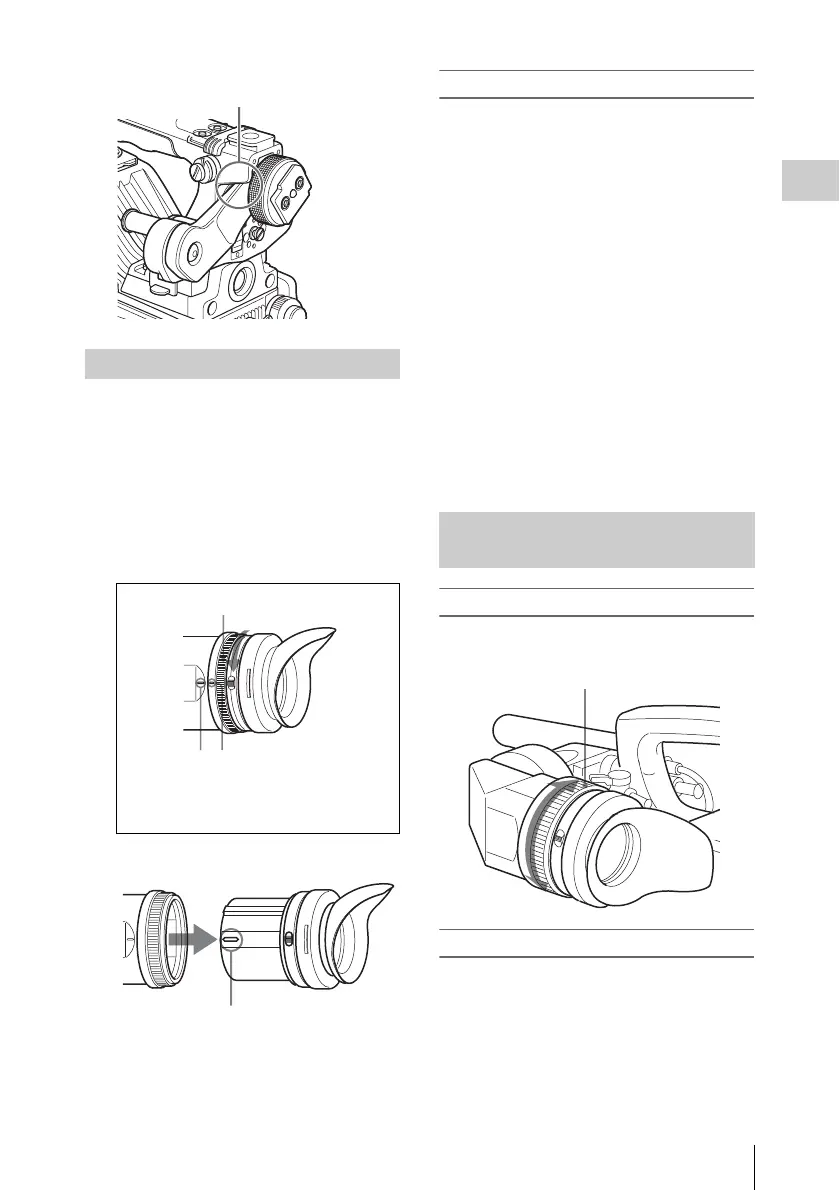
To adjust the viewfinder focus
Turn the diopter adjustment ring until the
viewfinder image is sharpest.
To adjust the viewfinder screen
Adjust the brightness, contrast, and peaking of the
viewfinder screen with the controls shown below.
Detaching the eyepiece
Adjust position so that arm
does not touch handle
23
1 Locking ring
2 Locking ring match mark
3 Match mark on the viewfinder barrel
Match mark on end of eyepiece
Adjusting the viewfinder focus
and screen
Diopter adjustment ring
 Loading...