21
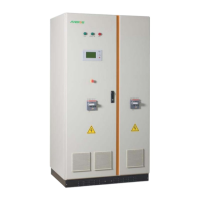
First open the right half door and then the left half door, identify the 2
transparent plastic shields (one in the upper position and one in the lower
position).
WUDQVSDUHQW
SODVWLFVKLHOGV
Figure 4-4 Inside the SG100K3 enclosure
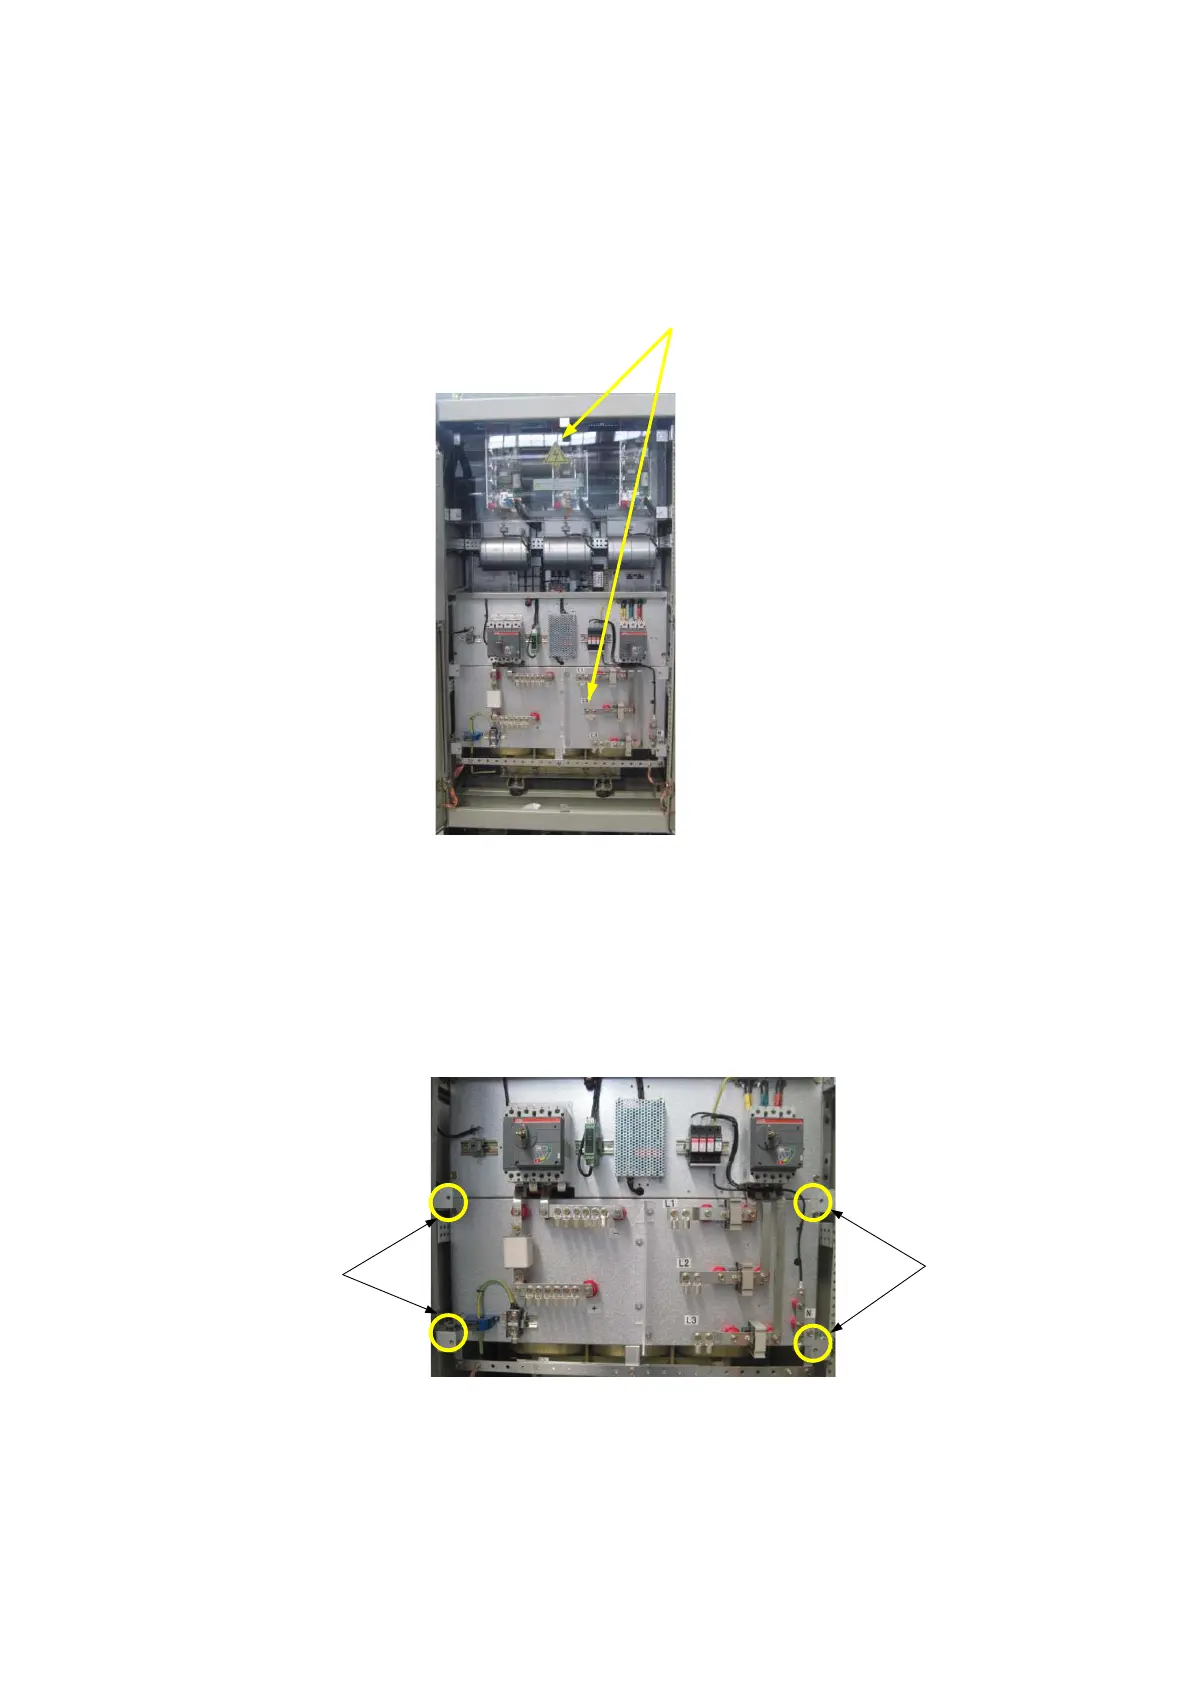
It is necessary to take down the lower protective shield for wiring.
Note that there are 4 screws (in the yellow circle) to fix the shield, loose
and take down them all.
All the input and output wires are connected to the terminals of
SG100K3 through the cable entry holes at the bottom of the Enclosure.
Screws
Screws
Figure 4-5 Remove the protective shield
 Loading...