Troubleshooting 129
Removing the microphone
For information on installing or removing your
radio from a vehicle, refer to the Installation
Guide.
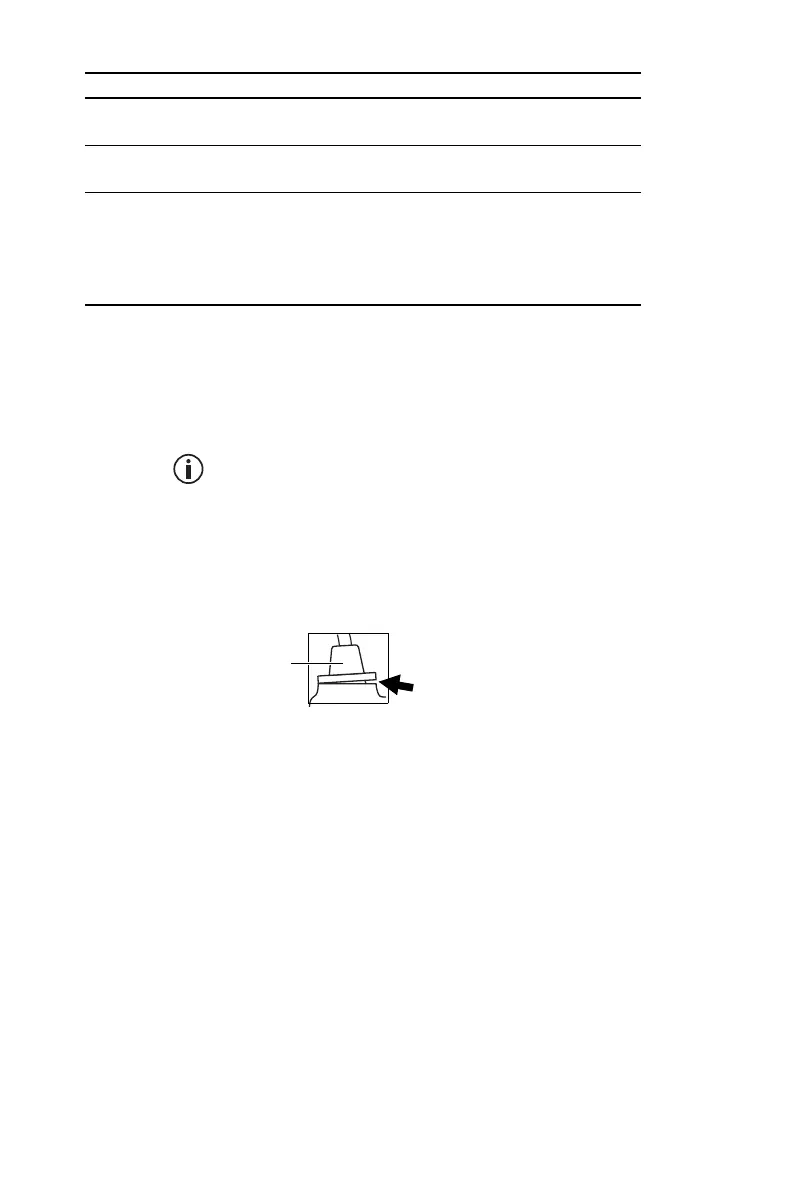
1 Using your thumb or forefinger, lift up one of the
corners of the microphone grommet and firmly (but
gently) pull that corner until the seal comes away
from the cavity.
Notice Remove the grommet carefully as it serves
two important functions. Firstly, it prevents damage to
the microphone socket due to movement of the
microphone cord, and secondly, it ensures that the
control head is sealed against water, dust, and other
environmental hazards.
2 Repeat to expose another corner.
3 Pull the exposed corners back and slide the
grommet up the cable to reveal the microphone
plug.
4 Remove the plug from the microphone socket.
Tx Tone Transmits a tone of 1011 Hz or 1031 Hz on the
current P25 channel.
Tx Tone Cal Transmits a 1011 Hz or 1031 Hz tone on the current
channel with a bit error rate (BER) of 5%.
Tx power test Displays hardware-related information while the
radio is transmitting. Information includes the final
PA current (in mA), and estimated forward and
reverse power levels (in W) along with an indication
of (OK) or (!)
1. CNV = conventional, TCH = traffic channel, CCH = control channel
2. ANA = analog, PH1 = P25 Phase 1, PH2 = P25 Phase 2
Test Description
microphone
grommet
 Loading...


