Page 52
SMW Oven Service ManualLower Oven Section
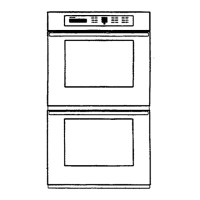
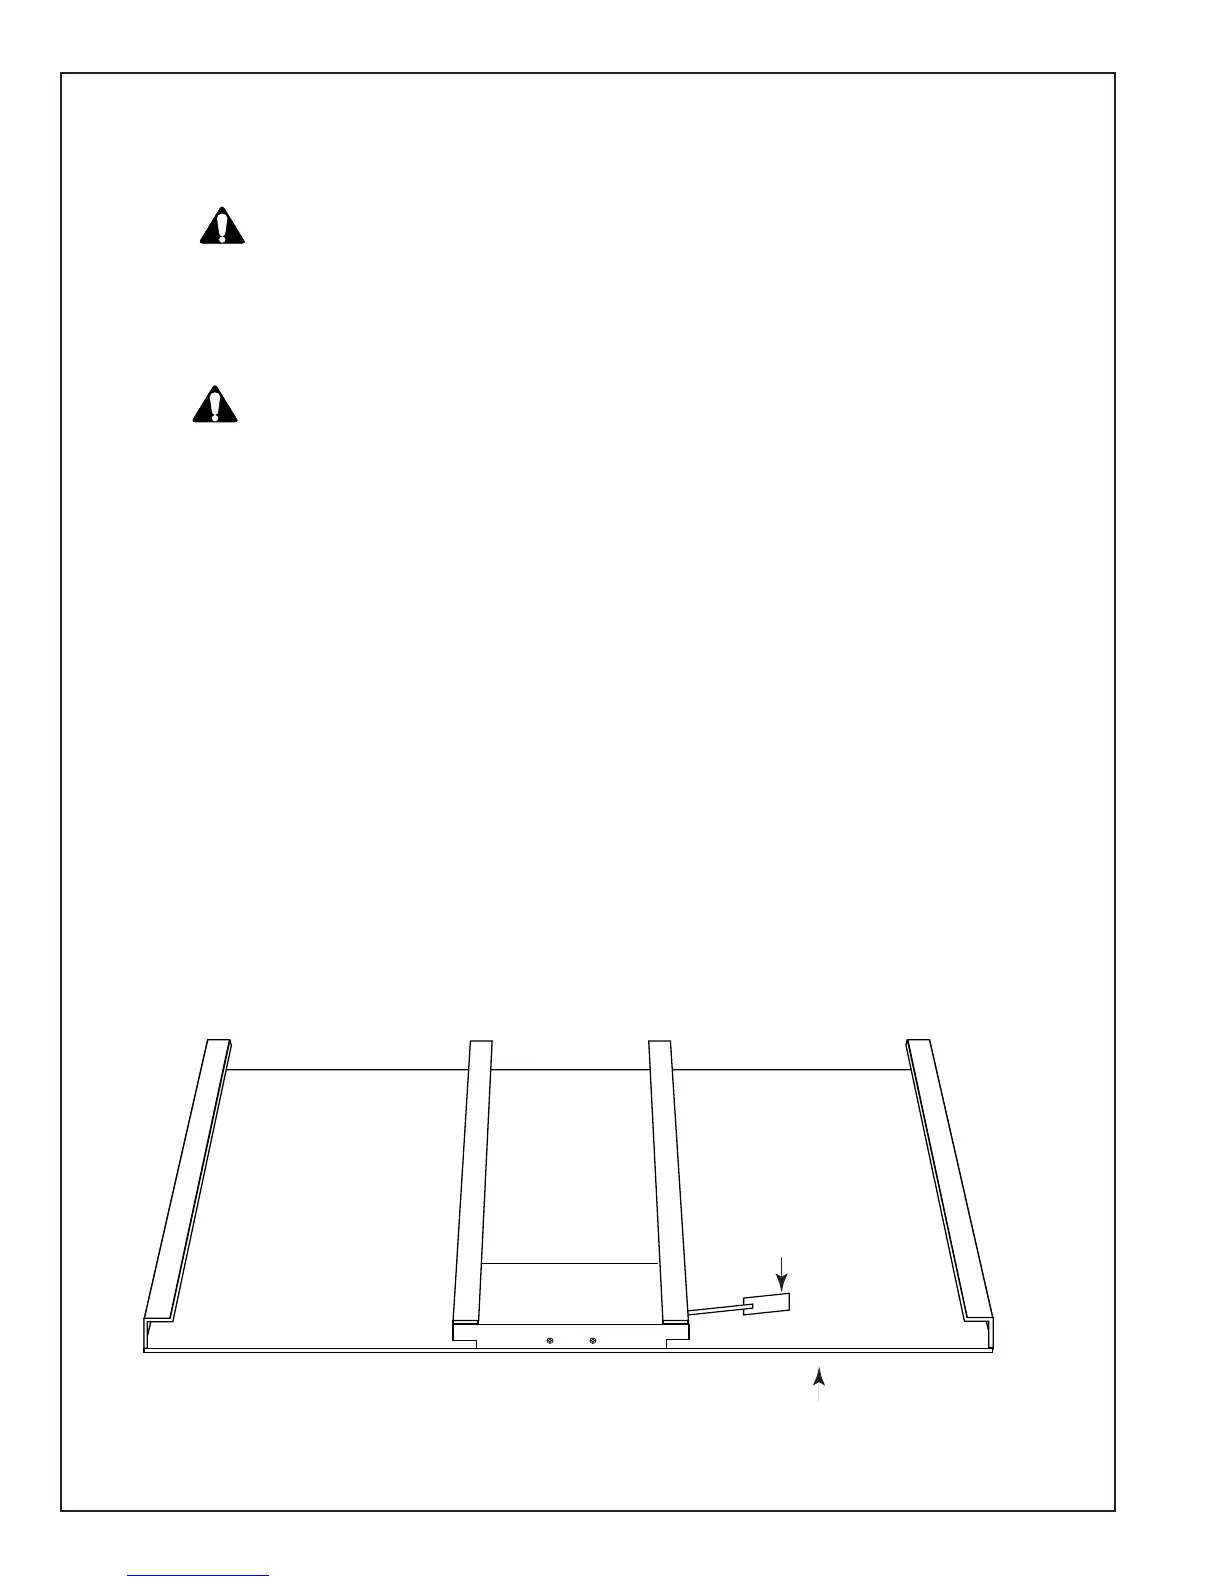
REMOVING THE AIR SWITCH
Figure 18
NOTE: The air flow to the air switch in the lower
oven base compartment of all 27" S-Series ovens
has been improved with the addition of an air
diverter (#16-10-101). The new air diverter is lo-
cated on the right side of the lower oven base com-
partment (see Figure 18 below).
Refer to Figure 19 on the next page for the follow-
ing steps.
1. Turn off the electrical power to the oven.
2. Open the lower oven door. The bottom trim
mounting screws (see inset 1) are visible at
each side of the oven door, below the left and
right hinges.
3. Remove the two screws from the bottom trim,
pull it forward, and remove it.
4. Remove the two front switches from the air
switch bracket and flange, and pull the air
switch bracket assembly forward so you can
access the switches (see inset 2).
5. To remove an air switch from the bracket,
remove the two screws from the switch body,
and disconnect the wires from the terminals
(see inset 3).
6. Install the new air switch in the mounting
bracket.
7. If you intend to install the air switch diverter,
do so at this time. Make sure that the spacing
between the air switch paddle and the end of
the diverter is as shown below.
8. Reassemble the oven.
Lower Oven
Air Switch
Paddle
Oven
Base
NOTE: After mounting the air diverter,
bend the arm, as necessary, so that
the space between the air switch paddle
and the end of the arm is as shown.
WARNING
Turn off the electrical power circuit to the
oven at the main junction box before ser-
vicing this unit.
When you work on the oven, be careful
when handling the sheet metal parts.
There are sharp edges present and you
can cut yourself if you are not careful.
CAUTION
 Loading...