.
Orion Benchtop pH/ISE Meter Instruction Manual
Set Up, Self-Test and Check-Out
8
D. Orion 520Aplus and 525Aplus Set Up and Self-Test
NOTE: Use this procedure when the instrument is
first received and whenever troubleshooting
becomes necessary.
1. Connect BNC shorting cap (Orion 090045) supplied with meter to all
sensing electrode input(s).
2. Disconnect the ATC probe.
3. Plug line adapter (Orion 020125 for 110V, Orion 020130 for 220V) into
an appropriate wall outlet then securely into meter power receptacle.
NOTE: Firmly push the power adapter into the jack
on the back of the meter.
4. Hold yes while plugging in the line adapter into meter. The instrument
automatically performs electronic and hardware diagnostic tests. See
the explanation in the Self-Test Section of the troubleshooting guide
for a more detailed explanation.
a. When “press all keys” appears in the lower field, press each key
one at a time. A numeric digit will be displayed for
each keypress.
b. During TEST 8, the meter will turn off, then back on.
c. After completion of the self-test, proceed to the
Check-Out Procedure.
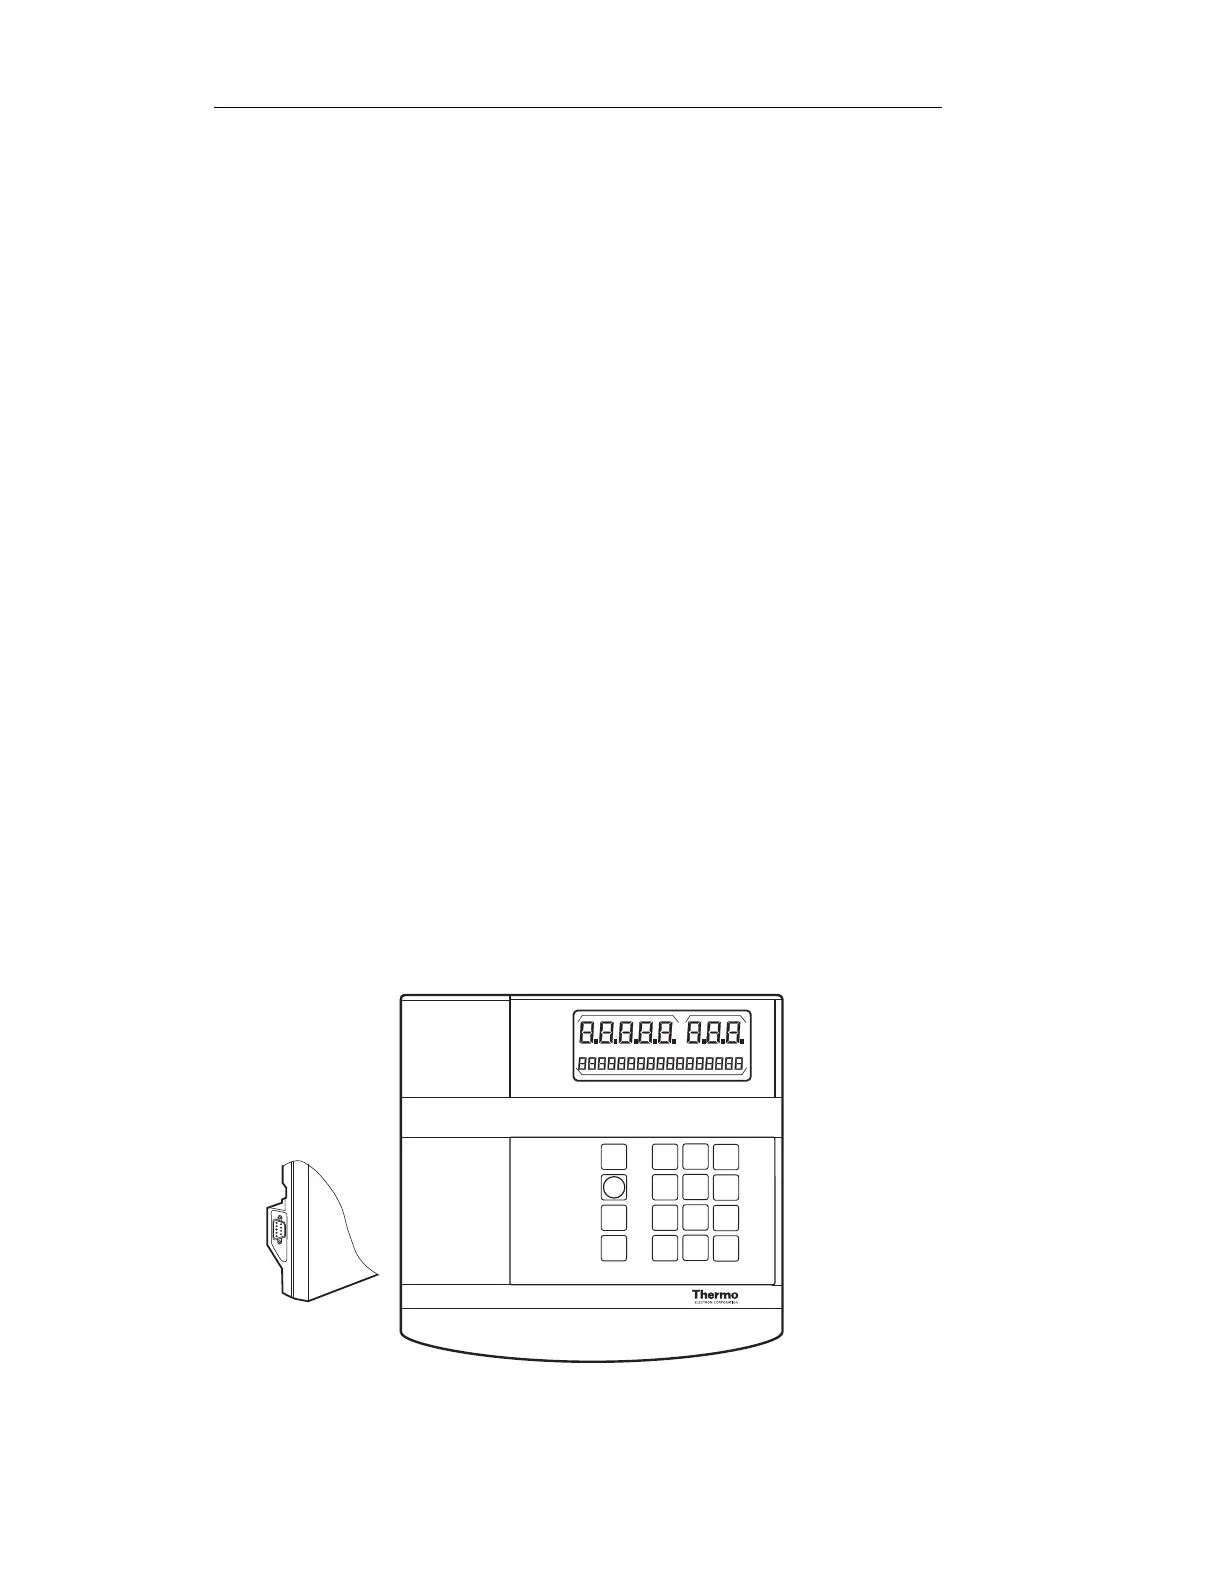
Figure #3 Front Panel Orion 525Aplus

 Loading...


