Control Valve Removal and Installation (Fig. 23)
1. Remove knob from the shift lever and disassemble
the right side panel from the machine.
2. Remove the seat or secure it in an up position,
disconnect the wires from the safety switch located on
the valve bank and place a drain pan under the valve
bank.
3. Disassemble the chain links from all five (5) spools.
4. Tag and identify the lines leading to the valve bank,
disconnect and cap the lines and fittings with plastic
plugs.
5. Loosen the capscrews securing the valve bank to the
frame and remove the valve bank.
NOTE: Shims may be installed between the bank and
frame. Note the quantity and mounting location and
install in proper location upon reassembly.
6. Reverse steps 1 - 5 to install the valve bank. Do not
over-tighten fittings. Use two wrenches to secure flex-
ible line connectors, one wrench to prevent the Line
from twisting, the other to tighten the connection. (See
the Hydraulic Lines and Fittings section of this chapter.)
7. Check to be sure all lines are routed correctly and are
not in contact with one another or other components. It
should be possible to slip a strip of paper between any
lines and other components in close relationship. Relo-
cate if necessary.
8. Adjust the traction linkage, switches and reel drive
camshaft as necessary.
Figure 23
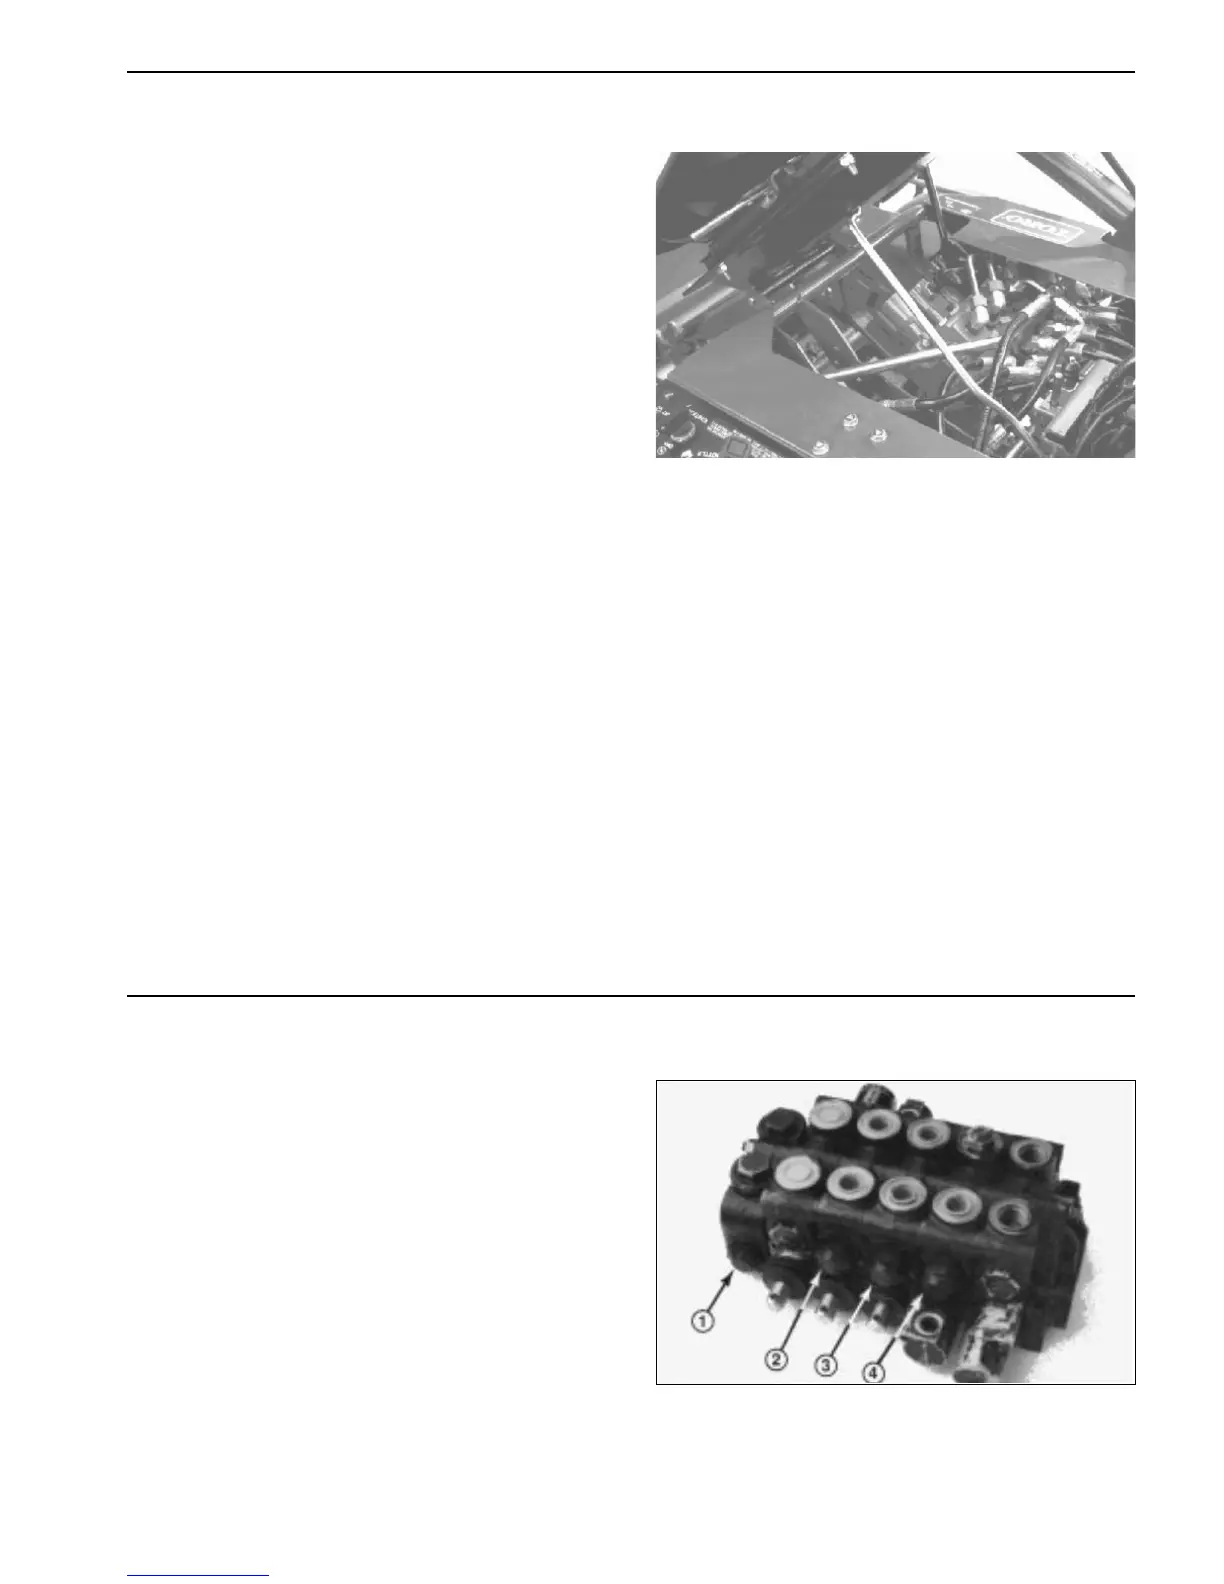
Relief Valve Removal and Installation (Fig. 24)
1. Be careful not to interchange parts, such as springs
or shims, between relief valves. The same number and
thickness of shims must be installed when reassembling
the relief valve.
2. Clean and inspect relief valve parts and the valve
section housing. Replace parts as necessary. Install
new seals and back-up rings. Apply hydraulic oil to parts
before installing.
3. Before operating the machine, check the relief pres-
sure for the affected relief valve. (See the Testing
section of this chapter.) Adjust relief valve by adding or
removing shims between the spring and poppet.
Figure 24
1. Main & No. 1 section relief 3. No. 3 section port relief
2. No. 2 section port relief 4. No. 4 (traction) relief
Greensmaster
®
3100 Page 4 - 45 Repairs

 Loading...