 Loading...
Do you have a question about the Ubiquiti UCK-G2-PLUS and is the answer not in the manual?
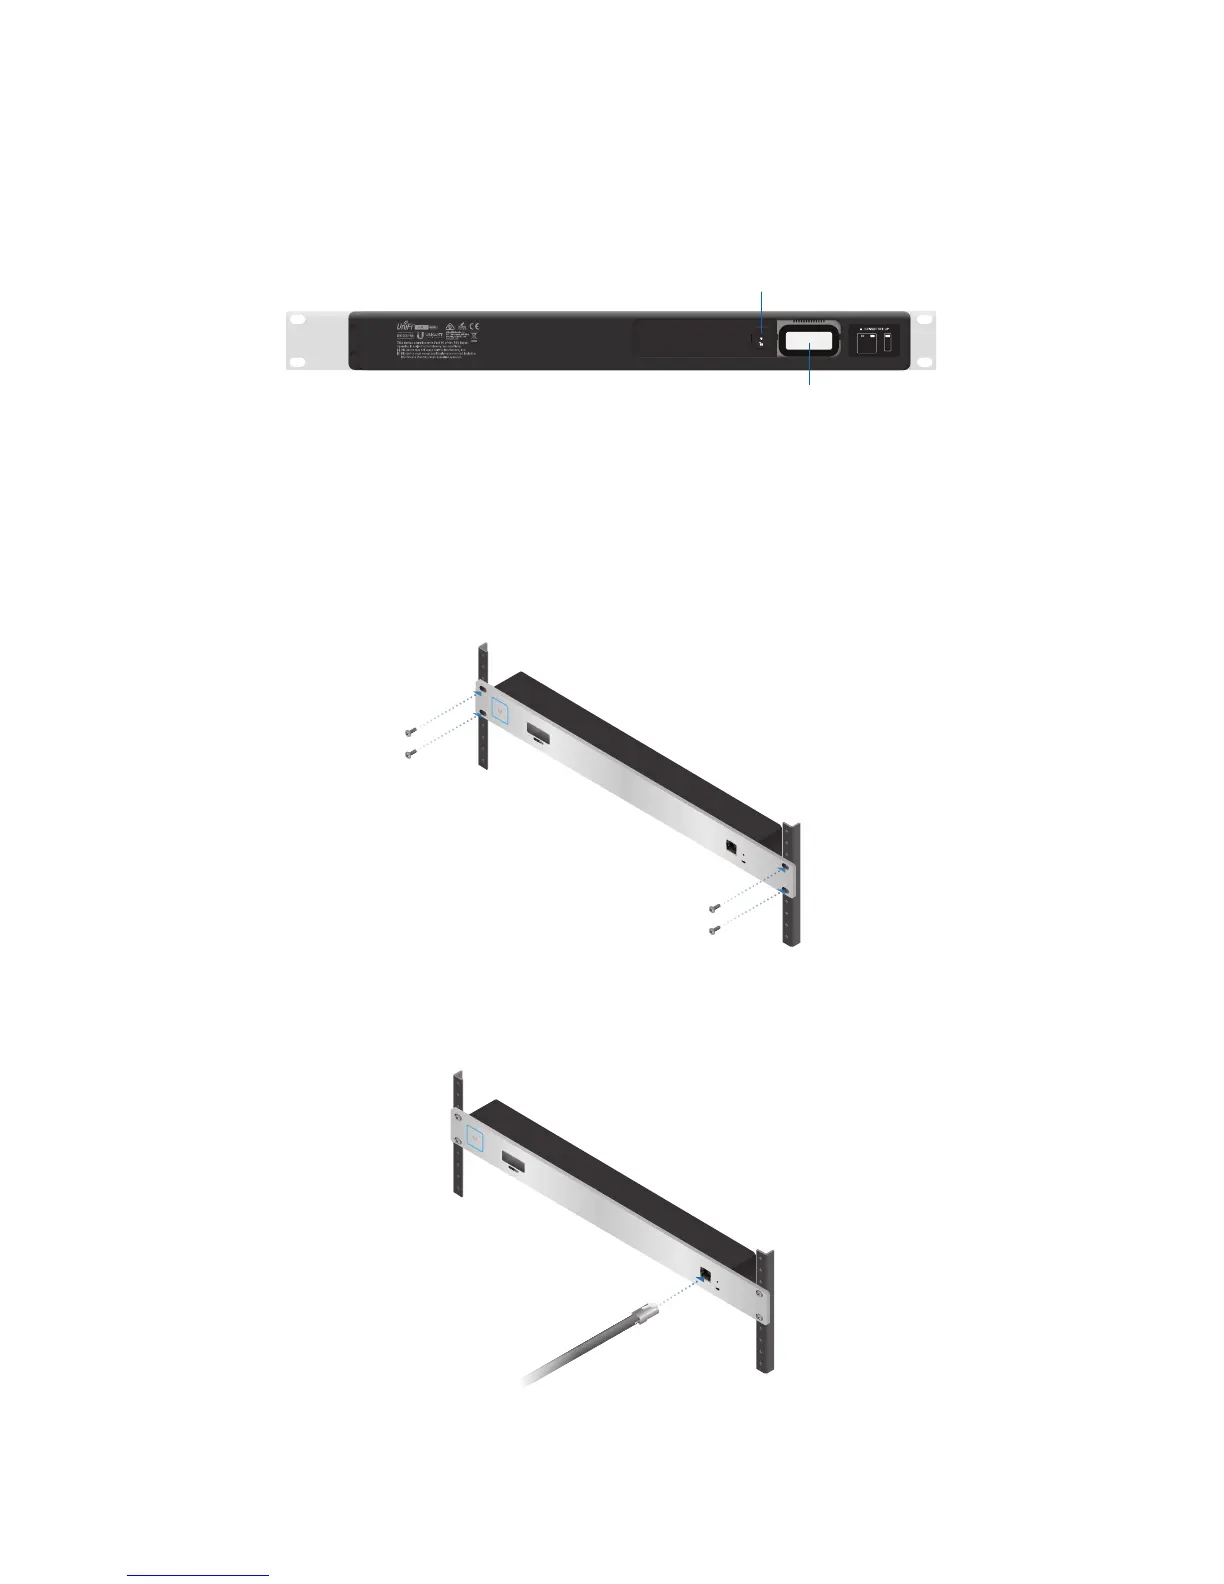
| PoE Input | 802.3af PoE |
|---|---|
| Management | UniFi Network Application |
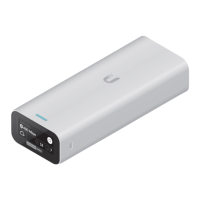
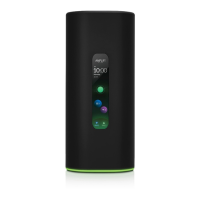
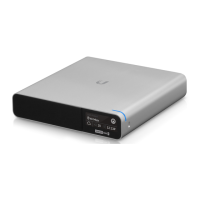
| Product Name | Ubiquiti UniFi Cloud Key Gen2 Plus |
| Category | Network Controller |
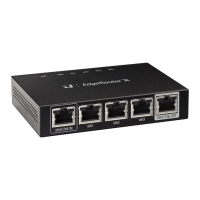
| Ethernet Ports | 1 x 10/100/1000 Mbps |
| USB Ports | 1 x USB-C |
| Display | LCD Touchscreen |
| Operating Temperature | 0 to 35° C (32 to 95° F) |
| Supported Devices | UniFi devices |
| Memory | 3 GB |
| Storage | 1 TB HDD (upgradeable) |