26
Chrome Instructions
Use the Chrome browser to set up your Cloud Key Gen2 Plus.
1. Ensure that your host system is on the same Layer-2
network as the CloudKey Gen2 Plus.
2. Launch the Chrome web browser and type the IP address
of your Cloud Key Gen2 Plus into the address field.
Press enter (PC) or return (Mac).
https://192.168.1.8
Note: The IP address of your controller can be found
on the front panel LCD of your Cloud Key Gen2 Plus.
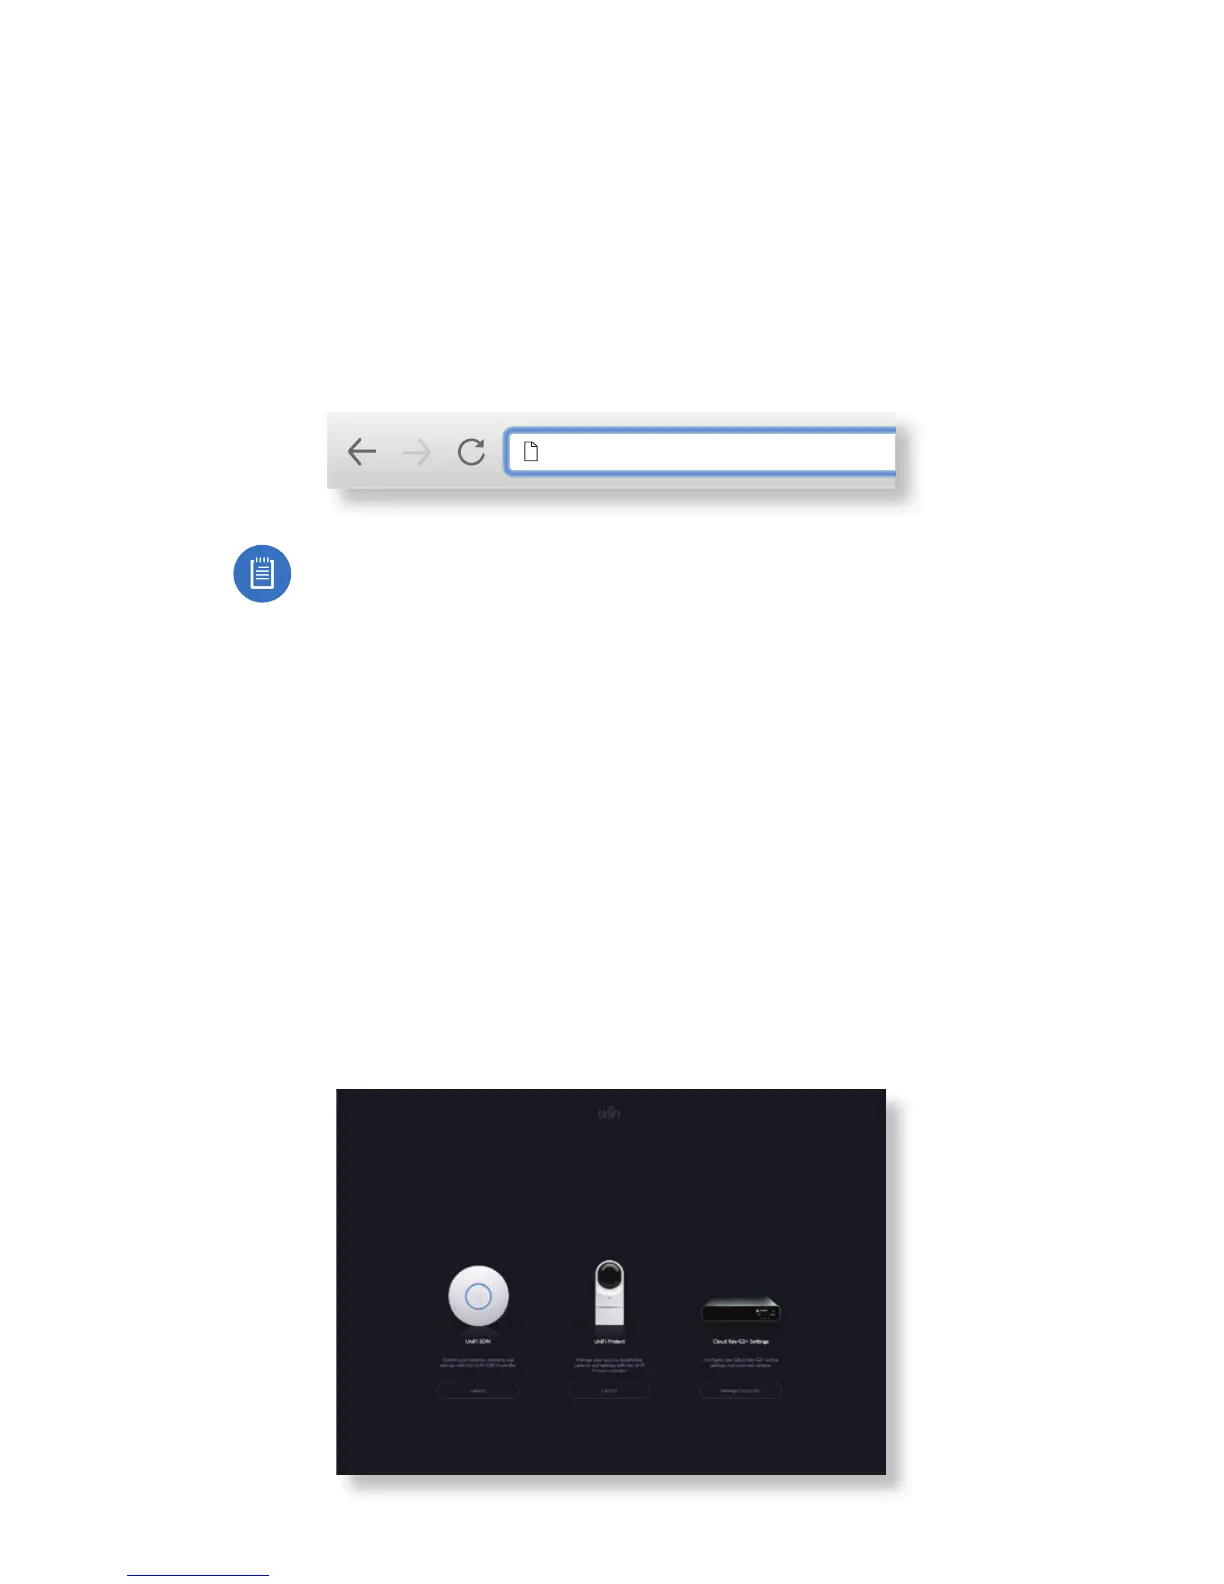
3. When the following splash screen appears:
a. Click Launch, under UniFi SDN, to set up your UniFi SDN
controller. Then proceed to the following:
"Setting Up UniFi SDN" on page 27.
b. Click Launch, under UniFi Protect, to set up your UniFi
Protect controller. Then proceed to the following:
"Setting Up UniFi Protect" on page 31.
c. Click Manage Cloud Key to set up or manage the
device settings and advanced options of your
Cloud Key Gen2 Plus. Then proceed to the following:
"Cloud Key G2+ Settings" on page 36.
 Loading...