Operation Panel
4-16
Job Log History (Sending Job Log History)
This sets the sending of the Job Log History.
The options available in the Job Log History menu are as follows:
• Auto Sending (Automatic Sending of Job Log History)...4-16
• Send History (Sending job log history)...4-17
• Destination (Setting the destination)...4-18
• Subject (Setting job log subject)...4-19
• Personal Info. (Personal information setting)...4-20
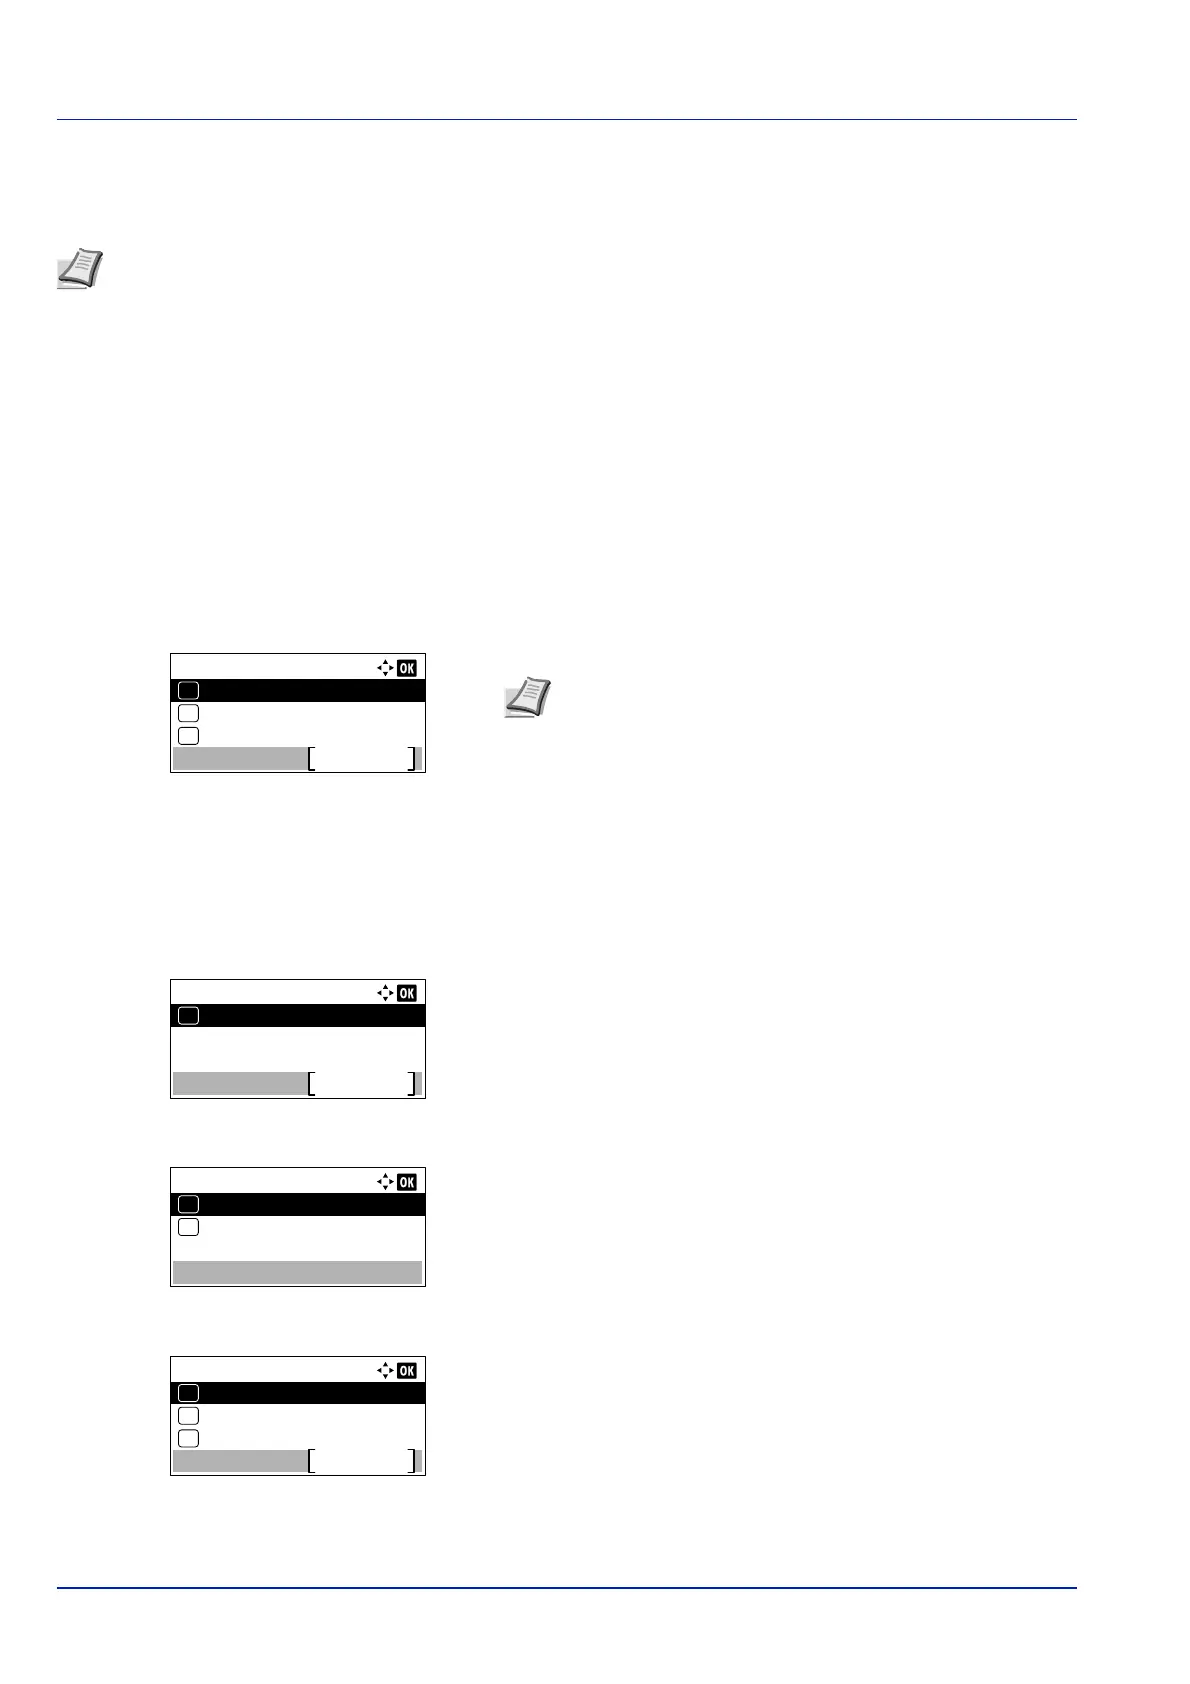
1 In the Report menu, press or to select Job Log History.
2 Press [OK]. The Job Log History menu appears.
Auto Sending (Automatic Sending of Job Log History)
This function automatically sends the job log history to the specified destination whenever a set number of jobs has been
logged. Set the destinations in advance by referring to Destination (Setting the destination) on page 4-18.
1 In the Job Log History menu, press or to select Auto
Sending.
2 Press [OK]. The Auto Sending menu appears.
3 Press or to select Off/On.
4 Press [OK]. The Off/On screen appears.
5 Press or to select On or Off.
6 Press [OK]. The Auto Sending is set and the Job Log History
menu reappears.
If On is selected, continue on and select the settings.
7 Press or to select Auto Sending.
Note When user login administration is enabled, Job Log History is displayed when logged in with
administrator authority.
To send E-mail from this machine, set the SMTP setting to On. For details, refer to the ProtocolSettings (Detailed
settings for the network protocol) on page 4-78.
It is necessary to register a mail server. For the method for setting the server, refer to the section on Embedded Web
Server RX on page 2-28.
Job Log History:
Destination
Exit
03
Send History
02
01
Auto Sending
Note If something other than Show All is set at Disp.
Status/Log (Display Status/Log setting) (page 4-117), then
the log in screen appears. Enter the login user name and
password, and press [Login] ([Right Select]).
Auto Sending:
Exit
01
Off/On
Job Log History:
Destination
Exit
03
Send History
02
01
Auto Sending
 Loading...