28 VELUX VELUX 29
Enter Back
P1
P2
More Save
P1
P2
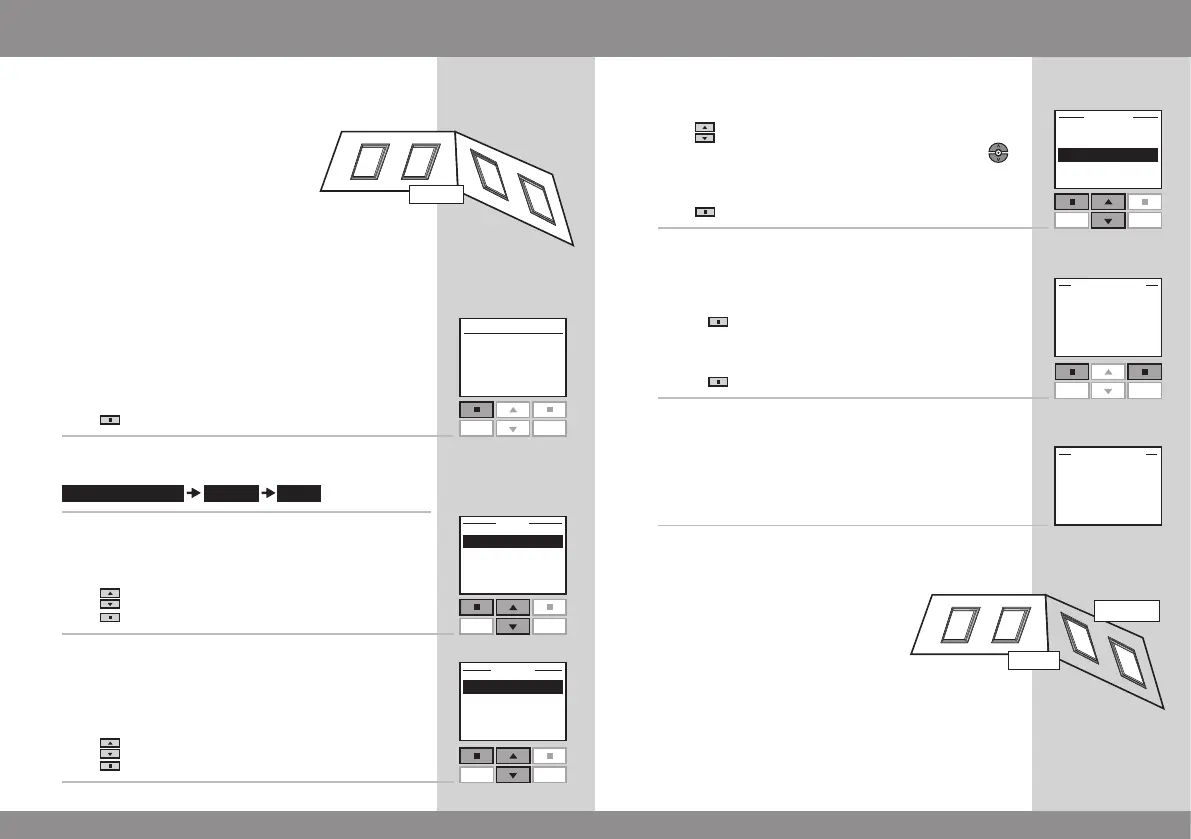
Creating a Group
Menu
Locate
P1
P2
Enter Back
P1
P2
Enter Back
P1
P2
5
Displays a list of the individual products within the product
type in question.
Press
to highlight the product to be included in Group 1.
The individual products can be identified by pressing
for a short period of time. This will activate the product
briefly.
Press "Enter" to confirm your choice.
6
The display asks whether to move additional products to
Group 1.
• Press "More" to move additional products to Group 1.
You will return to the list in item 5. Repeat items 5-6
until these products have been moved to Group 1.
• Press "Save" to create Group 1.
7
The display shows that Group 1 has been created in
Room 1.
Groups are edited according to the same principle as
Rooms.
Note: When operating Groups, a delayed execution of
commands might occur. If you want a particular product
to respond at once, this product must be operated indi-
vidually.
To make it easier to locate and operate products of the
same type simultaneously, you can create a Group.
The example shows a room with four
windows, each with a window oper-
ator. It is shown how to create Group 1
consisting of the window operators on
the two windows No. 3 and No. 4. The
example presupposes that Room 1 has
been created.
Note: When Room 1 was created, a number of Groups "All"
was created automatically - each consisting of all products
of the same type in the Room in question, see section
Room, Group and Zone.
A Group created across more Rooms is shown in the
display as a Zone.
1
Press "Menu".
2
Scroll through the menus:
3
Displays a list of the Rooms created.
Press to highlight the Room in which to create Group 1.
Press "Enter" to confirm your choice.
4
Displays a list of the product types in Room 1.
Press to highlight "Window".
Press "Enter" to confirm your choice.
R1
 Loading...