Service - 37
6. Rinse the battery with plain water and dry.
7. Clean terminals and battery cable with wire
brush until bright.
8. Apply dielectric grease to terminals to prevent
corrosion.
USING A BOOSTER BATTERY
AVOID PERSONAL INJURY!
The battery produces a fl ammable and explo-
sive gas. The battery may explode.
• Do not smoke near battery.
• Wear eye protection and gloves.
• Do not jump start or charge a cold or frozen
battery. Warm battery fi rst.
• Do not connect the negative booster cable
to the negative terminal of the discharged
battery. Connect at a good ground location on
the engine away from the discharged battery.
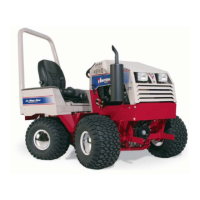
A - Disabled Power units Battery
B - Booster Battery
C
E
D
F
A
B
Note: If using a vehicle to boost the battery, boosting
vehicle must be shut off.
1. Connect positive booster cable to booster bat-
tery positive post (C).
2. Connect the other end of the positive booster
cable to the disabled battery’s positive post (D).
3. Connect negative booster cable to booster bat-
tery negative post (E).
4. Connect the other end (F) of the negative boost-
er cable to a metal part of the disabled power
unit’s engine block away from battery.
5. Start the engine of the disabled power unit and
run the power unit for several minutes.
6. Carefully disconnect the booster cables in the
reverse order: negative cable fi rst and then the
positive cable.
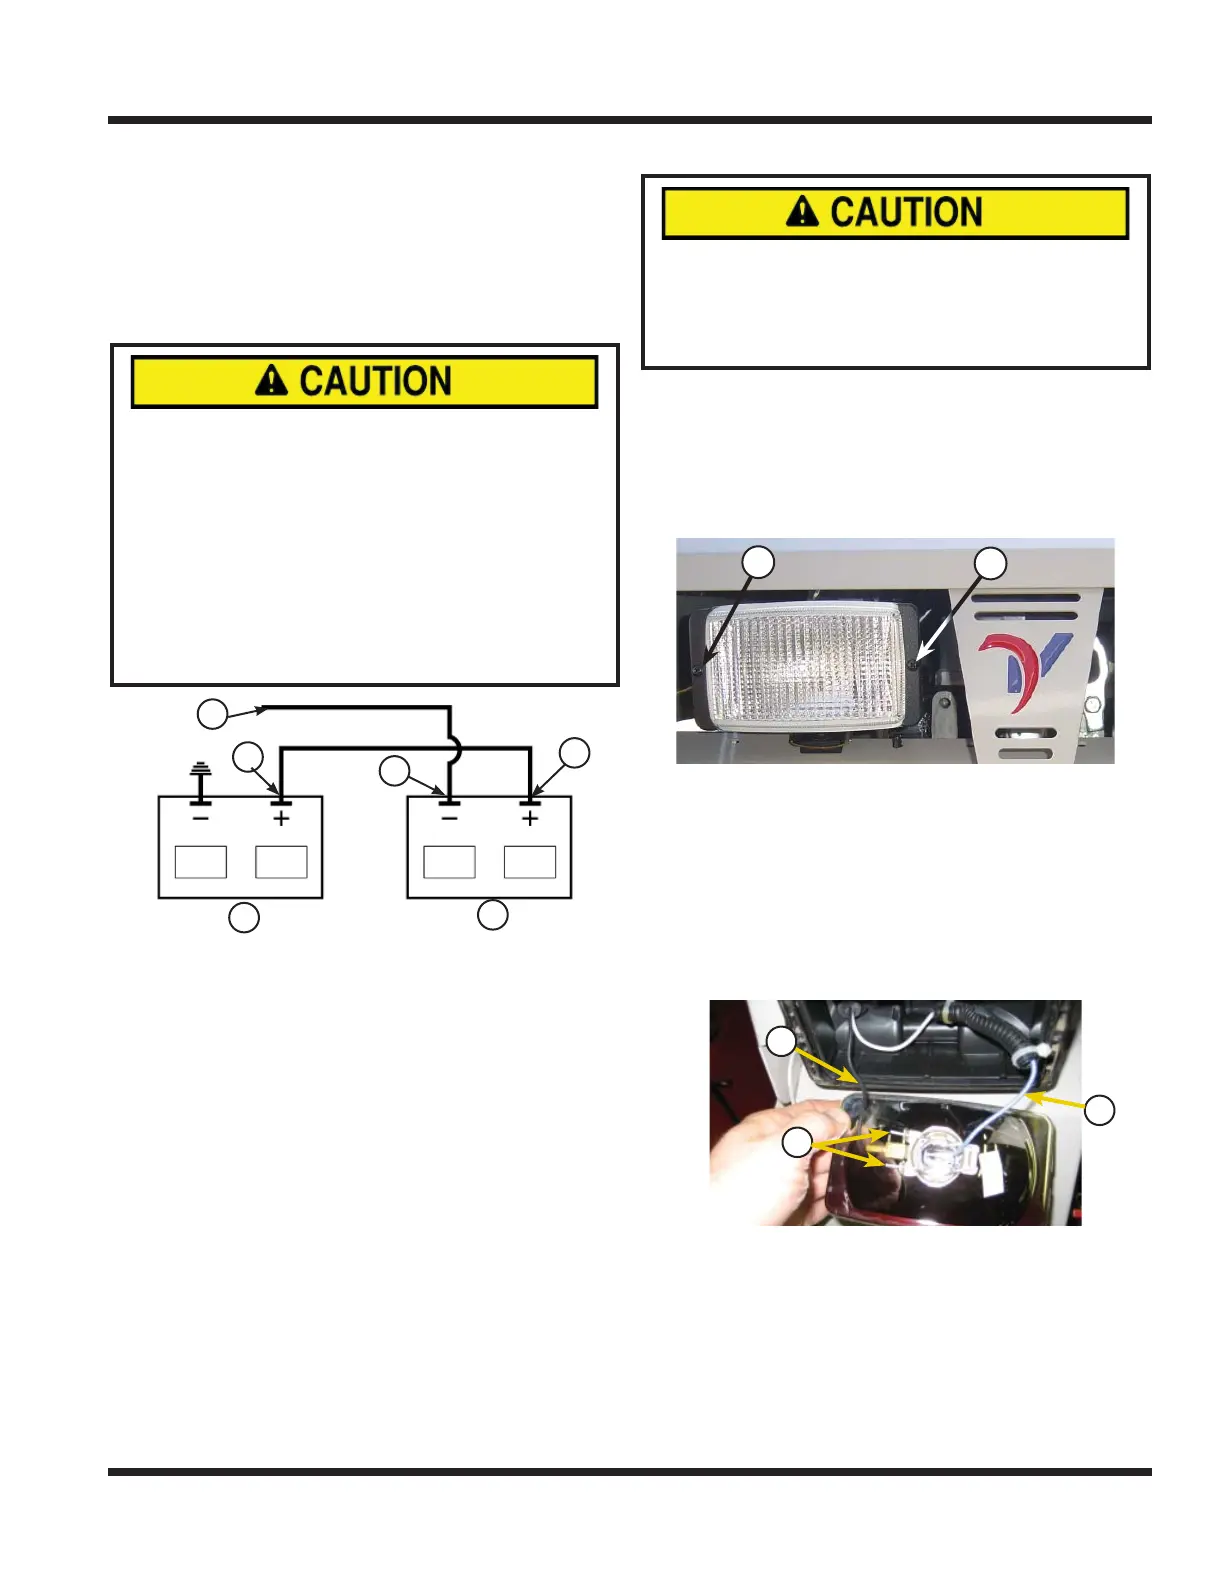
CHANGING THE HEADLIGHT BULB
AVOID PERSONAL INJURY!
The headlight bulb contains gases under pres-
sure. The bulb may shatter if the glass is
scratched or dropped. Wear eye protection and
handle bulb with care.
1. Park power unit on a level surface.
2. Engage parking brake and shut off engine.
3. Remove ignition key from switch.
4. Remove the two screws clamping the headlight
cover on (A) and remove cover.
5.
A
A
Disconnect ground wire from the defective head-
light (B).
6. Remove wire loom and shrink wrap from positive
wire (C) and disconnect the positive wire.
7. Remove the defective light bulb from the light as-
sembly by pinching the wire spring fastener.
8. Install the new light bulb and secure with spring
fastener (D).
9.
B
C
D
Place heat shrink tubing over the positive wire.
10. Reconnect the positive and negative wires as
removed.
11. Slide the heat shrink tubing over the connector,
apply heat to shrink, and replace the wire loom.
12. Reinstall the headlight cover.
SERVICE

 Loading...