66250980-EN - V1.0 - 06/02/14
8
The “Art.4503 Network Parameters” web page should appear as shown in Fig. 11.
The IP Address, SubnetMask and Gateway IP can now be changed. This information can be obtained from the network administrator.
Once all details have been updated on the “Art.4503 Network Parameters” web page press the “Congure” button followed by “Ap-
ply conguration”.
IMPORTANT NOTE!
Once you change the IP address you may not be able to connect using the PC/Laptop without repeating the previous steps
to make the PC/Laptop part of the same subnet as the device.
APPENDIX
WINDOWS VISTA
1. Open the start menu from the Windows icon in the bottom left of the screen and select “control panel” from the list on the right
hand-side.
2. Select the option “View network status and tasks”.
3. Select “Manage network connections”.
4. Double click on “Local Area Connection”.
5. Select the button “Properties” at the bottom of the window.
6. Select “Internet Protocol Version 4 (TCP/IPv4)” from the list, then select “Properties”.
7. Before changing any settings in this window rst make a note of the current IP Address, Subnet mask and default gateway set-
tings as you will need to restore them once the task is complete.
8. Complete the information as described on page 6.
9. After completing the details click on “OK” and close all windows and exit “control panel”.
10. Your PC/Laptop is now ready to change the Art.4503 default IP address to one suitable for your network.
11. Follow the steps as described on section “Network parameters changes” on page 7 to change the IP address of the Art.4503.
WINDOWS 2000/XP
1. Open the start menu from the Windows icon in the bottom left of the screen and select “control panel”.
2. In the “control panel” window double-click on the “Network and Dial-Up” connections icon.
3. Click on “Local Area Connection” to bring up a “local area network status” window.
4. In the “components checked are used by this connection” area, highlight “Internet Protocol (TCP/IP)” and click on the “Properties”
button.
5. The Internet Protocol (TCP/IP) properties window will appear.
6. Before changing any settings in this window rst make a note of the current IP Address, Subnet
7. mask and default gateway settings as you will need to restore them once the task is complete.
8. Complete the information as described on page 6.
9. After completing the details click on “OK” and close all windows and exit “control panel”.
10. Your PC/Laptop is now ready to change the Art.4503 default IP address to one suitable for your network.
11. Follow the steps as described on section “Network parameters changes” on page 7 to change the IP address of the Art.4503.
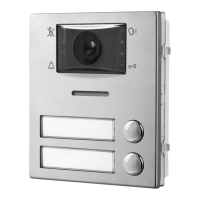
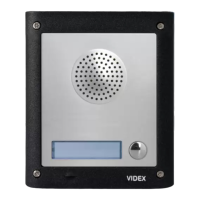
Art.4503 IP Video Speaker Unit Module
Hardware setup
 Loading...