Changing the light bulb
7.
Unscrew the fastening screws ⇒
fig. 179 A (arrows) with the Phillips screwdriver from the
vehicle tool kit
8. Remove the bulb holder from the taillight.
9.
Replace the burned out light bulb with a new bulb of the same type B (arrows).
10.
Insert the bulb socket into the taillight. Screw the fastening screws
(arrows) with the
Phillips screwdriver from the vehicle tool kit
Installing the taillight
11. Carefully insert the taillight into the opening in the body.
12.
Hold the taillight with one hand in the installation position and with the other hand, tighten
the taillight fastening screw ⇒
fig. 178 B (1).
13. Check for proper installation and secure fit of the taillight.
14.
Plug connector plug B (4) into the bulb socket and push red locking tab B (2) in the
direction opposite to the arrow.
15.
Replace the side interior trim of the luggage compartment. Reinstall the subwoofer, if
necessary
16. Close the rear hatch
Taillights with LEDs have a “standard” light bulb for the turn signal. This bulb can be replaced.
Different models may have different lights, and the location and design of covers, bulb holders,
and bulbs may be in a different location than shown in the illustrations.
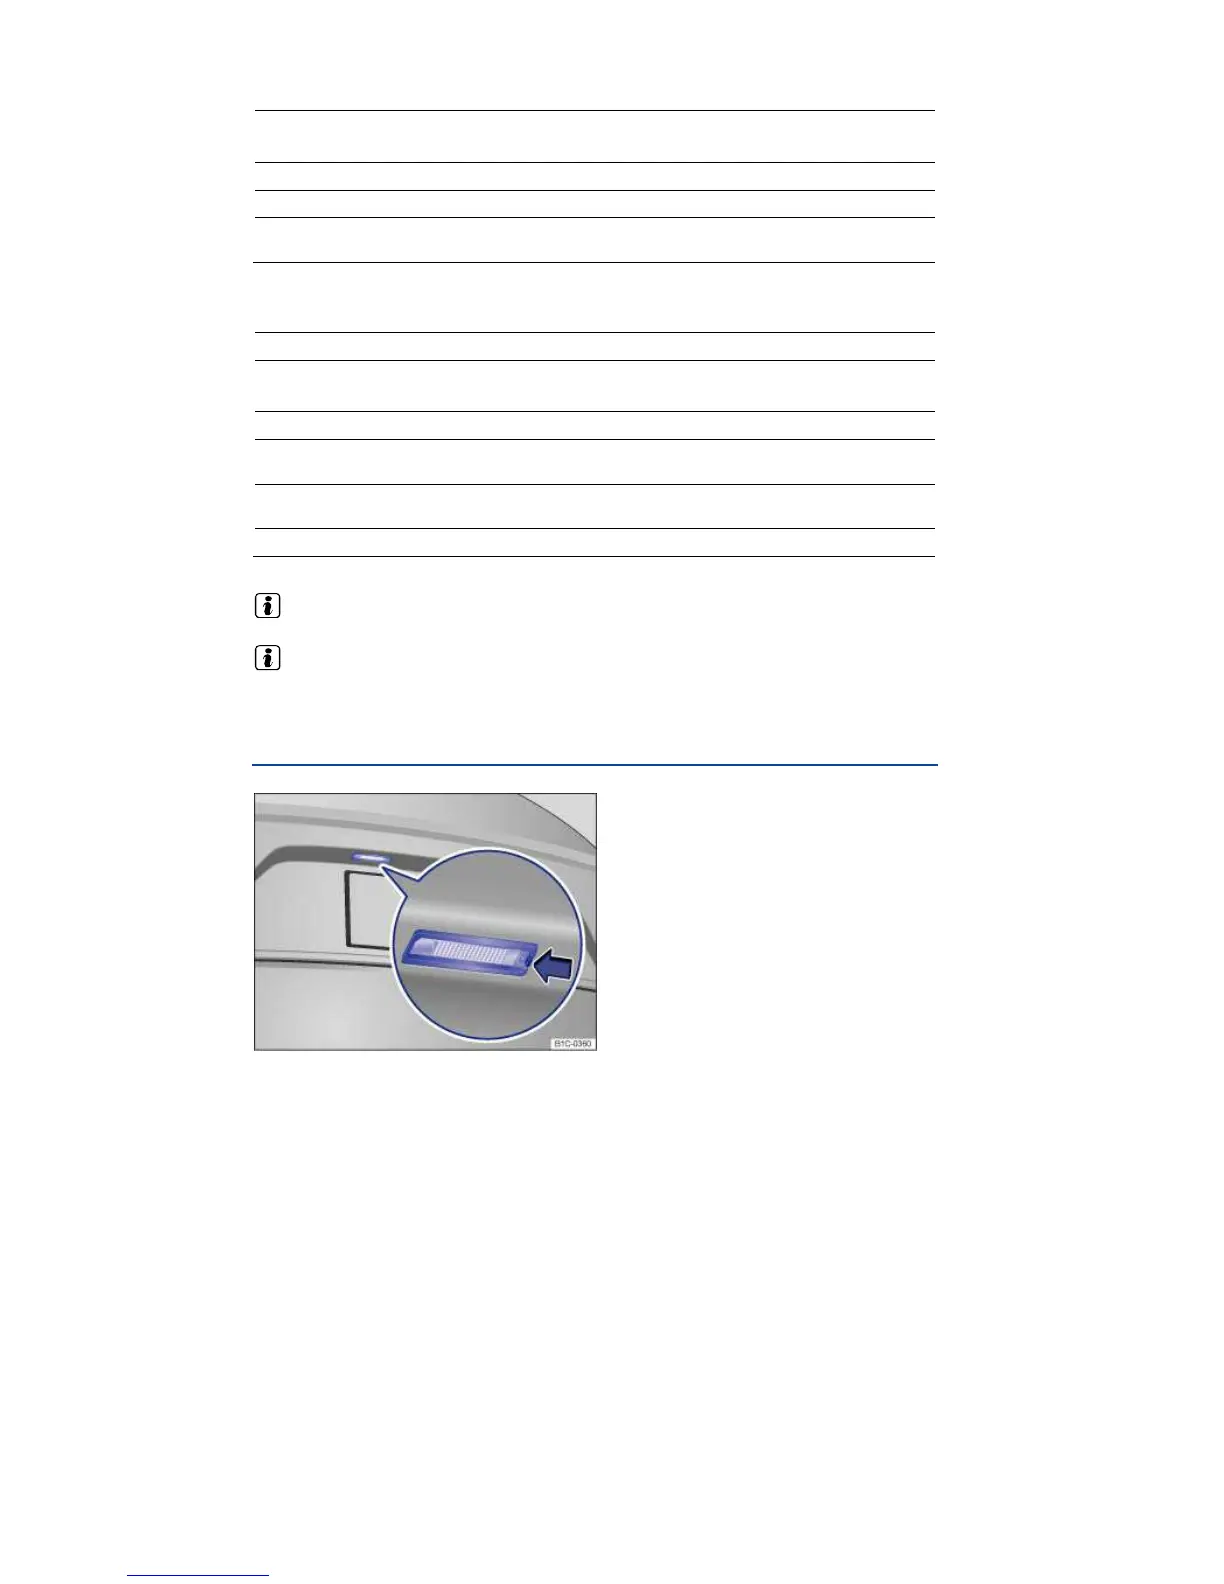
Replacing license plate light bulbs
Fig. 180 In the rear bumper: License plate light.

 Loading...