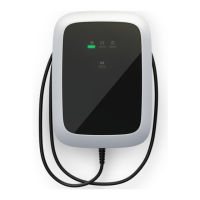
Elli Charger 23
EN
Install wallbox
Using other materials than specified in this manual for installation, operation, maintenance
and/or service of the wallbox can result in damage to the wallbox.
— Do not use other materials than specified in this manual, especially materials
containing silicone or phosphorus, as they can damage the wallbox.
5.1. Install wall bracket
B 5.1
See the corresponding illustrations in manual B.
1. Place the wall bracket on the wall and use a bubble level to align it.
Make sure that the UP arrow on the bracket points upwards.
2. Mark the positions of the three attachment holes on the wall.
3. Prepare the attachment holes.
a. Drill the three attachment holes.
b. Insert wall plugs.
4. Mount the wall bracket on the wall using the three screws M6 x 60 mm
and three washers 6.5 mm x 14 mm.
5.2. Prepare main assembly for installation
B 5.2
See the corresponding illustrations in manual B.
1. Prepare main assembly for cable installation.
a. Choose the suitable routing method for the supply cables.
b. If using on-wall wiring, remove one of the four break-out tabs using a set of pliers.
CAUTION
Leaving sharp edges after removing the break-out tabs can cause damage to the cables
and result in a risk of electric shock.
— Make sure that no sharp edges are left after removing the break-out tabs.
NOTE: It is recommended to remove the bottom break-out tab and route the
supply cable through the bottom tab (if applicable).
c. Optionally, remove knockouts.
 Loading...

