Installation and electrical connection | 6
5111967A OI-II Webasto Unite 9 / 37
6 Installation and electrical
connection
ATTENTION
High voltages
Danger of fatal electric shock.
The Webasto Unite must be installed by a qualified elec-
trician.
Charging station installation steps
l Installation and connection of the charging station must
only be carried out by a qualified electrician.
l Make sure that the ground resistance of the installation is
less than 100 ohms.
l Read these instructions before mounting your charging sta-
tion.
l Do not mount your charging station on the ceiling or on a
sloping wall.
l Use the specified wall mounting screws and other accessor-
ies.
l This charging station is classified as indoor and is outdoor
installation compatible.
If the charging station is installed outside a building, the
hardware that is used to connect the cables to the charger
must be compatible with outdoor use, and the charging
station must be mounted accordingly to preserve the char-
ger’s IP rate.
6.1 Opening the charging station cover
DANGER
Danger of fatal electric shock.
u
Switch off and secure the power supply to the char-
ging station.
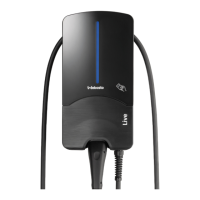
Fig.2
1. Remove the cover screws using a Torx T20 security L-
wrench, or with a right-angle screwdriver adapter with a
Torx T20 security bit.
Fig.3
2. Open the cover.
6.2 Wall mounting the charging
station
Fig.4
1. Open the charging station’s front cover (See chapter6.1,
"Opening the charging station cover" on page 9).
65,50
75,00
150,00
226,00
90º
USE Spirit level for alignment
Cable outlet
Print scale 1/1
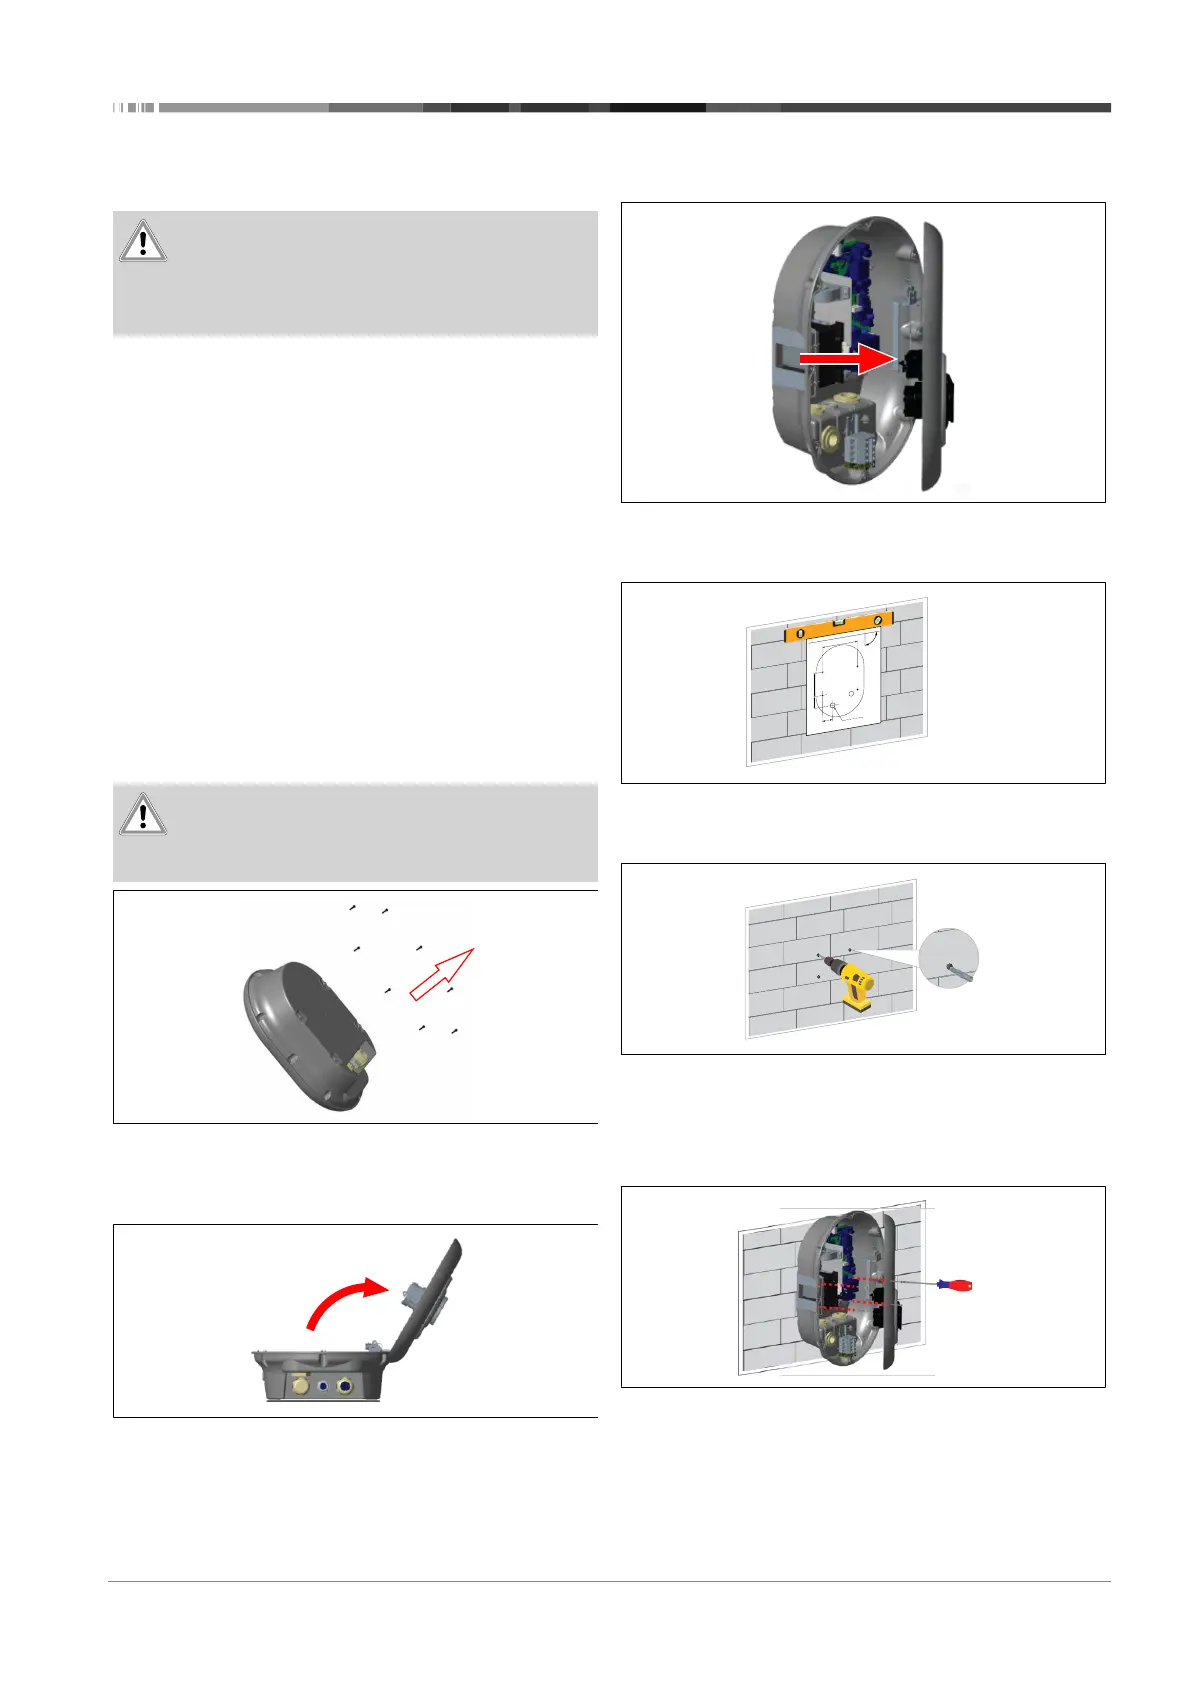
Fig.5
2. Position the charging station on the wall by using the
mounting template, and then mark the drill positions.
Fig.6
3. Locate the marked drill points on the wall, and then drill
the mounting holes, using an impact drill with an 8 mm
drill bit.
4. Place the dowels into the drill holes.
Fig.7
5. Position the unit in line with the inserted dowels, and then
secure it with the security screws (6 x 75) using a Torx T25
Security Screwdriver.

 Loading...