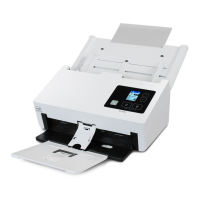
Device Settings Xerox
®
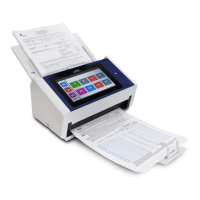
N60w Scanner
User Guide 13-5
Shortcut
Set up shortcuts displayed on the LCD touch panel. This can also be done directly from the
individual filing option. See Create a New Shortcut.
Service Mode
For technical use. If you are uncertain about any information below. Please contact Technical
Support. The information can be found on your Technical Support and Warranty Information for
Xerox Scanner.
Item Description
Shortcut Name This indicates the given name of the shortcut that appears on the LCD home screen.
Shortcut Type Indicates the shortcut type.
New Create a new shortcut.
1. Tap on New.
2. Select shortcut type: Email or File.
3. Set up the Scan Settings.
4. Tap Save to create the shortcut or Cancel to return to the Shortcut screen.
Edit Edit an existing shortcut.
1. Select a shortcut to edit.
2. Tap on Edit.
3. Change the Scan Settings.
4. Tap Save to retain the new settings.
Delete Delete an existing shortcut.
1. Select a shortcut to delete.
2. Tap on Delete.
3. A prompt will appear. Tap OK to delete the shortcut or Cancel to return to the
previous screen.
Order Rearrange the order the shortcuts will appear on the LCD home screen.
1. Select a shortcut to rearrange.
2. Tap on Order.
3. Observe the correct Shortcut Name is selected. Its Current Order # is displayed.
4. Manually enter the New Order #.
5. Tap OK to confirm the change of order or Cancel to return to the previous
screen.
Item Description
FW Upload Updates the scanner’s firmware
1. Insert a USB with the scanner’s firmware update.
2. Tap on FW Upload.
3. Wait for the process to complete and the scanner to restart.
4. The scanner’s firmware is now updated.