VESDA Pipe Network Installation Guide VESDA by Xtralis
28 www.xtralis.com
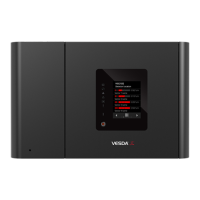
5.3.3 In-Rack Installation
In rack installations are typically found in warehouses and other areas using high-bay racking. The sampling
pipe is installed in between two racks along their length, or within the racking. Pipes may need to be fitted at
different heights to enable effective detection of any incipient smoke at different levels. Instructions for
installing the sampling pipe:
1. Whenever possible lay the pipe between two racks so that it can not be accidentally damaged as items
are moved into and out of the racks. Typically this would be along the inside of the horizontal and
vertical support beams and posts.
2. Secure the sampling pipe to the support beams and post using appropriate support, for example
mounting clamps or self locking ties.
3. Drill sampling holes as specified in the pipe network design or the IDP following the guidelines in
Section 4.6 on page 15.
4. Connect, but do not glue or bond the sampling pipes to the detector. There must not be any bends in
last 500mm (20in) running into the detector.
5. Update the grid overlay and IDP with any changes made to the original plans.
6. After all the tests have been completed bond the pipes together using the appropriate cement solvent.
Do not glue the pipes to the detector pipe inlet.
7. Use appropriate labels and tag the sampling pipe, sampling holes and test points where required.
Figure 5-17: In-rack Installation
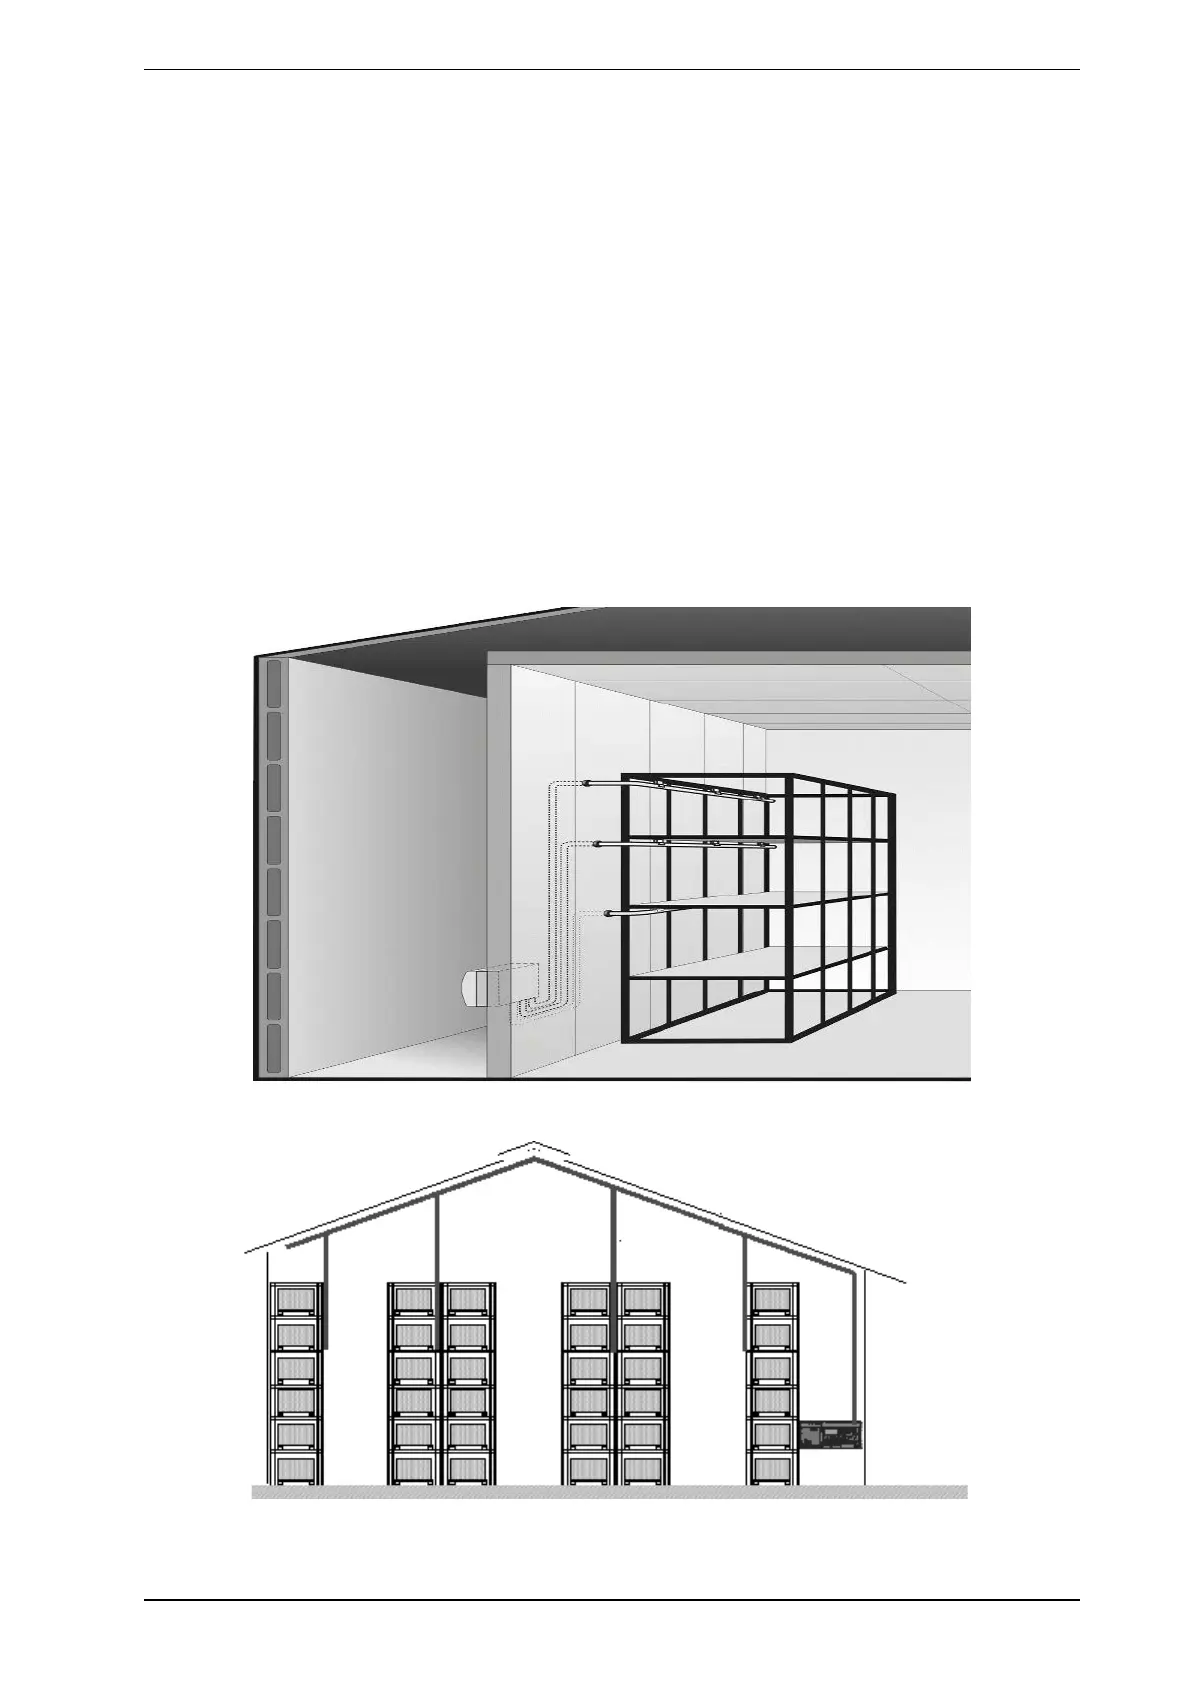
Figure 5-18: Installation between racking

 Loading...