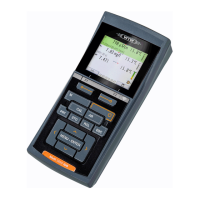
Multi 3630/3620 IDS Operation with OxiTop
®
-IDS measuring heads
ba77045d02 03/2020 25
Starting the
measurement
17
Assign further measuring heads of the current Sample in the Set
(repeat steps 14-16).
18
If necessary, create another sample in the set with <F2>/[New].
As the name for the Sample, a new number is automatically selected.
The name can be changed freely (max. 8 characters [numerals / let-
ters])
Assign the OxiTop
®
-IDS measuring heads to the new sample (repeat
steps 13-17).
19
Using <ESC>, or with the menu item continue , switch to the Set menu.
20
Using Start measurement, start measurement for all samples in the set
at the same time.
The LEDs at the measuring head flash magenta for at least half an
hour (if the signal LED on the measuring head is switched on).
The measuring heads can be reached via radio for at least half an
hour.
AutoTemp is displayed on the display (when the AutoTemp function
is switched on at the measuring heads).
The settings cannot be changed for a measurement once it is
started.
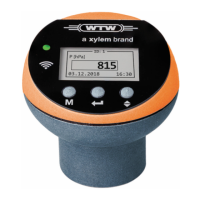
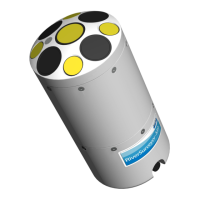
Each OxiTop
®
-IDS measuring head connected to the meter can
indicate the following data on the display:
Name of the set
Name of the sample
Settings
For this press the <ENTER> key at the measuring head.
21
Keep the sample bottles (with the OxiTop
®
-IDS measuring heads
screwed on) in a place that is controlled to 20°C (e.g. thermostat cabi-
net/box) for the specified number of days.
When the measuring temperature has been reached (function Auto-
Temp: after at least 1 hour, at most approx. 3 hours), the OxiTop
®
-IDS
measuring head automatically starts measuring the oxygen consump-
tion.
22
During the specified measuring duration, stir the sample continuously
(stirring platform, magnetic stirring rods) and keep the temperature
controlled.
The OxiTop
®
-IDS measuring head automatically stores the specified
number of measured values each day during the selected measuring
duration.
 Loading...