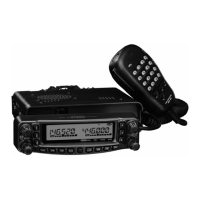
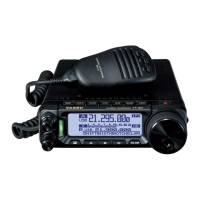
FT-891 Technical Supplement
Alignment
ALIGNMENT-14
Set the VFO-A frequency to 51.500 MHz in the
CW mode.
Press the PTT switch, then adjust the
[
RF/SQL
]
knob for 110 W on the Wattmeter.
Release the PTT switch, then rotate the
[
RF/
SQL
]
knob so that the parameter indication “12”
increase.
Press and hold in the
[
F
]
key to save the new
setting and exit th
e alignment mode.
ALC Meter Adjustment
Connect the Microphone to the Microphone
jack.
Connect the 50-Ohm Dummy Load and
Wattmeter to the ANT jack.
Set the VFO-A frequency to 14.200 MHz in the
CW mode.
Press and hold in the
[
A
]
,
[
B
]
and
[
C
]
keys,
while turning the radio on, to enter the
alignment mode.
Rotate the
[
MULTI
]
function knob to select the
alignment menu item “15-03 100W TXG 14”.
Rotate the
[
RF/SQL
]
knob to set the parameter
is “180”.
Rotate the
[
MULTI
]
function knob to select the
alignment menu item “21-01 TX CAR USB”.
Rotate the
[
RF/SQL
]
knob to set the parameter
is “255”.
Rotate the
[
MULTI
]
function knob to select the
alignment menu item “15-01 100W FALC 14”.
Press the PTT switch, then adjust the
[
RF/SQL
]
knob for 102 W ±2.0 W on the Wattmeter.
Set the USB mode.
Set the MIC GAIN to “50”.
Connect the Audio Generator to pin 8 of the
Microphone jack (pin 7: GND).
Rotate the
[
MULTI
]
function knob to select the
alignment menu item “23-01 ALC-MTR”.
Press the PTT switch, then adjust the Audio
Generator output level to the position where RF
Power output to 87 - 93 W on the Wattmeter.
Release the PTT switch.
Increase the Audio Generator output level by
“+10 dB”.
Press the PTT switch, then press the
[
CLAR
]
key while pressing and holding in the PTT
switch.
Rotate the
[
RF/SQL
]
knob for maximum
deflection on the ALC meter zone, then press
the
[
CLAR
]
key, while pressing and holding in
the PTT switch.
Release the PTT switch, then press and hold in
the
[
F
]
key to save the
new setting and exit the
alignment m
ode.
TX Output Power/PO Meter/TXG
Adjustme
nt
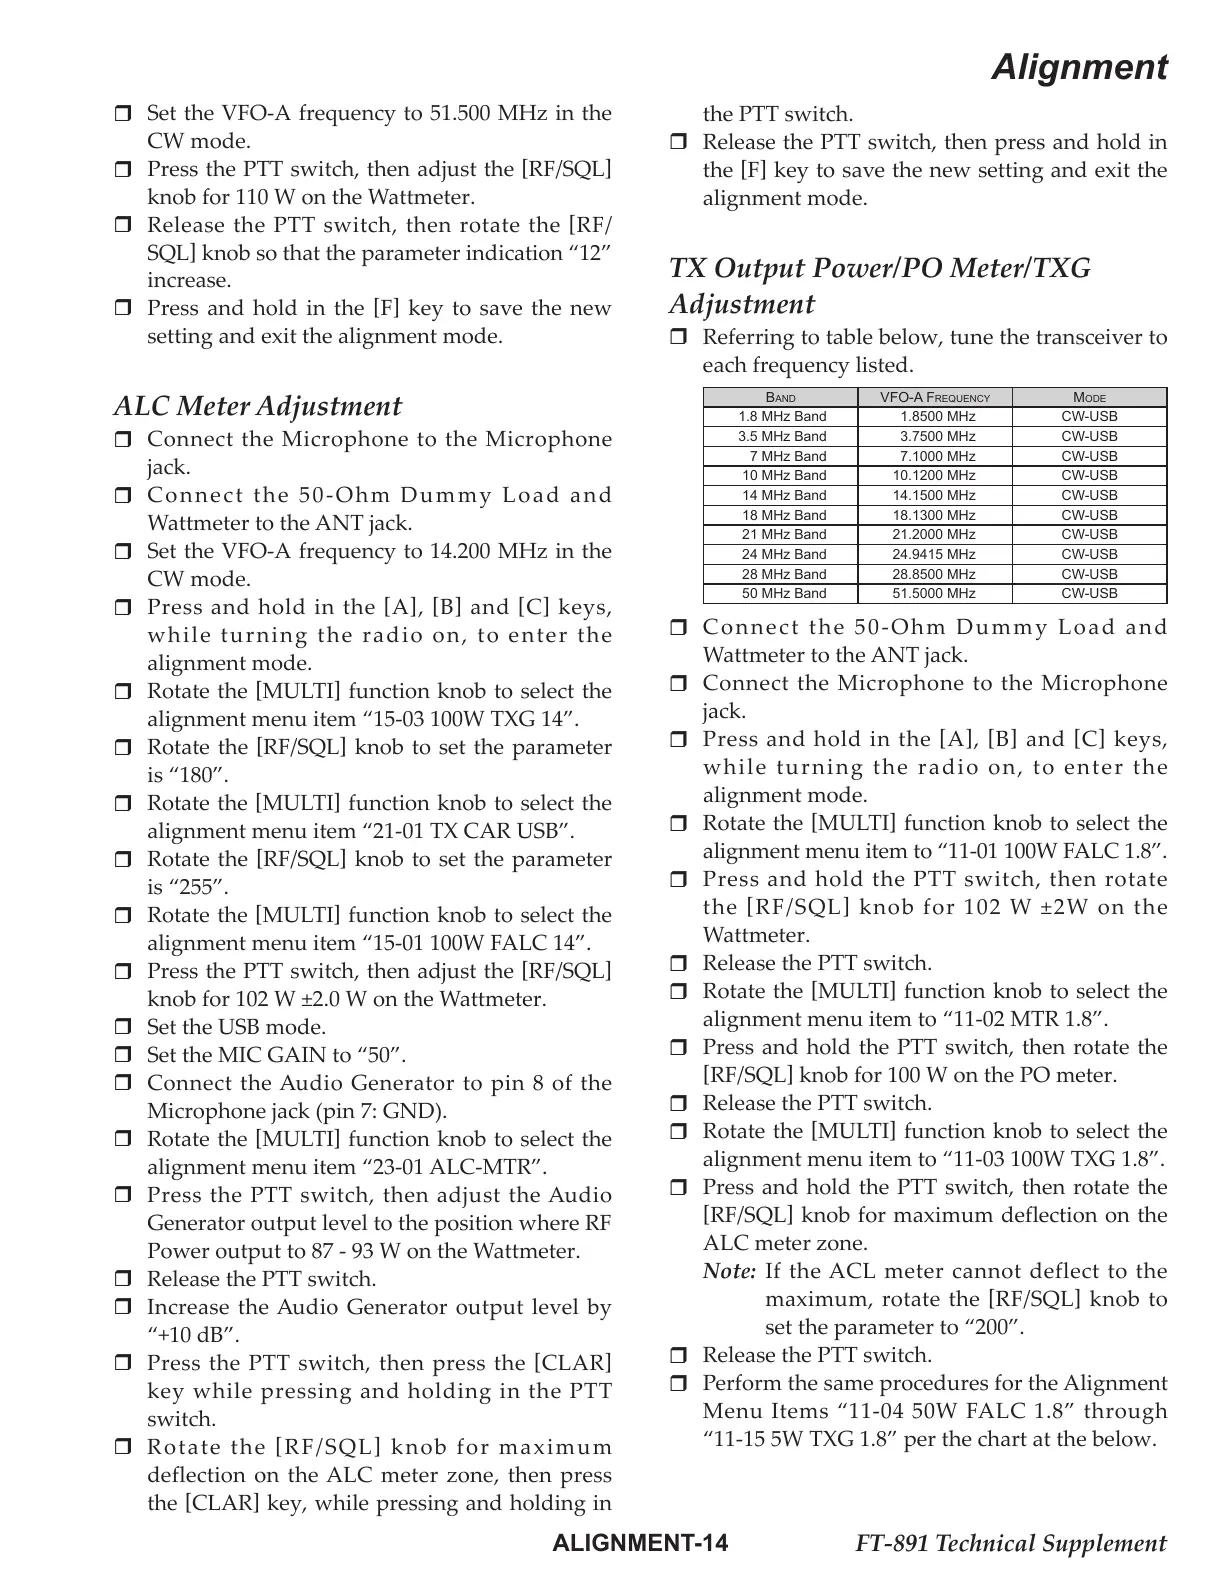
Referring to table below, tune the transceiver to
each frequency listed.
Band VFO-a Frequency MOde
1.8 MHz Band 1.8500 MHz CW-USB
3.5 MHz Band 3.7500 MHz CW-USB
7 MHz Band 7.1000 MHz CW-USB
10 MHz Band 10.1200 MHz CW-USB
14 MHz Band 14.1500 MHz CW-USB
18 MHz Band 18.1300 MHz CW-USB
21 MHz Band 21.2000 MHz CW-USB
24 MHz Band 24.9415 MHz CW-USB
28 MHz Band 28.8500 MHz CW-USB
50 MHz Band 51.5000 MHz CW-USB
Connect the 50-Ohm Dummy Load and
Wattmeter to the ANT jack.
Connect the Microphone to the Microphone
jack.
Press and hold in the
[
A
]
,
[
B
]
and
[
C
]
keys,
while turning the radio on, to enter the
alignment mode.
Rotate the
[
MULTI
]
function knob to select the
alignment menu item to “11-01 100W FALC 1.8”.
Press and hold the PTT switch, then rotate
the
[
RF/SQL
]
knob for 102 W ±2W on the
Wattmeter.
Release the PTT switch.
Rotate the
[
MULTI
]
function knob to select the
alignment menu item to “11-02 MTR 1.8”.
Press and hold the PTT switch, then rotate the
[
RF/SQL
]
knob for 100 W on the PO meter.
Release the PTT switch.
Rotate the
[
MULTI
]
function knob to select the
alignment menu item to “11-03 100W TXG 1.8”.
Press and hold the PTT switch, then rotate the
[
RF/SQL
]
knob for maximum deflection on the
ALC meter zone.
Note: If the ACL meter cannot deflect to the
maximum, rotate the
[
RF/SQL
]
knob to
set the parameter to “200”.
Release the PTT switch.
Perform the same procedures for the Alignment
Menu Items “11-04 50W FALC 1.8” through
“11-15 5W TXG 1.8” per the chart at the below.
 Loading...