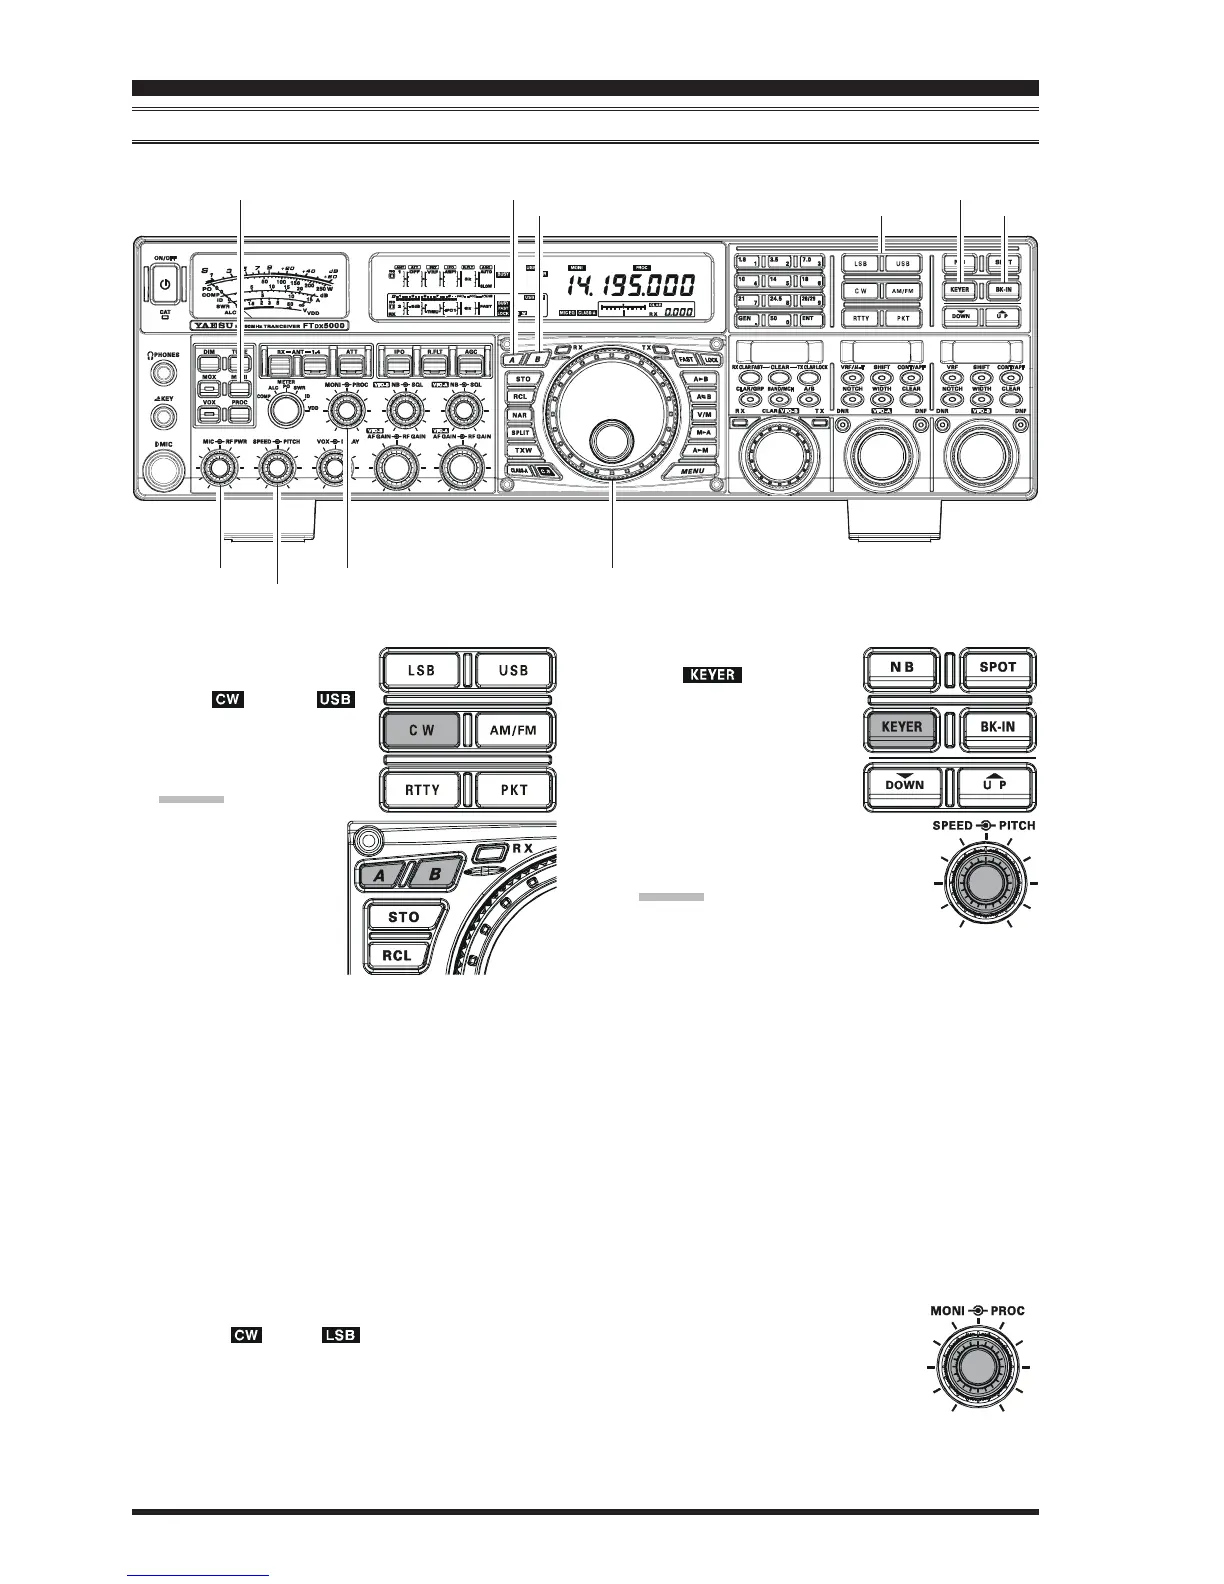
Page 88 FTDX5000 OPERATING MANUAL
USING THE BUILT-IN ELECTRONIC KEYER
Connect the cable from your keyer paddle to the front or rear panel KEY jack.
1. Press the
[
CW
]
mode button
to engage CW operation.
The “ ” and “ ”
icons will appear in the dis-
play, and the CW monitor
will be activated.
ADVICE:
The operating mode
is selected using the
[
MODE
]
button.
The (A or B) VFO to
which the selection
is applied, is se-
lected by the
[
A
]
or
[
B
]
button, located to the upper left of the Main
Tuning Dial knob. Usually, the
[
A
]
button glows
red, signifying VFO-A is being adjusted. Alter-
nately, pressing the
[
B
]
button will cause its indi-
cator to glow orange, signifying VFO-B adjustment.
Therefore, press the
[
A
]
or
[
B
]
button to select the
desired VFO, then press the
[
CW
]
button to select
the CW mode.
After initially selecting CW, If you press the
[
CW
]
button once more you will engage the “CW Re-
verse” mode (see page 92), whereby the “oppo-
site” sideband injection is used. Normally, the up-
per sideband (USB) is used in conjunction with CW.
In reverse CW the lower sideband (LSB) is used.
The “ ” and “ ” icons will appear if you
select CW Reverse.
2. Rotate the Main Tuning Dial knob to select the desired
operating frequency.
3. Press the
[
KEYER
]
button.
The “ ” icon will ap-
pear in the display, confirm-
ing that the built-in Elec-
tronic Keyer is now active.
4. Rotate the
[
SPEED
]
knob to
set the desired sending speed
(4 ~ 60 wpm). Clockwise ro-
tation of the
[
SPEED
]
knob will in-
crease the keying speed.
ADVICE:
The keying speed will show for 3
seconds in the lower right corner of the Main Dis-
play whenever the outer
[
SPEED
]
knob is turned.
Alternately, the 3-second display feature may be
changed to show in the SUB DISPLAY-
III
win-
dow via Menu item “018 DISP INDI”. Addition-
ally, you may disable the 3-second display feature
via Menu item “017 DISP LVL IND” See page
122 for details.
When you press either the “Dot” or “Dash” side of
your paddle, the transmitter will automatically be
activated.
5. If you press the
[
BK-IN
]
button briefly, “semi-break-
in” operation (discussed previously) will be engaged.
6. CW operation utilizing your paddle may now com-
mence.
A CW sidetone sounds from a speaker
in accordance with your keying. Ad-
just the
[
MONI
]
knob for a comfort-
able listening level of the CW
sidetone.
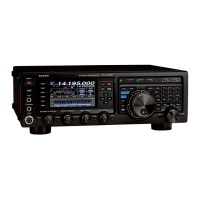
Main Tuning Dial knob
[
BK-IN
]
Button
[
B
]
Button
[
MONI
]
Button
[
MODE
]
Buttons
[
MONI
]
Knob
[
A
]
Button
[
RF PWR
]
Knob
[
KEYER
]
Button
[
SPEED
]
Knob
CW MODE OPERATION
 Loading...