Customizing Your Phone
79
You can click Delete Photo to delete the custom photo.
Note
Placing Calls to Contacts from the Local Directory
Procedure:
1. Press Directory (Dir) or navigate to Menu->Directory->Local Directory to enter the local
directory.
On the SIP-T48S/T48G IP phone, tap Directory or navigate to Menu->Directory->All
Contacts.
2. Enter the desired contact group.
If the contact is not in any group, enter the All Contacts.
3. Highlight a desired contact, and then press Send.
On the SIP-T48S/T48G IP phone, tap the desired contact.
4. If only one number for the contact is stored in the local directory, the contact number will
be dialed out.
If multiple numbers for the contact are stored in the local directory, the LCD screen will
prompt a list of numbers. Select a desired number to dial out.
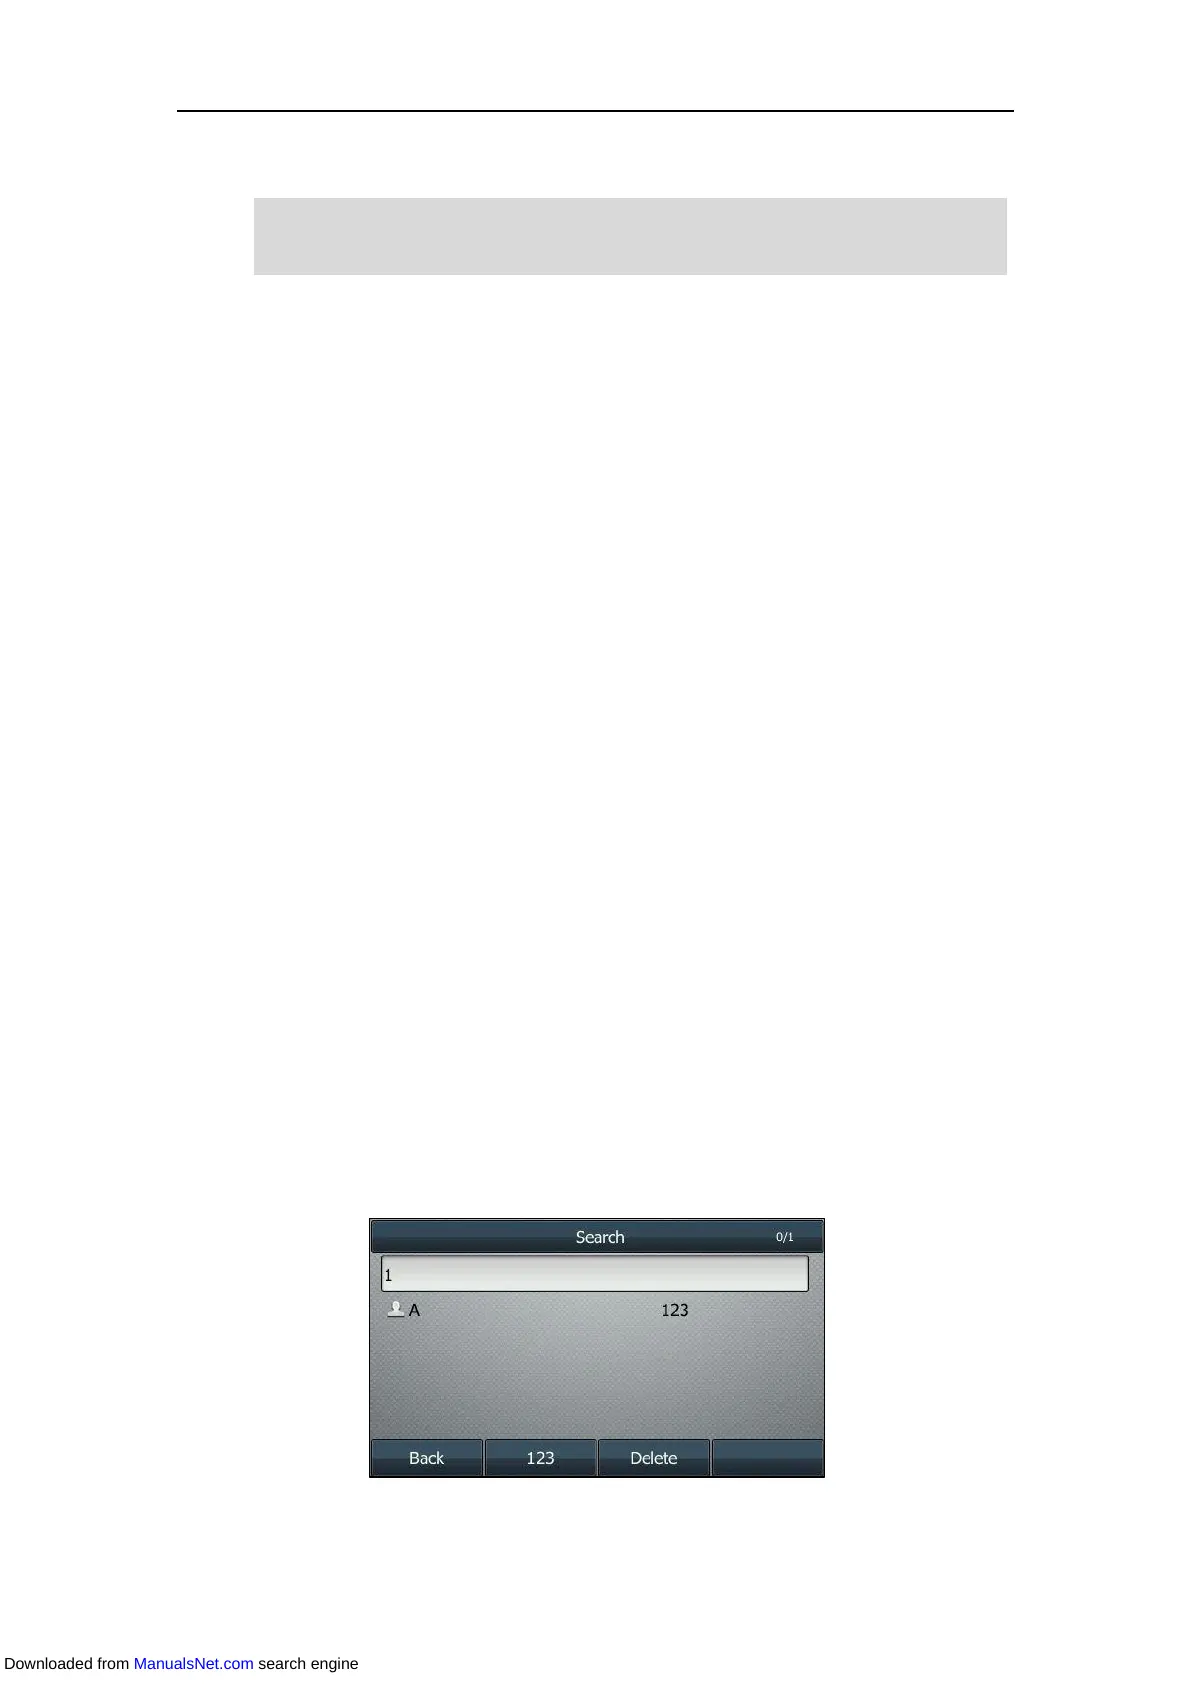
Searching for Contacts
Procedure:
1. Press Directory (Dir) or navigate to Menu->Directory->Local Directory to enter the local
directory.
On the SIP-T48S/T48G IP phone, tap Directory or navigate to Menu->Directory->All
Contacts.
2. Press Search.
3. Enter a few continuous characters of the contact name or continuous numbers of the
contact number (office, mobile or other number) using the dialpad.
The contacts whose name or phone number matches the entered characters will display in
The phone only supports *.png, *.jpg, *.jpeg and *.bmp files.
You can only delete custom photos.
Downloaded from ManualsNet.com search engine
 Loading...