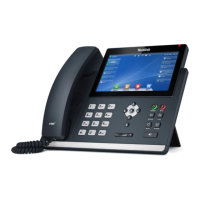
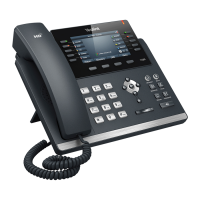
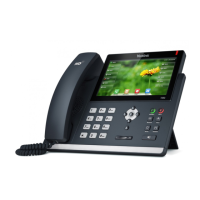
User Guide for T4 Series IP Phones
82
Blacklist
You can store up to 30 contacts; add, edit, delete or search for a contact in the blacklist, and
even call a contact from the blacklist. Incoming calls from the blacklist contacts will be rejected
automatically.
For how to edit, delete, place calls to and/or search for contacts in the blacklist, refer to Editing
Contacts, Deleting Contacts, Placing Calls to Contacts and/or Searching for Contacts.
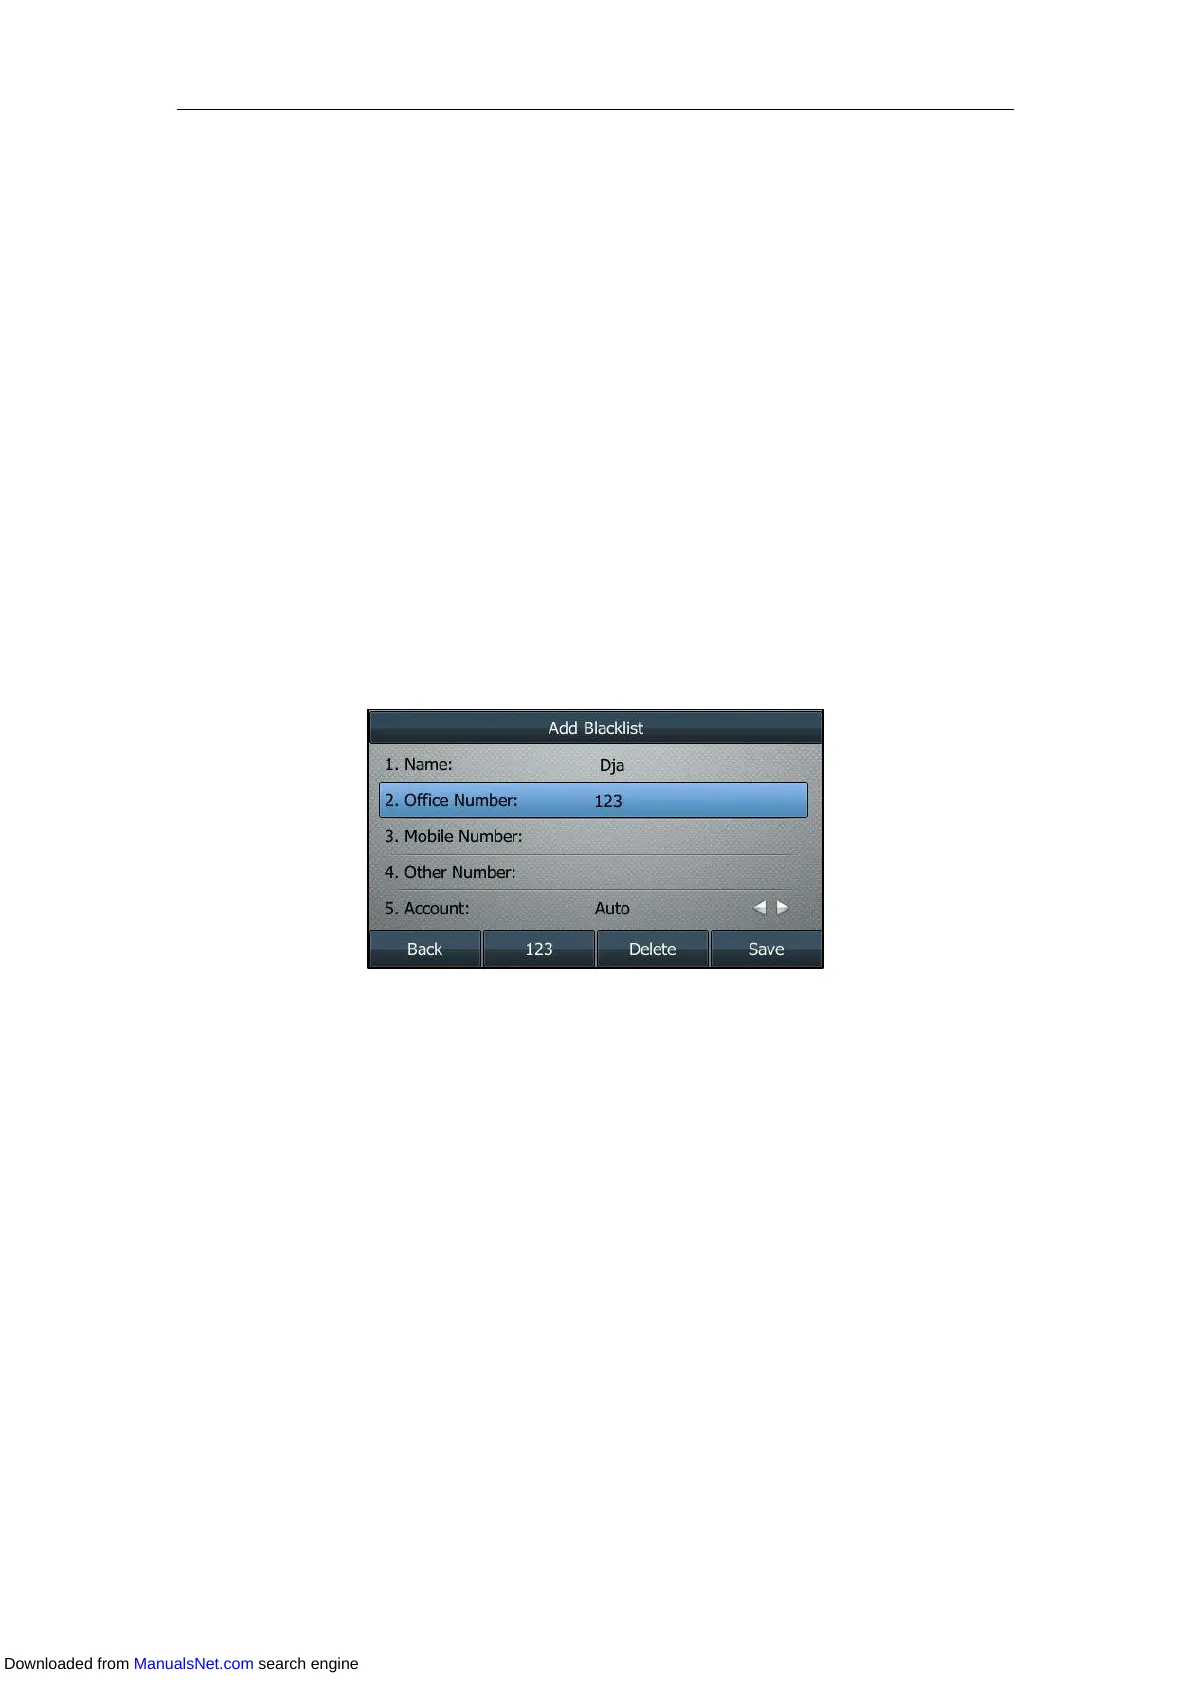
Adding a Contact to the Blacklist Manually
Procedure:
1. Navigate to Menu->Directory->Blacklist.
On the SIP-T48S/T48G IP phone, you can also tap Directory->Blacklist.
2. Press Add.
3. Enter the contact’s name and the office, mobile or other numbers in the corresponding
fields.
4. Select the desired account from the Account field.
If Auto is selected, the phone will use the default account when placing calls to the contact
from the blacklist.
5. Press Save.
On the SIP-T42S/T42G/T41S/T41P/T40G/T40P IP phone, press Add.
Adding a contact to the Blacklist is configurable via web user interface at the path
Directory->Local Directory.
Adding a Contact from the Local Directory
Procedure:
1. Press Directory (Dir) or navigate to Menu->Directory->Local Directory to enter the local
directory.
On the SIP-T48S/T48G IP phone, tap Directory or navigate to Menu->Directory->All
Contacts.
2. Enter the desired contact group.
Downloaded from ManualsNet.com search engine
 Loading...