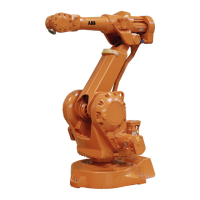
Refitting, lower arm
The procedure below details how to refit the complete lower arm.
NoteAction
DANGER
Turn off all electric power, hydraulic and
pneumatic pressure supplies to the robot!
1
Move the damper and calibration marking to
the new lower arm.
2
Spare part no. is specified in Required
equipment on page 146.
Make sure that the sealing ring is fitted prop-
erly to the gearbox, undamaged and properly
lubricated with grease. If damaged, replace
with a new one.
3
Shown in the figure Location of lower
arm on page 145.
CAUTION
The robot lower arm weighs 27 kg without any
additional equipment fitted.
All lifting accessories used must be sized ac-
cordingly!
4
Lift the lower arm into position.5
12 pcs; M10 x 40. Tightening torque:
72 Nm.
Fit the spring tension plate to the lower arm
and secure the arm to the gearbox with the 12
attachment screws.
6
Detailed in section Refitting, parallel
arm on page 166.
Refit the parallel arm.7
Detailed in section Refitting, tie rod on
page 151.
Refit the tie rod.8
Detailed in section Refitting, upper arm
on page 143.
Refit the upper arm.9
Detailed in section Refitting, cable
harness, axes 4-6 on page 129.
Refit the cabling.10
Calibration is detailed in a separate
calibration manual enclosed with the
calibration tools.
Recalibrate the robot!11
General calibration information is in-
cluded in the section Calibration inform-
ation on page 205.
DANGER
Make sure all safety requirements are met
when performing the first test run. These are
further detailed in the section First test run
may cause injury or damage on page 29.
12
148 Product manual - IRB 2400
3HAC022031-001 Revision: P
© Copyright 2004-2018 ABB. All rights reserved.
4 Repair
4.5.1 Replacement of complete lower arm
Continued
 Loading...

