SmartCom
2
Control Installation and User Manual
12
SmartCom
2
Control Installation and User Manual
13
Press the OK button to accept the set clock function.
One of the day icons will now fl ash.
Press + or – until the correct day is displayed and press OK to accept.
Next the Hours display will fl ash.
Press + or – until the correct hours are displayed and press OK to accept.
Next the Minutes display will fl ash.
Press + or – until the correct minutes are displayed.
3.3 Setting the Clock
Press the SETTINGS button up to
3 times until the set clock display
appears. The icons [SET], [CLOCK]
and [OK?] will be displayed with the
[CLOCK] icon fl ashing. (Enter your PIN
code if prompted.)
3.4 Setting the Operating Modes
Pressing the settings button will present the options in the following sequence:
Vent Only mode: Ventilation operates
automatically depending on the room
temperature, time/set temperature
program and the control method selected.
Heating is disabled. Ventilation is disabled
during off periods of the time program.
Frost Only mode: Heating operates
automatically depending on the room
temperature and control method
selected. The set temperature is fi xed at
5°C. Ventilation is disabled.
Auto mode: Heating and ventilation
operate automatically depending on the
room temperature, time/set temperature
program and the control method
selected. Ventilation is disabled during
off periods of the time program.
Heat Only mode: Heating operates
automatically depending on the room
temperature, time/set temperature
program and the control method
selected. Ventilation is disabled.
3.5 Setting the program (on/off times)
Please note the following on/off times and temperature settings in the table shown
below have been factory set. If these on/off times and temperature settings are
acceptable to you then choose the “AUTO” mode (see section 3.4) and the products
connected to the control will operate in accordance with the detail in the table.
If the settings are not acceptable then continue to read this section to change as
required.
Factory Settings
Monday ON 1 = 08:00 OFF 1 = 16:30 ON 2 = --:-- ON 3 = Unused
Tuesday ON 1 = 08:00 OFF 1 = 16:30 ON 2 = --:-- ON 3 = Unused
Wednesday ON 1 = 08:00 OFF 1 = 16:30 ON 2 = --:-- ON 3 = Unused
Thursday ON 1 = 08:00 OFF 1 = 16:30 ON 2 = --:-- ON 3 = Unused
Friday ON 1 = 08:00 OFF 1 = 16:30 ON 2 = --:-- ON 3 = Unused
Saturday ON 1 = --:-- OFF 1 = Unused ON 2 = Unused ON 3 = Unused
Sunday ON 1 = --:-- OFF 1 = Unused ON 2 = Unused ON 3 = Unused
ON / Day Temperature = 18.0ºC
OFF / Night Temperature = 5.0ºC
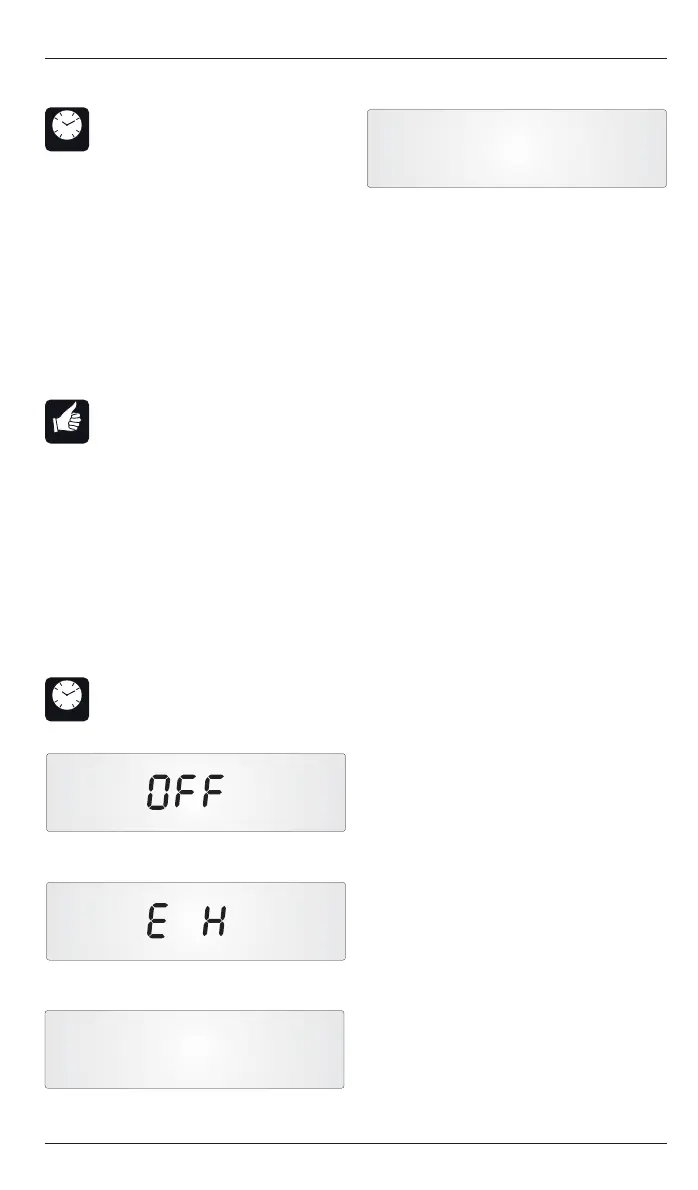
1 Set Off mode
2 Set Exam heating mode*
3 Set Clock
4 Set Auto mode
5 Set Frost Only mode
6 Set Heat Only mode
7 Set Vent Only mode
8 Set Program
9 Set Temperatures
*Exam Heating mode: If the control is used
on a system installed in a sports hall, a
temporary increase in temperature can be
set to improve comfort for people sitting in
the building. Heating will be controlled to
“temperature 2” as detailed in Section 3.6.
Exam Heating mode can only be set during
an ON period and will last only until the
next OFF period.
SET
OK?
SET
2
TEMP DAY
OK?
Off mode: All the heating functions
switch off. Please note this is an OFF
function and service engineers must
always isolate the mains supply and not
use the off mode instead of a mains
isolation switch.
SET CLOCK
OK?
Figure – Set the Clock
SET
OK?
AUTO
SET
OK?
FROST ONLY
* Exam Heating mode (EH) will appear only if selected in the engineer functions.
SET
OK?
HEAT ONLY
SET
OK?
VENT ONLY
Press the OK button to accept
the chosen mode.
OK
SETTINGS
12
6
39
Press SETTINGS until the required
mode is displayed and fl ashing.
The controller will adopt, and continue
in, that mode of operation.
SET CLOCK
OK?
Set Clock: See section 3.3 above.
SETTINGS
12
6
39
Press the OK button to accept.
OK
The controller will return to normal
operation.
(Enter your PIN code if prompted.)
 Loading...