Note: Verified compatibility with Sony UP-DR80MD digital colour printer for medical applications.
For specifications of connections to external equipment, refer to chapter 8.
Note: IEC 60950-1 and IEC 62368-1 are consumer electronic standards and do not cover patient safety.
Therefore do not touch the accessories while touching the patient and place the equipment out of reach of
the patient.
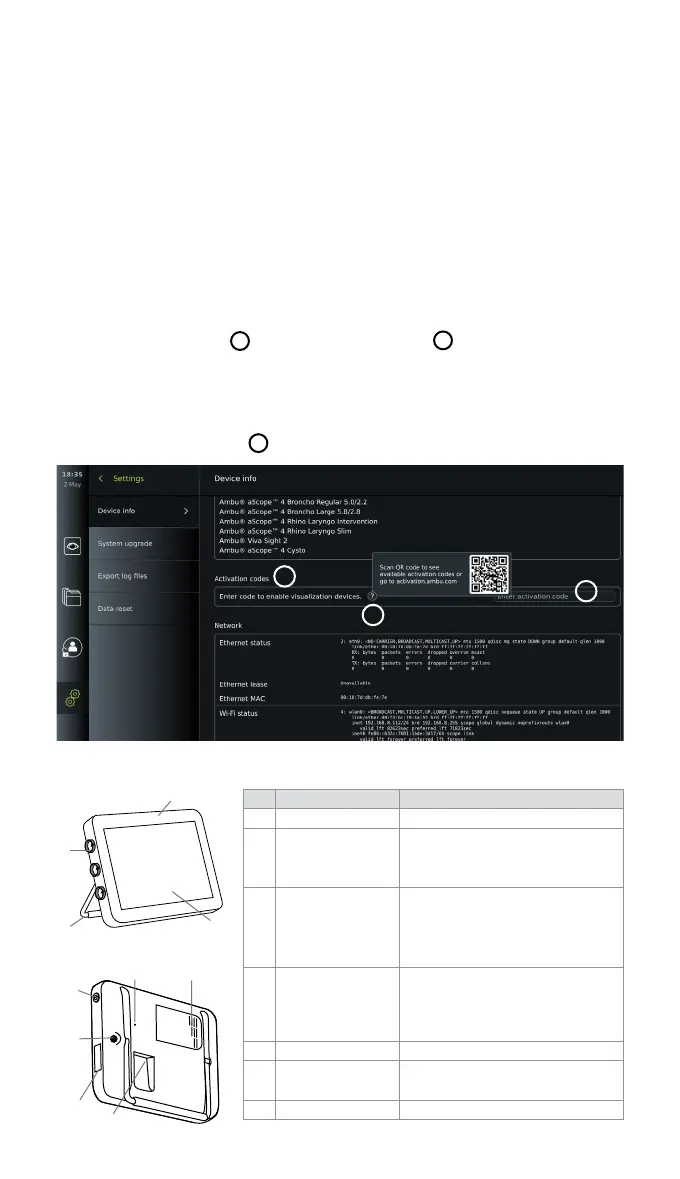
2.2.1. Endoscope activation
New endoscope types not found on the list of supported visualization devices (see section 2.2)
must be activated with an activation code before they can be used. The activation code is
entered only once per endoscope type. Hereafter, the endoscope type can be found on the list
of supported visualization devices. The activation codes are found on Ambu's website via the
URL, or QR code shown next to the input field where the activation code is to be entered.
Activate a new endoscope type:
• Press the Settings tab, then press About.
• Scroll to Activation codes
5
and press the question mark
6
to find the URL or QR code
for the activation codes.
• Enter the URL in the address field of the internet browser on your connected device, e.g.
computer, tablet or mobile phone or scan the QR code with your mobile phone.
• Find the activation code for the endoscope to be activated and enter the code into the input
field below Activation codes
7
.
5
6
7
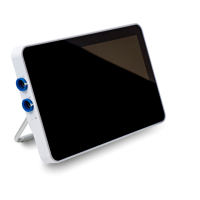
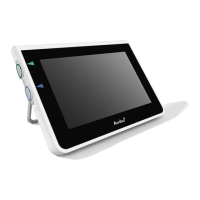
2.3. Description of components
No. Part Function
1 Casing -
2 Touch screen
Displays the image from the Ambu
visualization device and the
graphical user interface.
3 Stand
Use the stand to place the
displaying unit on a solid surface
and to carry the displaying unit
while turned OFF.
4
Connector ports
for Ambu®
visualization
devices
Match and align colours,
arrows and geometry on
visualization device plug
and the connector port.
5 Power button Push button for power ON and OFF.
6
Hardware
reset button
Reset the displaying unit hardware
without impacting stored data.
7 Ventilation holes Cools hardware during use.
9-2
5
6
7
8
9-1
4
1
3
2
8
 Loading...