EasyManua.ls Logo

AMX AXB-TPI/3 User Manual

AMX AXB-TPI/3
88 pages
To Next Page IconTo Next Page
To Previous Page IconTo Previous Page
Page #38 background imageLoading...
Page #38 background image
Designing Touch Panel Pages
32
AXB-TPI/3 Touch Panel Interface 3
Setting the variable text code
The variable text buttons set the device and button channel codes for the buttons.
1. Press
DEV to open the keypad and set the device number.
2. Enter 1, 2, 3, or 4 in the keypad. The source code uses device codes 1 - 4 to identify the touch
panel.
3. Press
ENTER to save, close the keypad, and return to the Button Properties page.
4. Press
CHAN to open a keypad and set the channel number.
5. Enter a channel value of 1 - 255 in the keypad. The source code uses the channel code number
to identify the button and its operations.
6. Press
ENTER to save the channel number, close the keypad, and return to the Button Properties
page.
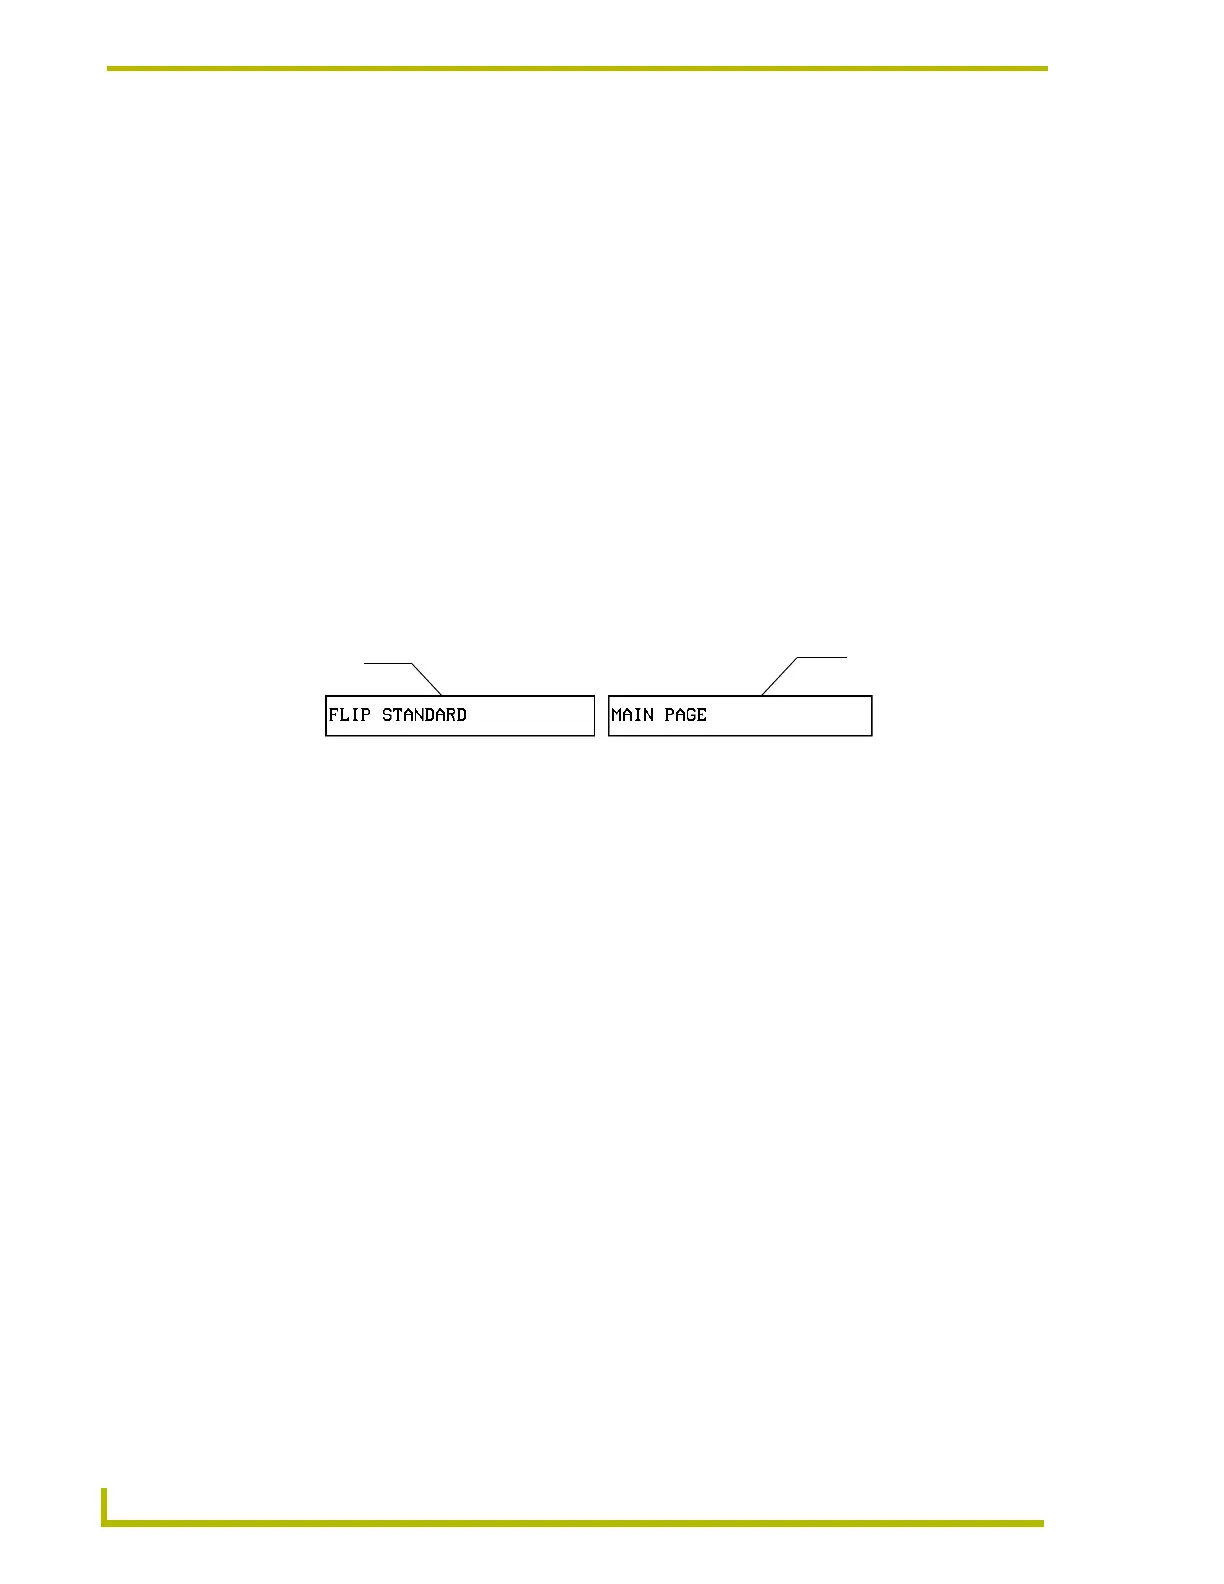
Setting the page flip
1. Press the Page
FLIP STANDARD type button (FIG. 13) in the Button Properties page to open
the Page Flip Type menu.
2. Select a Page Flip type. If you select
FLIP PREVIOUS in the Page FLIP TYPE menu, the FLIP TO
P
AGE button appears.
3. Press the
FLIP TO PAGE button (FIG. 13) to open a list of all the saved touch panel pages. If the
desired page is not present in the menu, check to verify the page has been saved.
4. Select the target page for the page flip.
Setting the button colors for channel-off conditions
1. Press any button to open the Button Properties page.
2. Press
BORDER under CHANNEL OFF in the Button Properties page. The color palette appears.
Select a color to set as the border.
3. Press the
FILL button in the Button Properties page to open the palette. Select a color to set as
the fill.
4. Press the
TEXT button to open the palette. Select a color to use for the text.
5. Press
EXIT SAVE CHANGE in the Button Properties page to save the new button properties and
return to the current page.
Adding text, icons, and bitmaps to a button
1. Press
BUTTON on the Edit bar to open the BUTTON menu.
2. Press
TEXT/IMAGE to add text to the button. The TEXT/IMAGE operation bar appears.
3. Press any button to open the Text/Image page.
FIG. 13 Page FLIP Type button
Flip to Page button
Page FLIP type
button

Table of Contents

Other manuals for AMX AXB-TPI/3

Question and Answer IconNeed help?

Do you have a question about the AMX AXB-TPI/3 and is the answer not in the manual?

AMX AXB-TPI/3 Specifications

General IconGeneral
BrandAMX
ModelAXB-TPI/3
CategoryRecording Equipment
LanguageEnglish

Summary

Product Information

Specifications

Lists the specifications for the AXB-TPI/3 and its related input modules.

Installation

Installing the Input Modules

Steps to install the input modules into the AXB-TPI/3 unit.

Removing Input Modules

Steps to remove the input modules from the AXB-TPI/3 unit.

Mounting the TPI/3 in an Equipment Rack

Instructions for mounting the AXB-TPI/3 in a standard 19-inch equipment rack.

Other Mounting Options

Instructions for mounting the AXB-TPI/3 on a flat surface, under a table, or vertically.

Wiring the AXB-TPI/3

Details on connecting AXlink, power, and video/graphic wiring to the AXB-TPI/3.

Preparing captive wires

Instructions on how to prepare wires for compression-type connections.

Using the AXlink connector for data and power

Connecting the AXlink 4-pin connector for data communication and power.

Using the (DB-9) RS-232 connector for mouse control or data

Connecting serial mouse or other RS-232 devices to the DB-9 port.

Using the VGA IN DB-15 (male) high-density connector

Connecting VGA source equipment to the DB-15 VGA IN connector.

TPI Configuration and Usage

Setting Up Serial Communication from PC to the TPI/3

Configuring serial communication between a PC and TPI/3 using AXCESSX or HyperTerminal.

Using AXCESSX for serial communication

Detailed steps for setting up serial communication using AXCESSX.

Using HyperTerminal for serial communication

Detailed steps for setting up serial communication using HyperTerminal.

Setting up Touch Devices and Drivers

Configuring touch panel devices and installing the correct drivers.

Setting the Output Resolution

Setting the output resolution for the monitor connected to the TPI/3.

Assigning a touch device

Assigning a specific touch device driver to the TPI/3.

Calibrating the Monitor

Calibrating the touch monitor to ensure accurate touch input.

Verifying your settings

Verifying the touch panel and TPI/3 configuration and settings.

Setting Up AXlink Communication from Master to the TPI/3

Configuring AXlink communication from a Master Controller to the TPI/3.

Setting up the touch device through AXlink

Configuring touch devices using AXlink communication.

Setting Up NetLinx Communication from PC to the TPI/3

Configuring NetLinx communication via Ethernet or COM port.

Designing Touch Panel Pages

Buttons

Details on standard button types and their properties for touch panel pages.

Activating Edit Mode

Steps to activate the EDIT mode for designing touch panel pages and buttons.

Setting the Device Base

Assigning a base (starting) device address to the touch panel.

Setting the Device Used

Assigning the number of devices controlled by the touch panel.

Adding a Page

Steps to add a new page to the touch panel interface.

Setting the page color

Setting the background color for a touch panel page.

Adding text, icons, and bitmaps to a button

Adding text, icons, and bitmaps to customize buttons on the touch panel.

Using TPDesign3 to Download Bitmaps, Icons, and Fonts

Downloading bitmaps, icons, and fonts into the touch panel using TPDesign3.

Creating a Bargraph and Joystick

Creating bargraphs for level monitoring and joysticks for directional control.

Programming

Serial Commands

Commands used in AxcessX Terminal Emulator mode for panel control.

CURSOR

Turning the cursor display On or Off on the touch device.

DPMS

Setting the Display Power Management Signaling (DPMS) mode.

MOUSE

Setting the serial touch interface type for mouse or other touch devices.

RESOLUTION

Setting the display output resolution and refresh rate.

RESET

Cycling power on the touch panel.

System Send_Commands

Commands stored in the Controller to direct touch panel operations.

AKEYP

Pop up keypad and initialize text string.

BAUD

Setting the program port baud rate.

ILEV

Invert joystick axis and move origin to another corner.

PAGE

Flip to a page with a specified page name.

TPAGEON

Turn On page tracking, sending strings to Master when pages change.

WAKE

Force the panel out of screen saver mode.

Video Send_Commands

Commands for various video-specific operations on the touch panel.

@VIS

Set which input of the module in Slot X should be outputted.

VGVP

Move the VGA display vertically up or down on Slot X.

VGA Send_Commands

Commands to perform various VGA operations on the panel.

VGSD

Reset default settings of colors, position, and size on Slot X.

Shorthand Send_Commands

Shorthand commands for touch panel operations.

@CFF

Set the fill color for OFF feedback to the specified color.

@IDF

Get the touch panel's MS-DOS file name.

@MOU

Set the serial touch interface type.

@PPA

Close all popups on a specified page.

@RES

Set the display output resolution and refresh rate.

Color Send_Commands

Commands to set colors for text, buttons, and pages.

Variable Text Send_Commands

Set borders, fonts, and text using variable text commands.

!C

Combination command to set border, font, and text.

Shorthand Variable Text Commands

Shorthand commands for variable text on touch panels.

@SHO

Set a specific button to On or Off.

Button String Commands

String commands assigned to buttons via the touch panel editor.

Upgrading the Firmware

Upgrading the Firmware Using NetLinx Studio

Firmware upgrade using the NetLinx Studio application.

Upgrading the TPI/3 Firmware through a COM port

Firmware upgrade procedure via a COM port connection.

Upgrading the TPI/3 Firmware through an IP Address

Firmware upgrade procedure via an IP address over Ethernet.

Upgrading the Firmware Using SoftROM

Firmware upgrade procedure using the SoftROM program.

Replacing the Batteries

Troubleshooting

AX8-DMX512 Troubleshooting

Troubleshooting specific issues with the AX8-DMX512 interface.

Appendix

Dynapro Driver 1: FG975-44 (Mouse 10)

List of tested Dynapro touch panel drivers and their MOUSE command values.

ELO Touch Driver: FG975-45 / FG975-46 (Mouse 12/13)

List of tested ELO touch panel drivers and their MOUSE command values.

Micro Touch Driver: FG975-43 (Mouse 11)

List of tested Micro Touch panel drivers and their MOUSE command values.

MT3000: FG975-52 (Mouse FF)

List of tested MT3000 touch panel drivers and their MOUSE command values.

Related product manuals