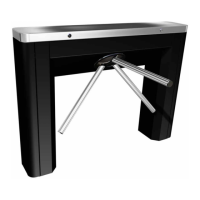
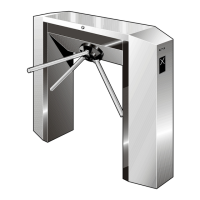
p. 20/46
TLxx-MT-EN-04
6.5. RECOMMENDED TOOLS
13
• Standard electrical tools.
• Flat spanner set.
• Set of Allen keys.
• Spirit level.
• Hammer drill + concrete drill bit - Ø 15 x 100
• Standard protective equipment: gloves, goggles, hard hat and safety shoes.
6.6. PRELIMINARY WORK
• The turnstile has been specially packaged for transport. Bring the material to the installation site with the help of
a forklift truck and remove the packing material.
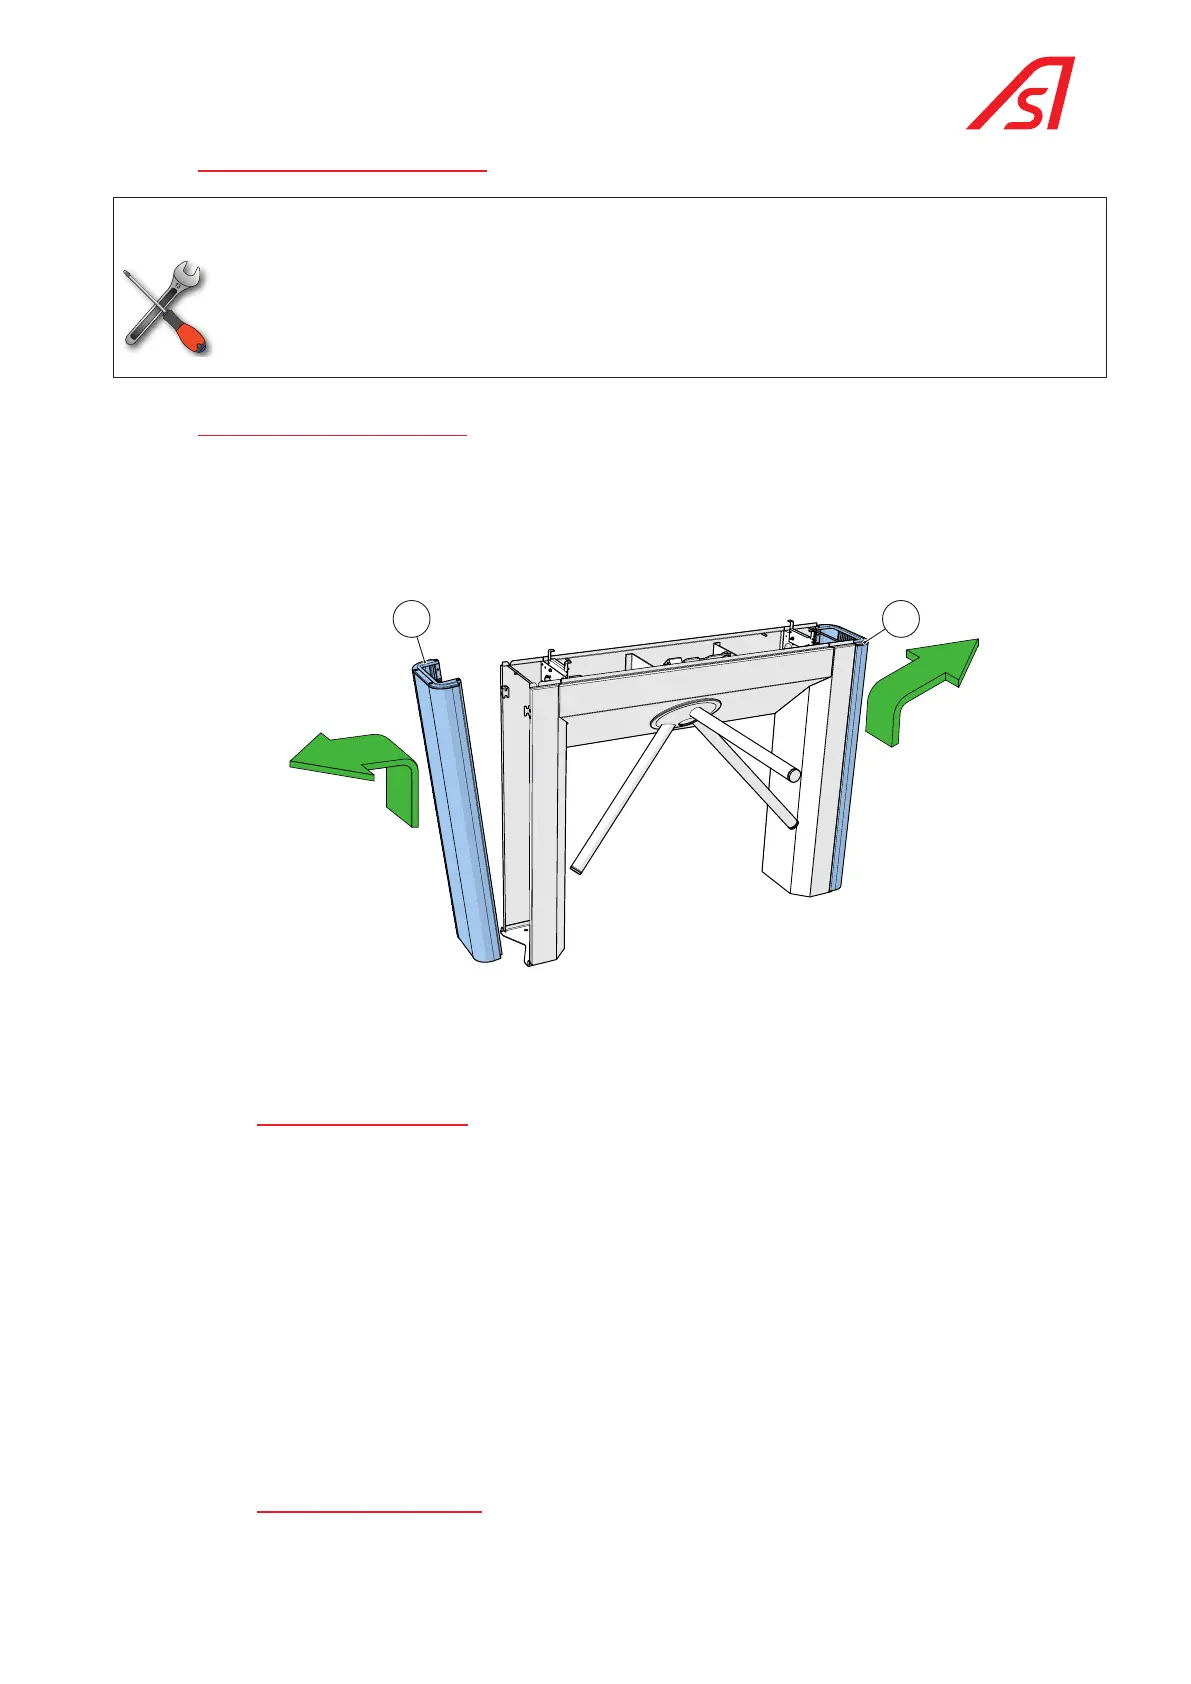
• Unlock the cover and open it (TL2) or the front panel (TL1). The keys are supplied as accessories in a separate bag.
• Lift and remove the 2 feet (TL2) and the top cover (TL1).
4:3 4:2
Fig. 12 - Removing the feet (TL2)
• Check the condition of the material - although it has been carefully packed, damage may have occurred during
transport.
6.6.1. Site preparation Work
This is basically the following:
• Study the set-up and positioning of the equipment according to the general layout of the site.
• Prepare the holes in the floor according to the specifications of the installation drawing.
• Be sure to drill the holes with a diameter suitable for the expandable dowels that you are going to use (recommended
type: model B15/30, ref. -/3413/000).
• Check the correct location of the cable passage according to the installation drawing. .
• Prepare the passage for the electrical control cables of the Central Controller Station (not supplied) and the mains
supply cables (230V single-phase + earth, i.e. 3G x 2.5). Provide 1.5 metres extra.
If you add any elements to the feet of the turnstile that could ignite (see EN60950 standard, paragraph 4.4.5), ensure that
the installation surface is non-flammable.
6.6.2. inStalling the turnStile
• Position the turnstile precisely.
 Loading...