4.2
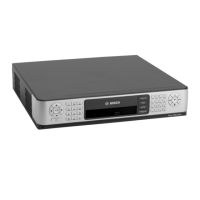
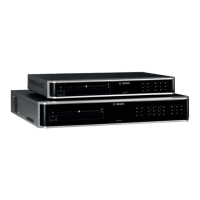
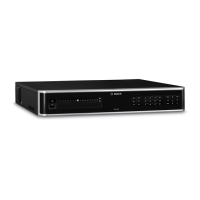
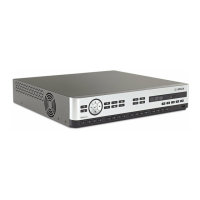
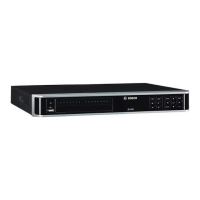
DIVAR 2000 / DIVAR 3000 / DIVAR
12 en | Installation
5000
Qty Component
1 Split cable for loop through to 25-pin D-connector (only for DIVAR 5000 hybrid
models)
1 RJ11 adapter cable to connect Bosch Intuikey keyboard
Installation guides for Recorder, HDD, plus safety instructions
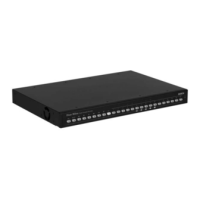
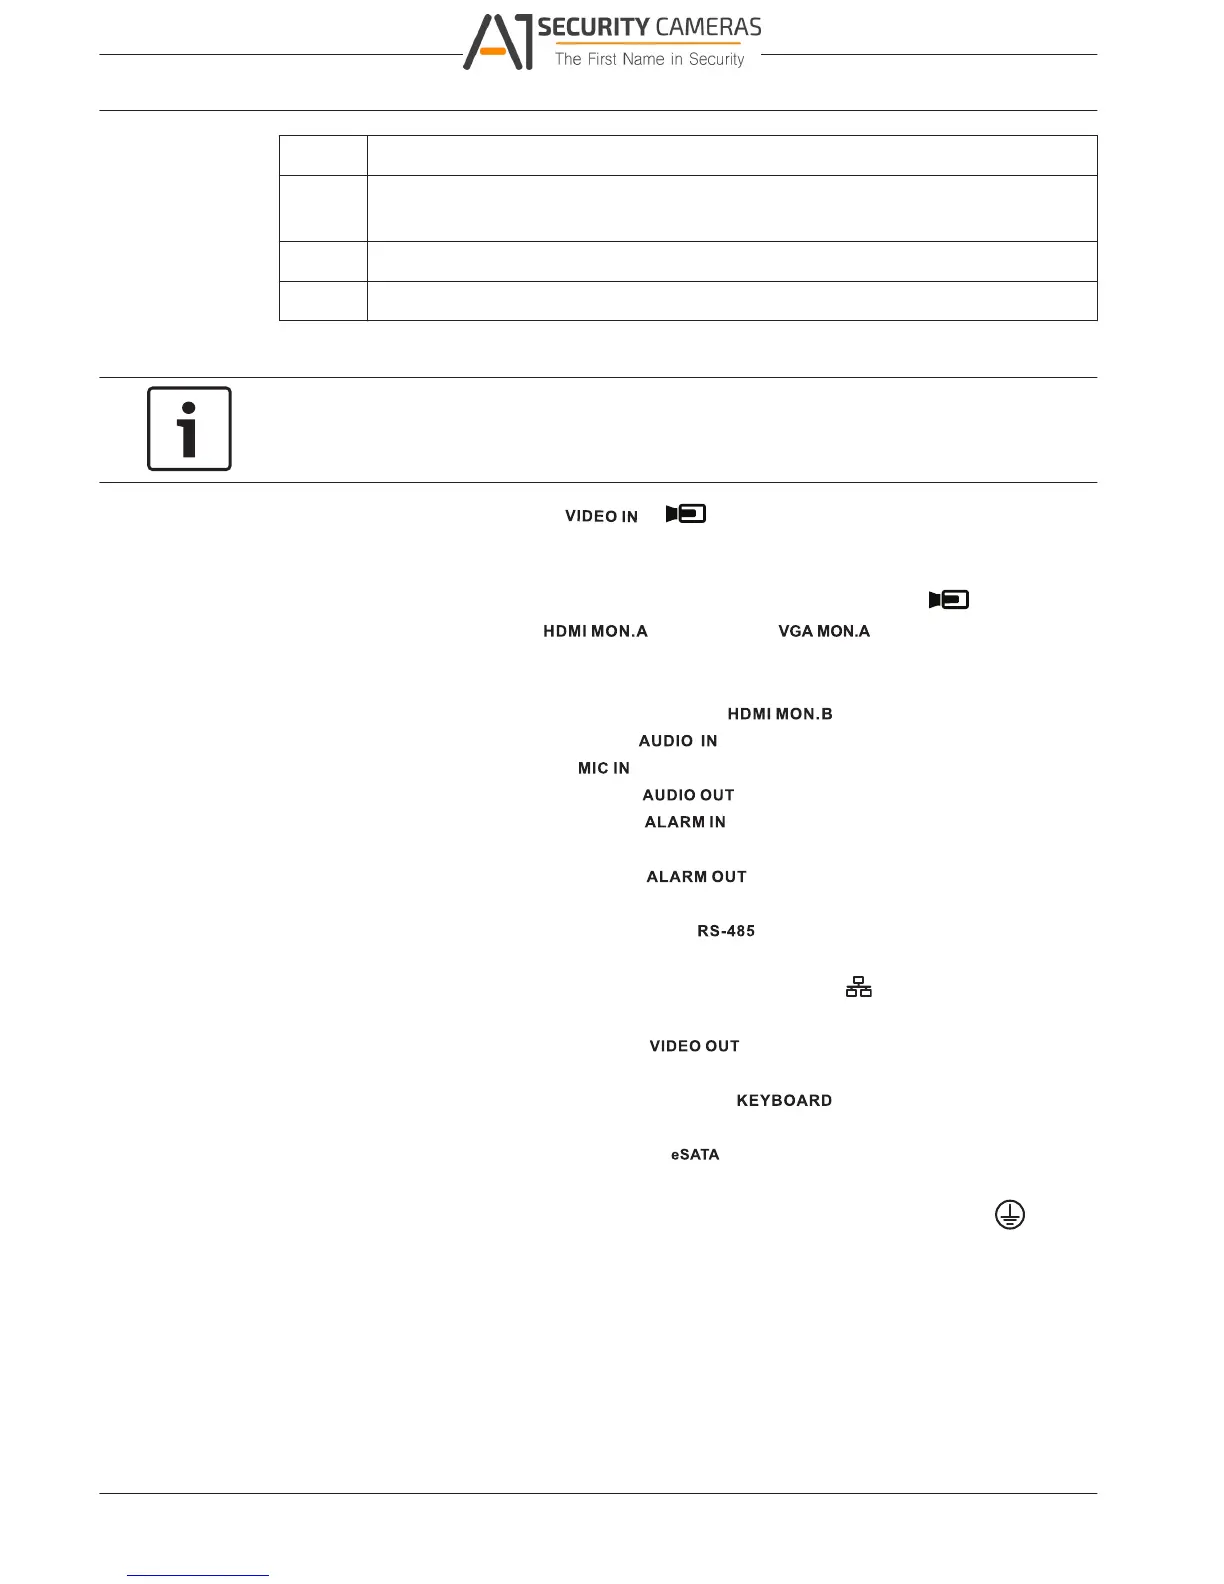
Make connections
Notice!
Use only PoE approved devices.
1. Connect the cameras to the or connectors.
– If using PoE connector, power is supplied to the camera via the Ethernet cable
compliant with the Power-over-Ethernet standard.
– Use an external switch to connect more cameras to a single RJ45
port.
2. Connect monitor A to the output, or the output.
3. Connect the USB mouse to a USB port (back or front panel).
Optional connections (depending on model)
1. Connect a second dual monitor to the optional connector.
2. Connect up to 4 audio signals to the RCA (CINCH) inputs.
3. Connect 1 microphone to the RCA (CINCH) input.
4. Connect 1 RCA (CINCH) output from to the monitor or an audio amplifier.
5. Connect up to 16 alarm inputs to the connector (via the supplied terminal
blocks) – see description in Hardware setup.
6. Connect up to 6 alarm outputs to the connector (via the supplied terminal
blocks) – see description in Hardware setup.
7. Connect a pan/tilt/zoom control unit to the (only for hybrid models) – see
description in Hardware setup.
8. Connect to your network via the RJ45 ETHERNET connector (use Shielded Twisted
Pair Category 5e cable).
9. Connect extra video out cables to the ports if loop through is required to other
devices (only for DIVAR 5000 hybrid).
10. Connect a Bosch Intuikey keyboard cable to the connector using the supplied
adaptor (only for DIVAR 5000) – see description in Hardware setup.
11. Connect an eSATA storage device to the connector (only for DIVAR 5000).
12. Connect the DIVAR to an approved ground point. Use the ground screw (supplied in the
accessory bag) to attach a ground cable to the DIVARback panel ground point
.
2016.09 | v1.0 | AM18-Q0717 Operation Manual Bosch Security Systems
 Loading...