41
TEST PROCEDURE
Required Equipment:
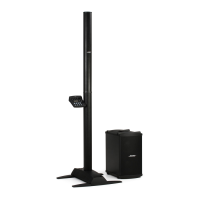
1. Bose L1 Pro8 Power Stand and Line Array (unit under test)
2. Audio Signal Generator, Audio Precision ATS-1 or equivalent
3. iPod Touch/Smart Phone with audio test les / music installed
4. T4S or T8S (with power supply) and ToneMatch cable
5. Multi-meter
6. Cables listed below:
- XLR audio cable
- 1/8 inch audio cable
- 1/4 inch TRS audio cable
- AC Line cord - per region - refer to packaging part list
Set-up & Connections:
- Connect the Power Stand AC line cord to AC Mains.
- Assemble the Line Array to the Power Stand
Functional Tests:
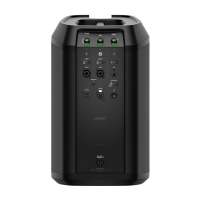
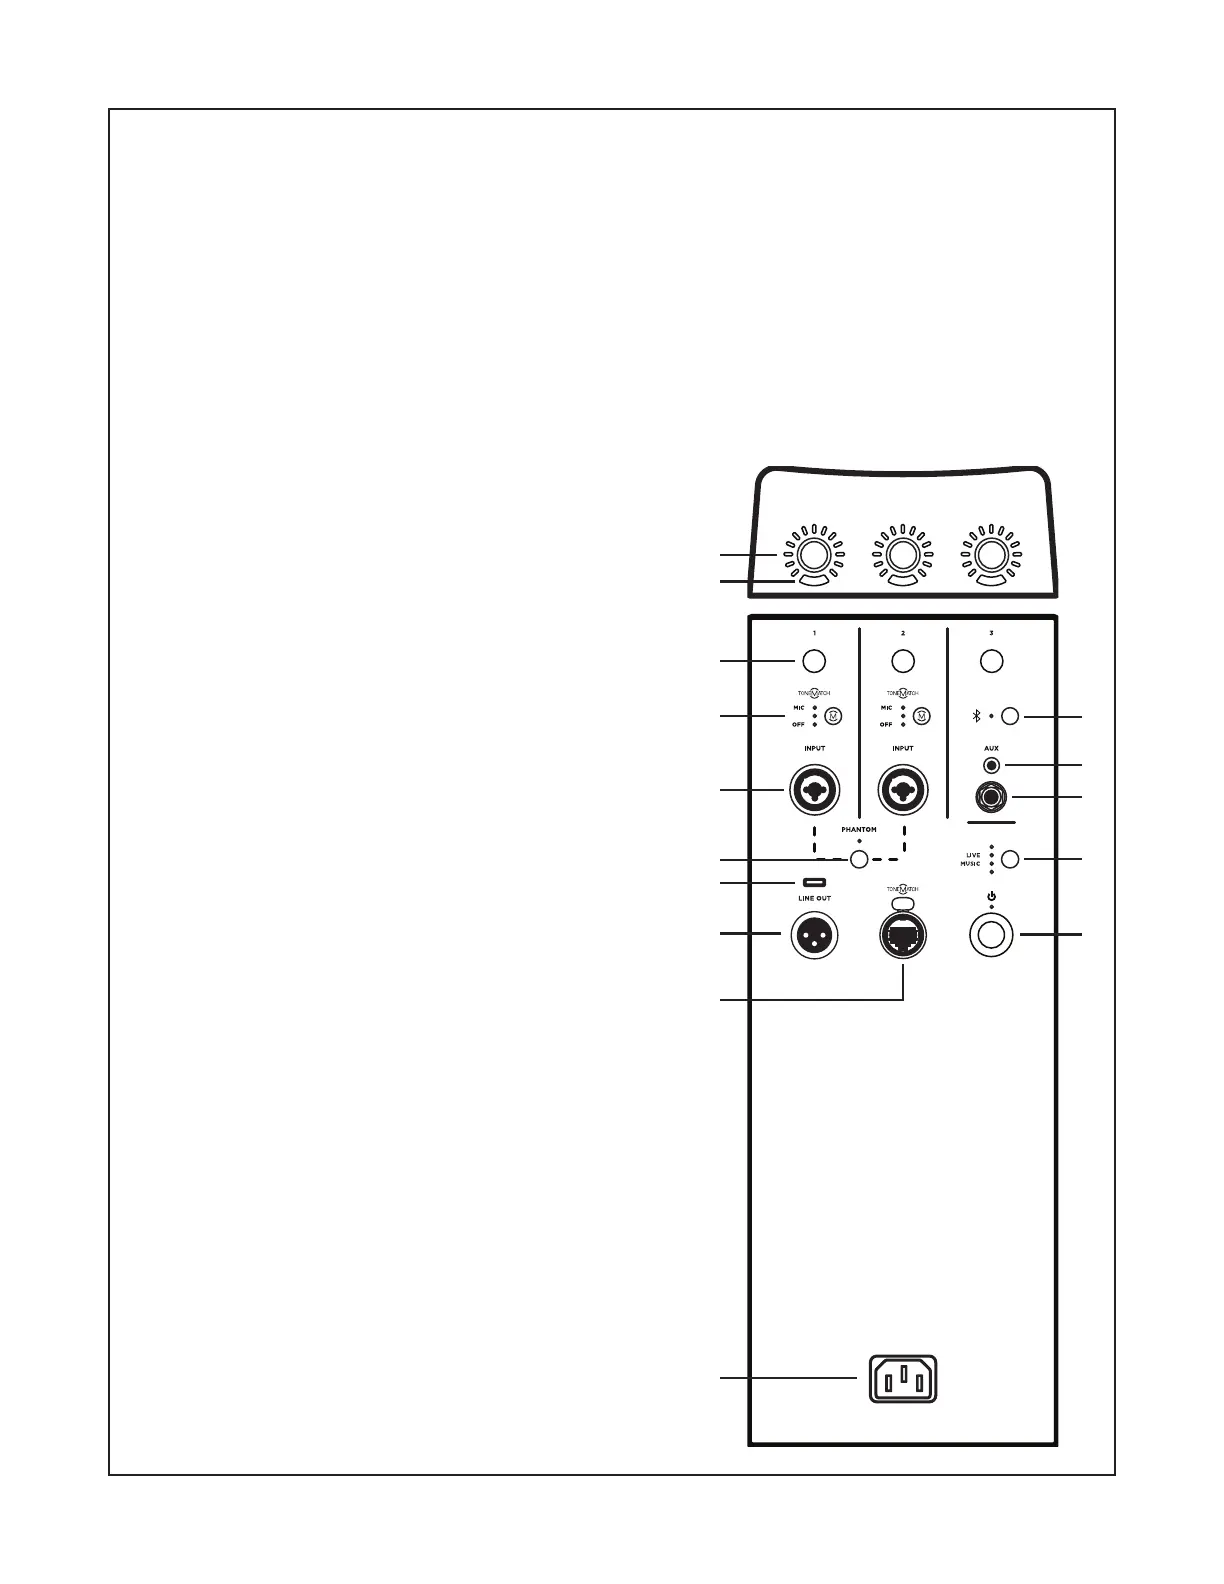
1. Button and Knob Functionality Test
Refer to the Figure at right for this test
1.1 Press the STANDBY button (11) on the Power Stand
to turn on the power stand. Verify that the LED lights.
1.2 Rotate the Channel 1 Channel Parameter Control
knob (1). Verify that the LED’s light around the control as
you rotate.
1.3 Press the Channel 1 Channel Parameter Control
to step through each of the selections. Verify that the
associated LED lights.
1.4 Repeat steps 1.1 and 1.2 for the two remaining
channels. Note: The Signal/Clip LED’s (2) will be tested
during the signal input tests later in this procedure.
1.5 Press the Channel 1 CHANNEL MUTE button (3).
Verify that it lights. Press again to turn o the Mute
function. LED should go out. Repeat for channels 2 and 3.
1.6 Press the Channel 1 ToneMatch button (4). Verify that
one of the three selections is lit. Press the button twice
more to verify that all 3 selections will light sequentially.
Repeat for channel 2.
1.7 Press the PHANTOM POWER button (6). It should
light. Press the button again to turn o Phantom power.
1.8 Press the SYSTEM EQ button to scroll through
the EQ selections. The corresponding LED will illuminate
white while selected.
MUTE MUTE MUTE
PUSH
VO LUME
TREBLE
BASS
REVERB
VO LU ME
TREBLE
BASS
REVERB
VO LU ME
TREBLE
BASS
TREBLE
BASS
REVERB
VO LU ME
TREBLE
BASS
REVERB
VO LU ME
TREBLE
BASS
SYSTEM EQ
IN ST IN ST
OFF
SPEECH
1
2
3
4
5
6
7
1
9
10
12
13
14
15
 Loading...