Basic of Assembly
2 - 38
Feed unit / Feed control
Basic of
Assembly
Basic of
Assembly
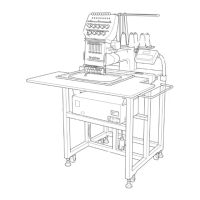
4 Attachment of Lower shaft B assy and Tension pulley assy
1. Insert the lower shaft B assy into the fixed joint, and set the lower shaft bushing of the lower shaft B
assy to the mounting position of arm bed. And attach the bushing presser to the arm bed with the screw
(taptite, bind S M4X10). And tighten the two screws (set screw, socket (CP) M5X5) temporarily to the
fixed joint.
*Key point
• Fully tighten the two screws after performing “4 - 12 Needle bar rising”.
2. Hang the timing belt to the timing pulley D of lower shaft B assy.
→Refer to 3 - 53 Assembly of Lower shaft B assy.
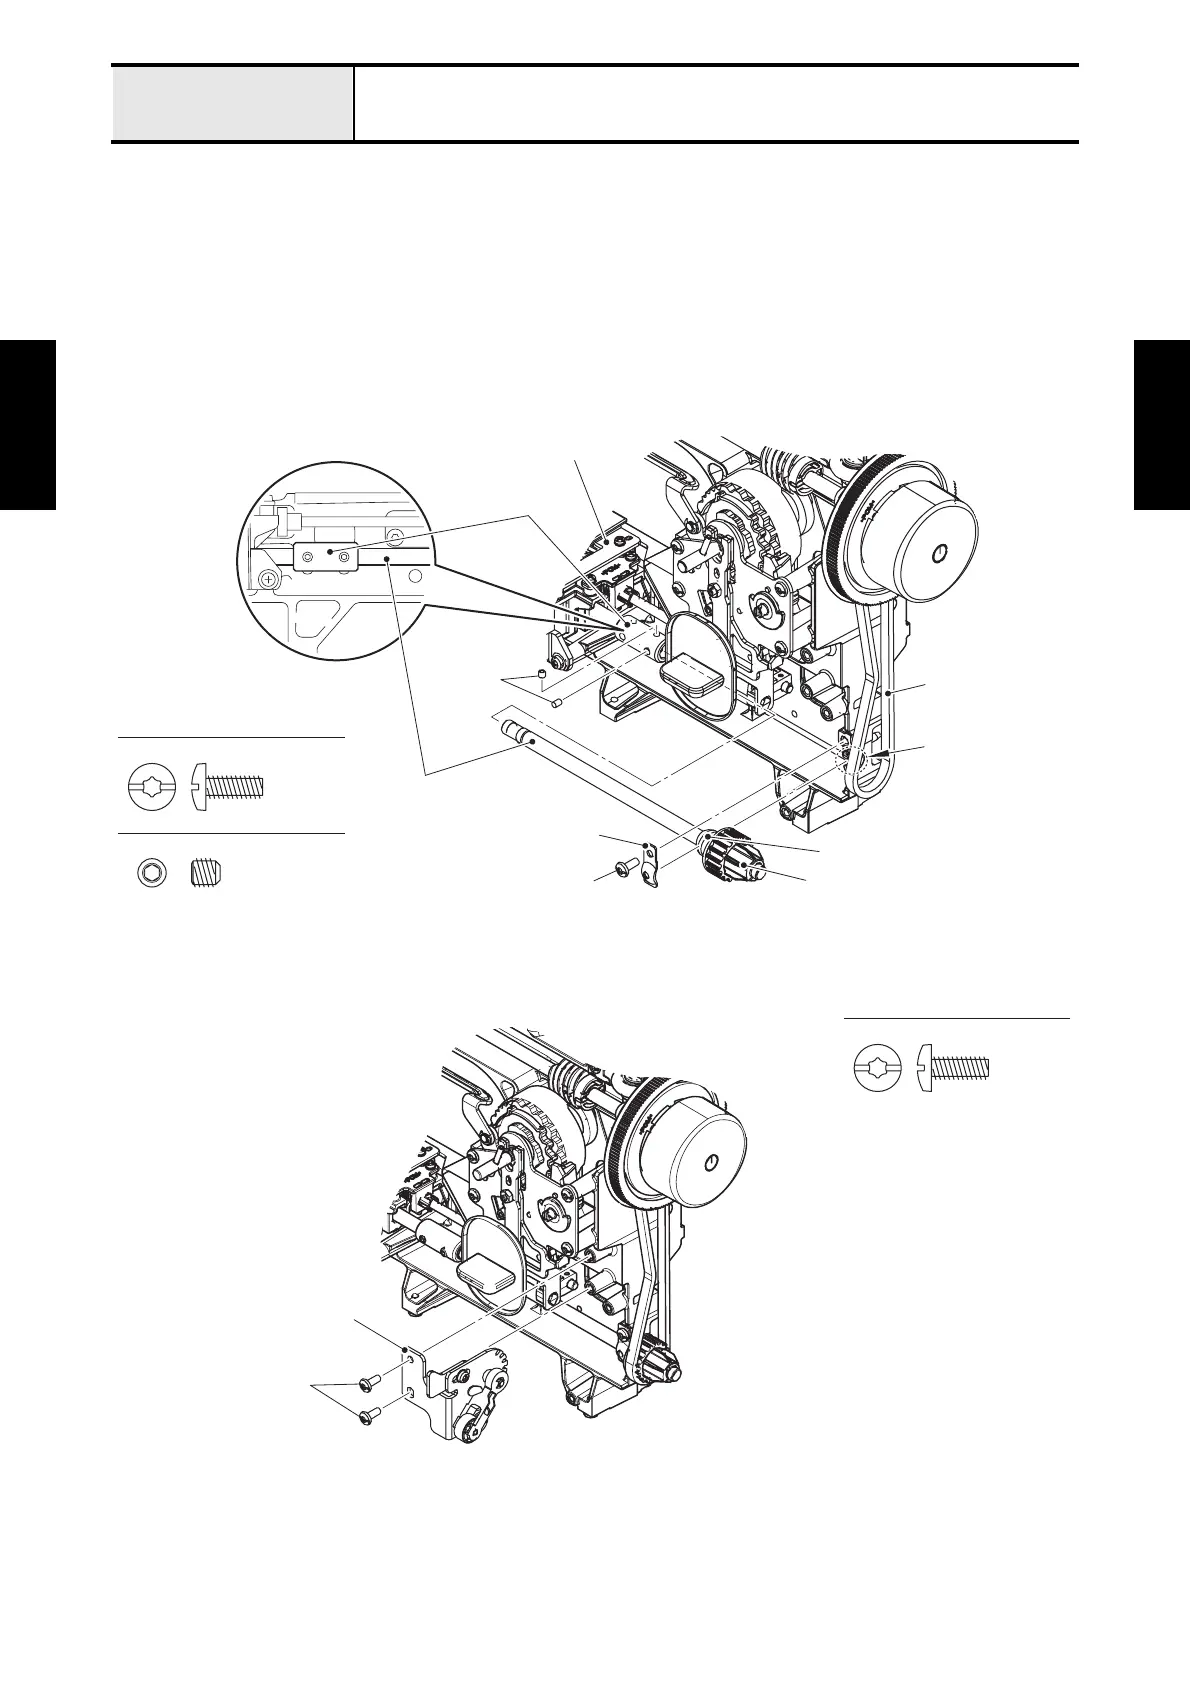
3. Attach the tension pulley assy to the arm bed with the two screws (taptite, bind S M4X10).
→Refer to 3 - 54 Assembly of Tension pulley assy.
Taptite, Bind S M4X10
Set Screw, Socket (CP) M5X5
Hex wrench 2.5 mm
Mounting position
Set screw,
socket (CP)
M5X5
Bushing presser
Lower shaft B assy
Fixed joint
Taptite, bind S M4X10
Lower shaft bushing
Feed module
Timing belt
Timing pulley D
Taptite, Bind S M4X10
Taptite, bind S M4X10
Tension pulley assy
 Loading...