BAS-342G
CONTENTS
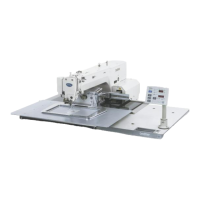
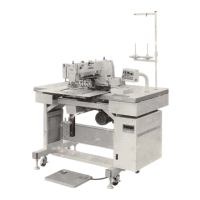
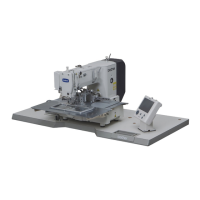
1. NAMES OF MAJOR PARTS ................ 1
2. SPECIFICATIONS ................................ 2
3. TABLE PROCESSING DIAGRAM ....... 3
4. INSTALLATION.................................... 4
4-1. Removing the machine head fixing bolts [1] .... 4
4-2. Installing the control box [2].............................. 5
4-3. Installing the oil pan and support lever base.... 6
4-4. Installing the machine head.............................. 6
4-5. Tilting back and returning the machine head ... 7
4-6. Installing the gas spring.................................... 8
4-7. Installing the operation panel [3] ...................... 9
4-8. Installing the solenoid valve assembly ............. 10
4-9. Connecting the air tubes [4] ............................. 10
4-10. Installing the air hose [5]................................. 10
4-11. Adjusting the air pressure [6].......................... 11
4-12. Adjusting the speed controller [7] ................... 11
4-13. Connecting the cords [8] ................................ 12
4-14. Connecting the ground wire [9] ...................... 14
4-15. Securing the cords and air tubes [10] ............ 15
4-16. Installing the eye guard [11] ........................... 16
4-17. Installing the cotton stand [12]........................ 16
4-18. Lubrication [13] ............................................... 17
4-19. Connecting the power cord [14] ..................... 18
4-20. Checking the safety switch [15]...................... 18
5. PREPARATION BEFORE SEWING.....19
5-1. Installing the needle.......................................... 19
5-2. Operating the 2-pedal foot switch..................... 19
5-3. Threading the upper thread.............................. 20
5-4. Winding the lower thread.................................. 22
5-5. Installing the bobbin case................................. 23
5-6. Thread tension.................................................. 24
5-6-1. Lower thread tension.............................. 24
5-6-2. Upper thread tension.............................. 24
5-7. Home position detection................................... 25
5-8. Setting 2-step operation for the work clamp..... 26
6. USING THE OPERATION PANEL
(BASIC OPERATIONS) .......................27
6-1. Name and function of each operation
panel item..........................................................27
6-2. Loading sewing data .........................................29
6-3. Setting the program number .............................29
6-4. Setting the X-scale and Y-scale........................30
6-5. Setting the sewing speed..................................30
6-6. Checking the sewing pattern ............................31
6-7. Setting the height of the intermittent presser foot ..32
7. USING THE OPERATION PANEL
(ADVANCED OPERATIONS) ..............
33
7-1. List of advanced functions ................................33
7-2. Setting memory switches ..................................34
7-3. List of memory switch settings ..........................35
7-4. Using the lower thread counter.........................36
7-5. Using the production counter............................37
7-6. Setting the split number ....................................38
7-7. Using user programs.........................................39
7-8. Using cycle programs .......................................42
7-9. Direct selection (combination table)..................44
7-10. X and Y parallel movement of sewing pattern ...45
7-11. Clearing memory data (reinitialization) ...........46
8. USING CF CARDS ...............................47
8-1. Notes on handling CF cards (sold separately) ...47
8-2. Structure of a CF card folder ............................47
8-3. Data read/write mode........................................48
8-3-1. Reading all sewing data from the
CF card at once ......................................49
8-3-2. Writing all sewing data to the CF card
at once ....................................................50
 Loading...