39
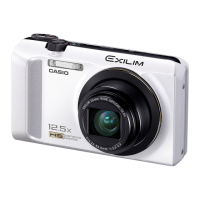
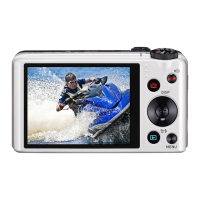
Snapshot Tutorial
Snapshot Tutorial
Your camera has a variety of different recording modes.
Before recording an image, select the recording mode that
suits the type of image you are trying to record.
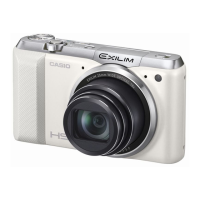
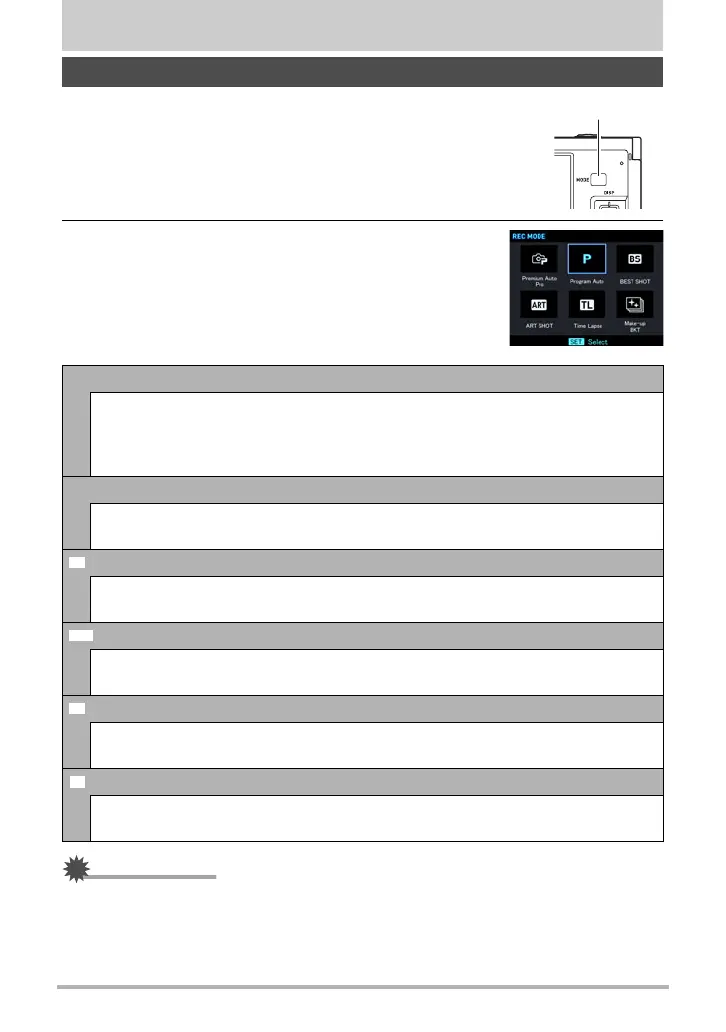
1. In the REC mode, press [MODE].
2. Use [8], [2], [4], and [6] to select the
recording mode you want to use, and then
press [SET].
IMPORTANT!
• The displayed ISO sensitivity, shutter speed or aperture value will turn red when
you half-press the shutter button if the image is overexposed or underexposed.
Selecting the Recording Mode
Ÿ Premium Auto Pro
With Premium Auto Pro recording, the camera automatically determines
whether you are shooting a subject or scenery, and other conditions. Premium
Auto Pro recording delivers higher image quality than standard Auto recording
(page 31).
PProgram Auto
Standard Auto recording mode. This is the mode you normally should use
(page 31).
BEST SHOT
Simply select one of a collection of built-in sample scenes and the camera sets
up automatically for beautiful images every time (page 79).
ART SHOT
A variety of artistic effects help to make even common, ordinary subjects
become more novel and exciting (page 64).
Time Lapse
You can use this function to record a movie that speeds up a sequence of
changes in natural phenomena or the flow of traffic in a city scene (page 75).
Make-up BKT
Make-up BKT lets you shoot three versions of the same image with the press of
the shutter button, each with a different Skin Tone setting (page 67).
[MODE]
Þ
 Loading...