75
Recording Movies
NOTE
• While the camera is set up for shooting with Prerecord Movie, pressing the shutter
button will not shoot a snapshot unless movie recording is in progress. With high-
definition (FHD) and standard (STD) movie, you can shoot still images while
realtime movie recording is in progress.
You can use this function to record movies of natural events that occur over time, to
speed up the flow of traffic in a city scene, or to record other similar types of movies.
• When using this function, shooting with a tripod is recommended.
• To prevent loss of power while shooting, use a fully charged battery.
• Make sure the memory card you are using has sufficient unused space before
shooting with this function.
• Focus is fixed at what they are when shooting is started.
• For some scenes, brightness and white balance settings are fixed at what they are
when shooting is started.
1. In the REC mode, press [MODE].
2. Use [8], [2], [4], and [6] to select “F” (Time Lapse), and then press
[SET].
This will display a menu of Time Lapse scenes.
3. Select the scene you want to use and then press [SET].
• To select a different scene, perform either of the operations below.
– Repeat the above procedure from step 1.
– Press [SET], use [8] and [2] to select the “ ” Control Panel option, press
[SET], and then select the scene you want.
4. Press [SET], use [8] and [2] to select the (Time Lapse Settings)
Control Panel option, and then press [SET].
5. Use [8] and [2] to select “ Interval” or “ Total Time”, press [6],
and then use [8] and [2] to change the setting.
Each scene is initially configured with unique “ Interval” and “ Total Time”
default settings suitable for that scene. You can change these settings, if you
want.
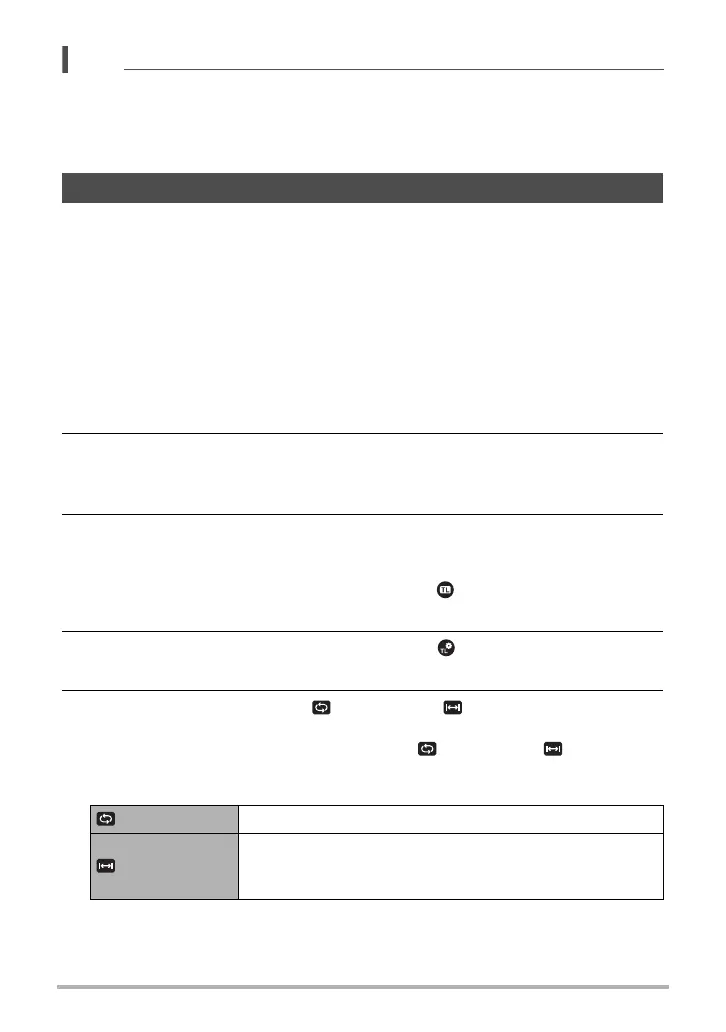
Recording a Time Lapse Movie (Time Lapse)
Interval Specifies the number of seconds between shots.
Total Time
Specifies the recording time. Selecting “Off” causes
recording to continue until the shutter button is pressed
again.
 Loading...