18
To use the Cash Register’s basic function
To set the language, date, time, and tax rates
Important
• In each setting of date, time and tax rates, the Cash Register prints your settings. Make sure that the
settings are correct. If you have made incorrect date and time setting, press y key . For other incor-
rect settings, pull out the AC cord, take out batteries, and start from the beginning.
1 Plug in the power socket into a wall outlet. Be sure to check the
rating plate on the side of the Cash Register to make sure that its
voltage matches that of the power supply in your area.
2 As soon as you plug in the power cord, the printer prints instruc-
tions for selecting language (country). Input the language number
and press p key. For example, If you wish to select English,
press ? p keys. For selecting Spanish, press X p
keys.
PLEASE CHOOSE THE
LANGUAGE.
ENGLISH :0<CA>
ESPAÑOL :2<CA>
START RETURNING WITH
<C> WHEN CHANGE THE
LANGUAGE BY MISTAKE.
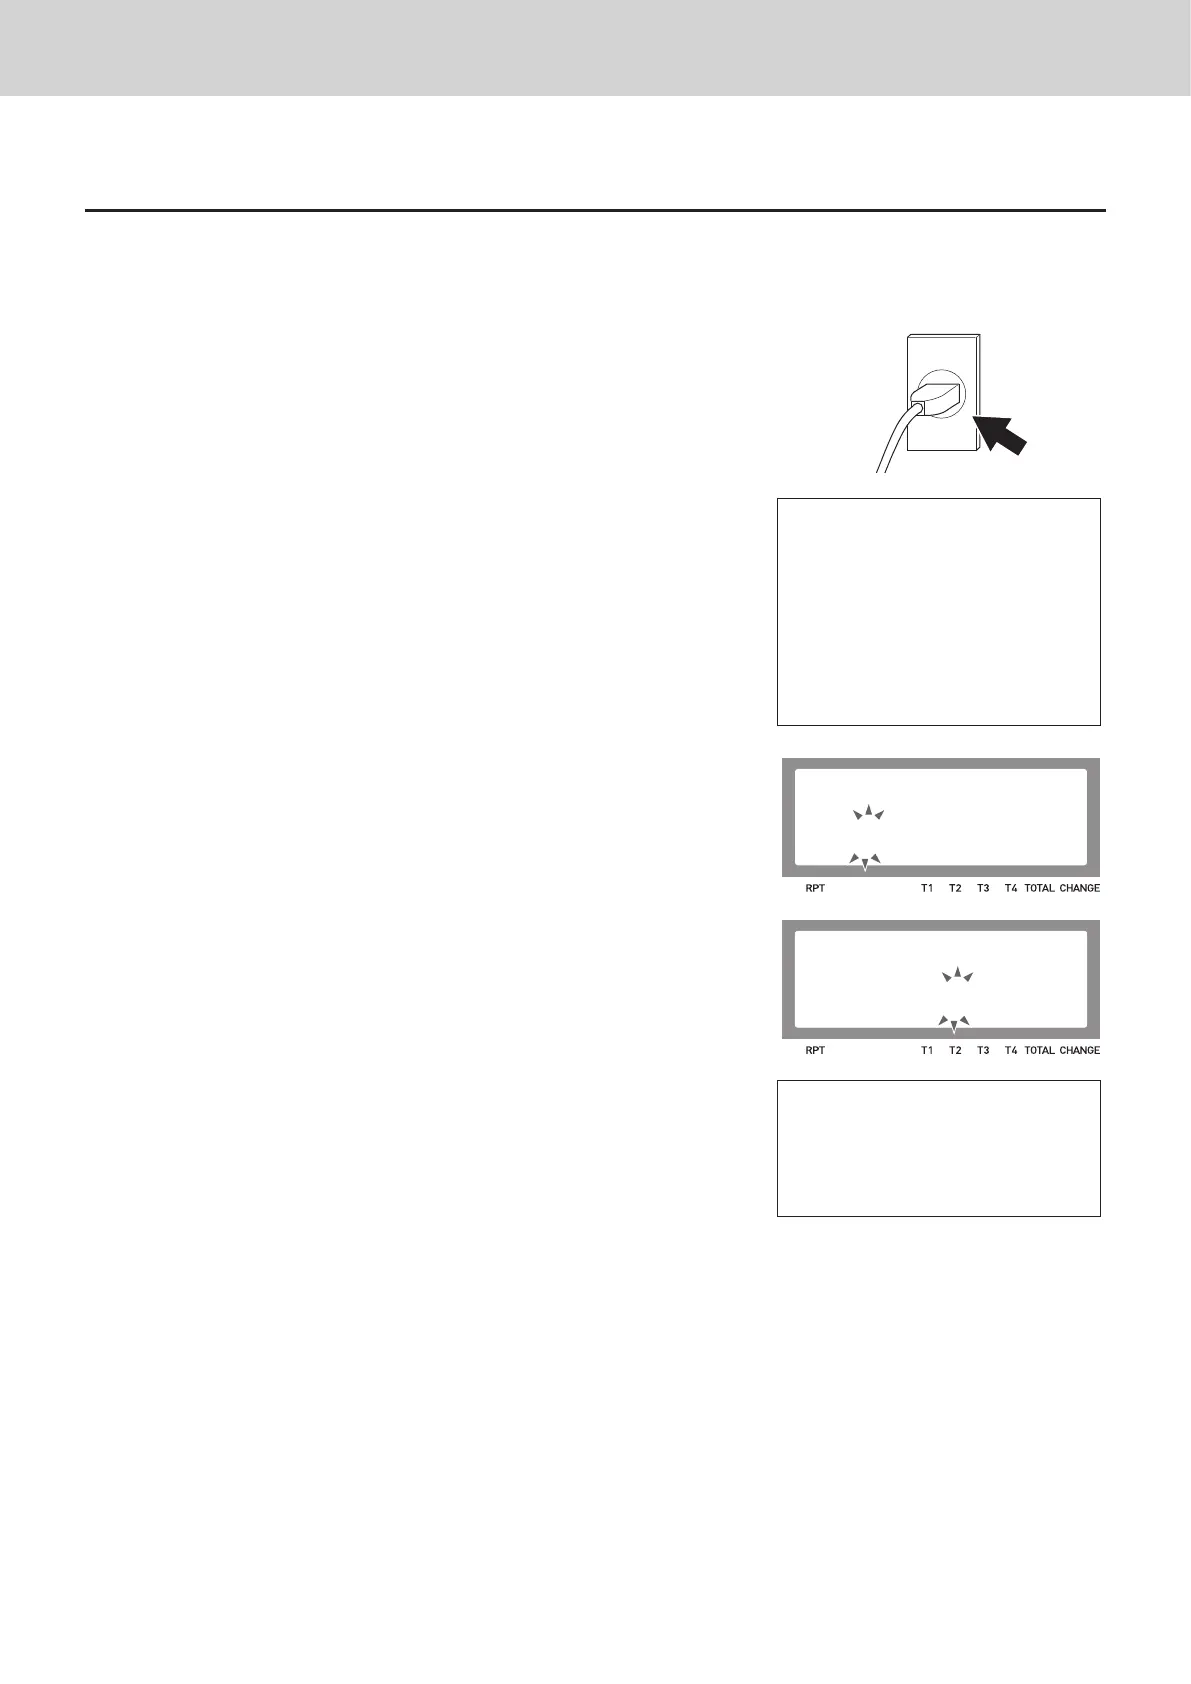
3 The printer prints the instructions for setting date and time, the
top digit of the display ashes. Enter the date in order of month,
day and year. For example, input 012115 for January 21, 2015.
00−00−00
MONTH
4 Display changes for setting time. Enter the present hours and
minutes in 24 - hour system. For example, 1300 for 1:00 pm.
Note: For Canadian model, proceed to step 7.
00−00
TIME SETTING
5 After a few seconds, the printer prints “PLEASE INPUT TAX
RATE”. Input tax rate 1 and press p. For example, press
B and p keys for 5% tax rate 1.
PLEASE INPUT TAX RATE.
TAX RATE :RATE+<CA>
EXIT :<ST>
6 Repeat the same operation as step 5 for tax rates 2 and 3.
Please do not forget the rates you have set, and be sure to
preset the rates to departments explained in “To preset taxable
statuses to departments” (page 36). If you wish to exit from the
tax rates settings, press o key.
For US model, the basic settings have been completed.
Proceed to the next step for Canadian model.
 Loading...