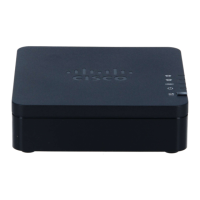
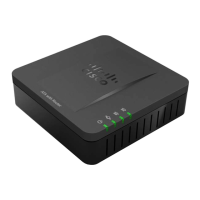
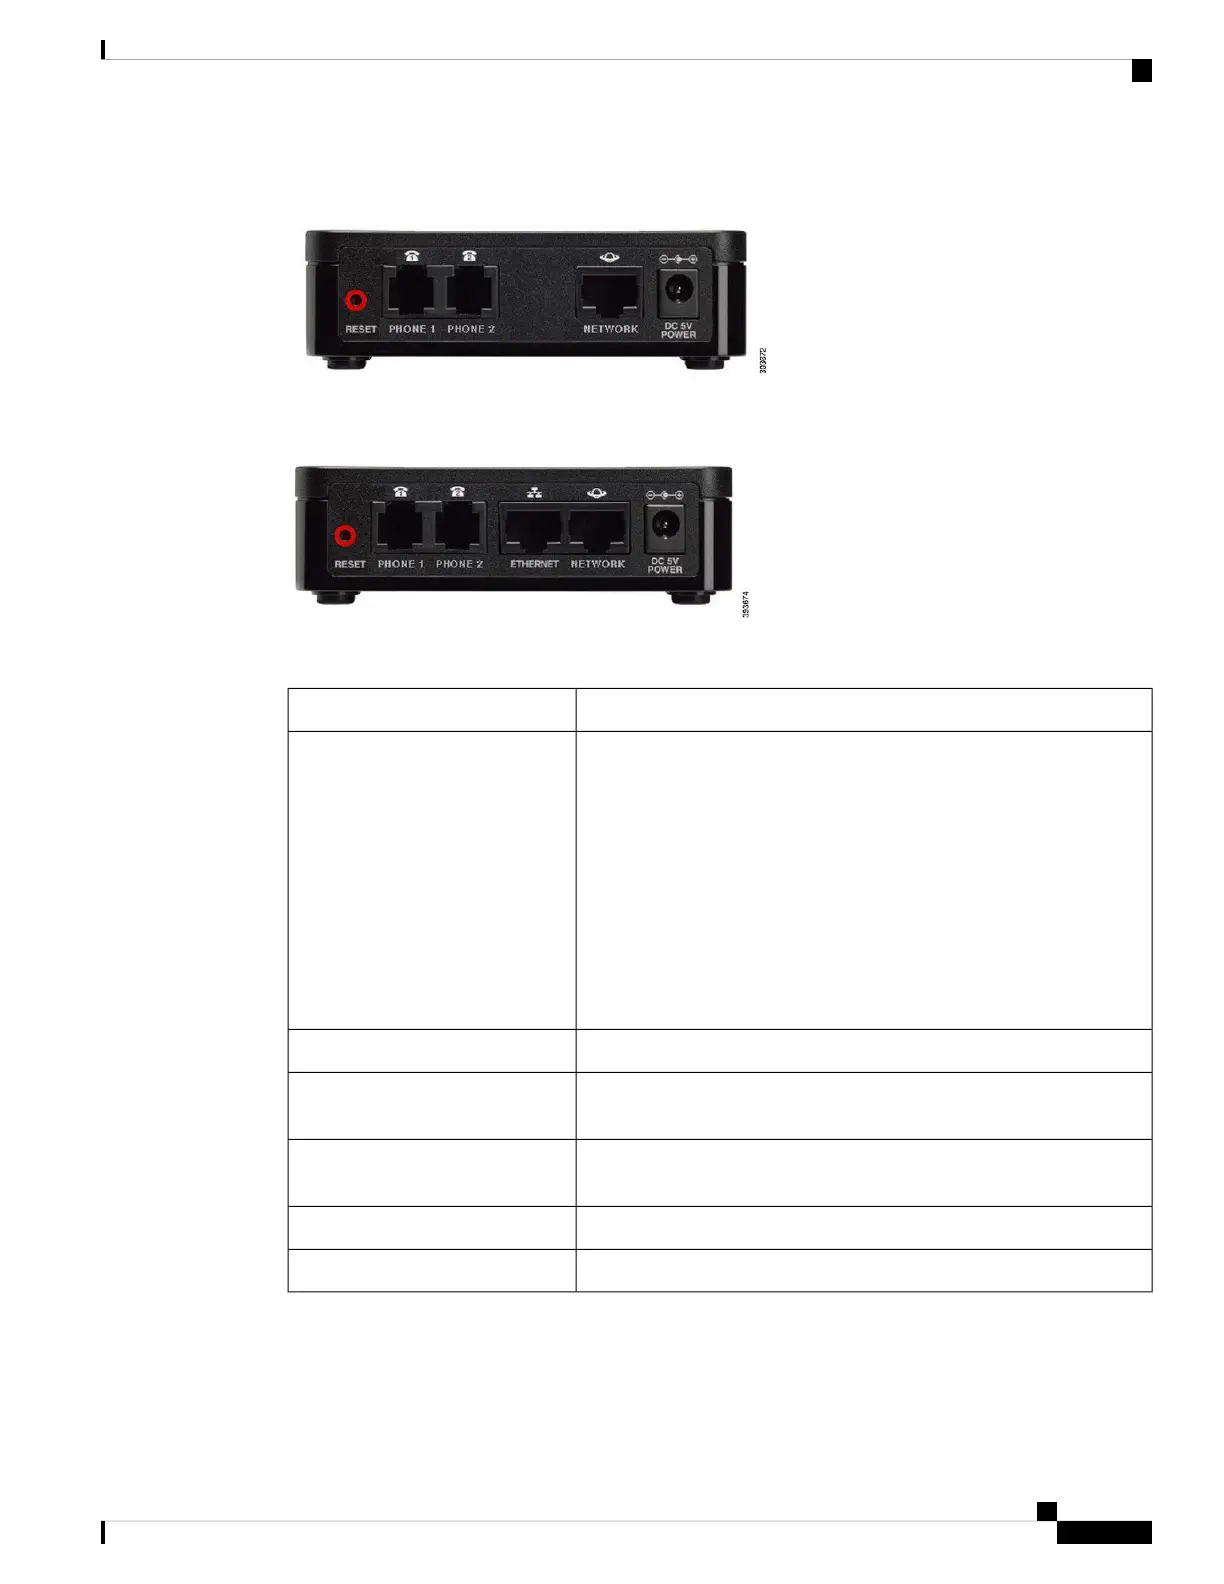
Figure 2: ATA 191 Back Panel
Figure 3: ATA 192—Back Panel
Table 2: ATA 191 and ATA 192 Back Panel Items
DescriptionItem
To restart the ATA, use a paper clip or similar object to press this button
briefly.
To restore the factory default settings, press and hold for about 10
seconds.
The LED behaviour for the factory reset:
1. After you press and hold the button for about 10 seconds, the Power
LED is fast flashing green.
2. After the factory reset is performed successfully, all LEDs are fast
flashing green for about 5 seconds.
RESET
Use an RJ-11 phone cable to connect an analog phone or fax machine.PHONE 1
Use an RJ-11 phone cable to connect a second analog phone or fax
machine.
PHONE 2
Use an Ethernet cable to connect your ATA to a device on your network,
such as a computer.
ETHERNET (ATA 192 only)
Use an Ethernet cable to connect to the network.NETWORK
Use the power adapter that was provided to connect to a power source.DC 5V POWER
Cisco ATA 191 and ATA 192 Analog Telephone Adapter User Guide for Multiplatform Firmware
5
Your ATA
ATA 191 and ATA 192 Back Panel
 Loading...