2-5
Cisco PIX Security Appliance Hardware Installation Guide
78-15170-03
Chapter 2 PIX 501
Removing and Replacing the PIX 501 Chassis Cover
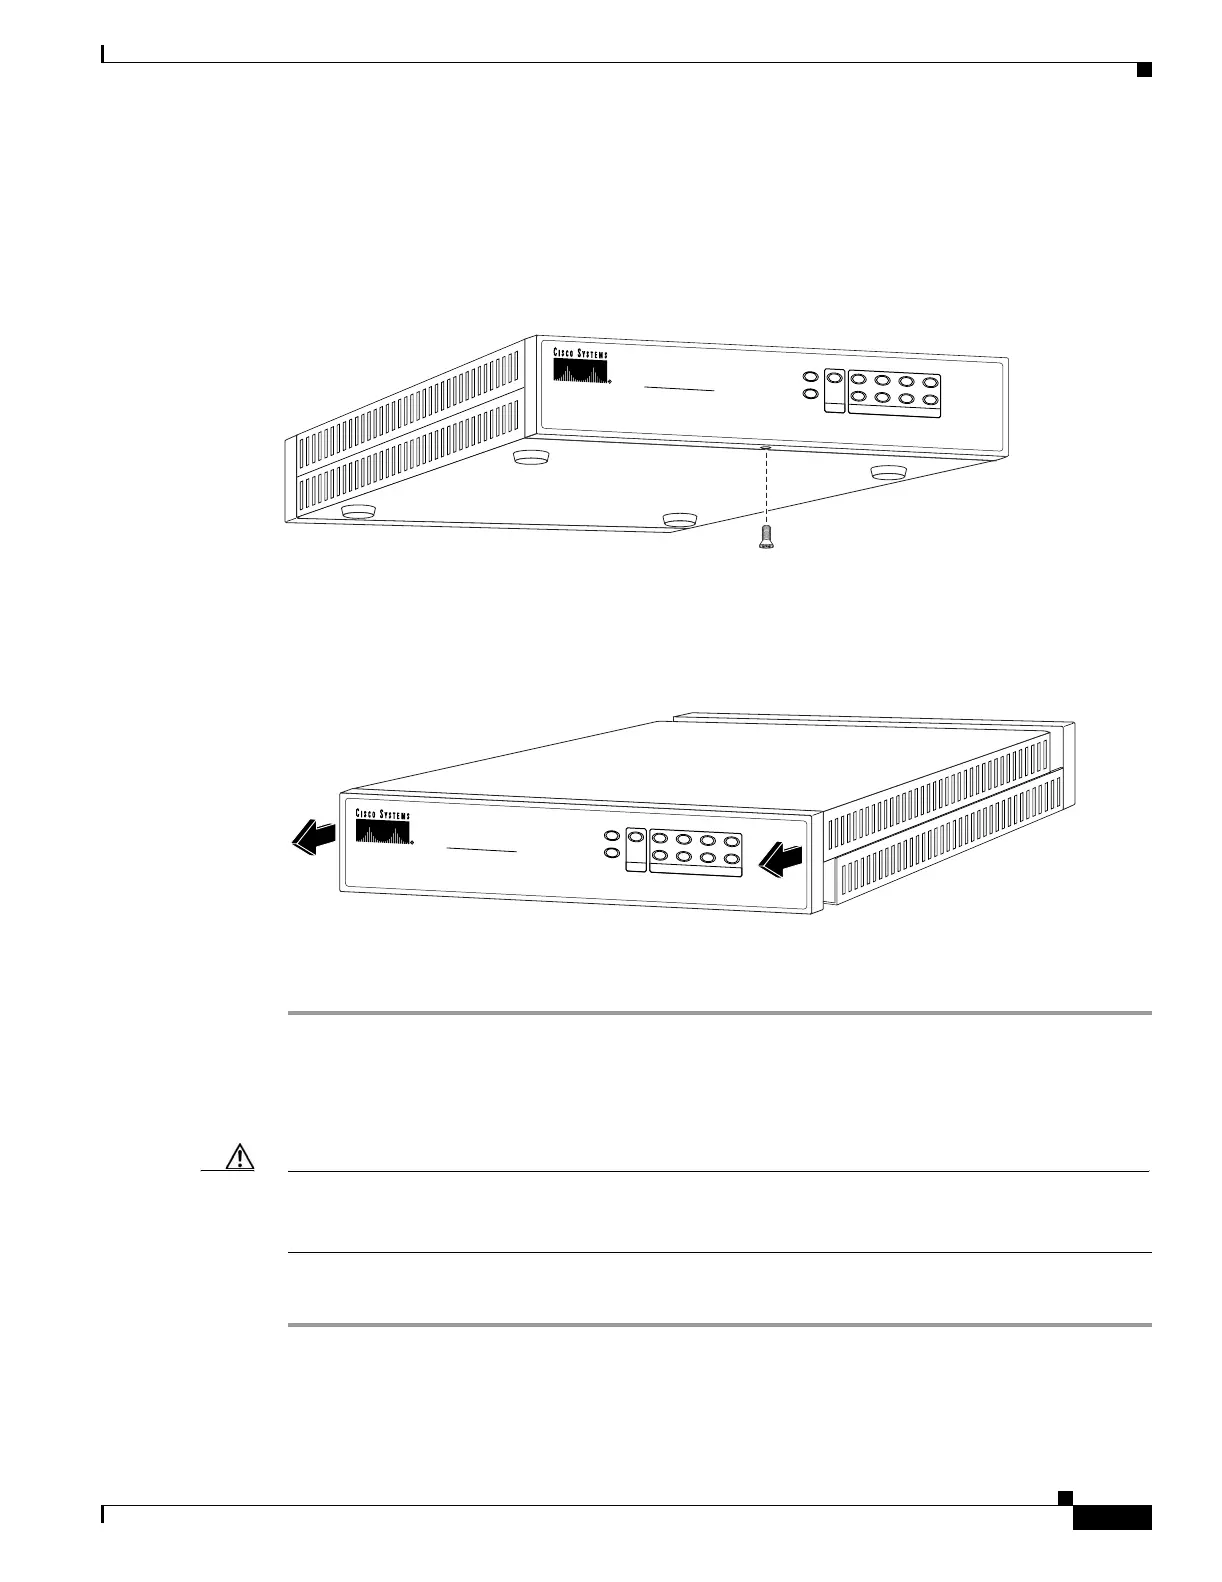
Step 4 Turn the unit upside down so that the top of the chassis is resting on a flat surface, and the front of the
chassis is facing toward you.
Step 5 Unscrew the single screw located on the bottom of the chassis, centered under the front panel
(see Figure 2-6).
Figure 2-6 Removing PIX 501 Bottom Panel Screw
Step 6
Return the chassis to the upright position. Note that the chassis is comprised of two sections: top and
bottom (see Figure 2-7).
Figure 2-7 Sliding the Chassis Cover Off the Chassis
Step 7
With the front panel facing you, slide the top section toward you, and then lift it up and off the bottom
section (see Figure 2-7).
Replacing the Chassis Cover
Caution Do not operate PIX security appliances without the chassis cover installed. The chassis cover protects
the internal components, prevents electrical shorts, and provides proper air-flow for cooling the
electronic components.
To replace the chassis cover, perform the following steps:
Step 1 Place the chassis on a secure surface with the front panel facing you.
Step 2 Hold the chassis cover so the tabs at the rear of the chassis cover are aligned with the chassis bottom.
119682
POWER
VPN TUNNEL
LINK/ACT
100 MBPS
1234
C
ISC
O
PIX
®
501
FIREWALL
119683
POWER
VPN TUNNEL
LINK/ACT
100 MBPS
1234
CISCO
PIX
®
501
FIREWALL
 Loading...