3-6
Cisco PIX Security Appliance Hardware Installation Guide
78-15170-03
Chapter 3 PIX 506/506E
Removing and Replacing the PIX 506/506E Chassis Cover
Removing and Replacing the PIX 506/506E Chassis Cover
This section describes how to remove and replace the chassis cover from the PIX 506/506E. This section
includes the following topics:
• Removing the Chassis Cover, page 3-6
• Replacing the Chassis Cover, page 3-7
Removing the Chassis Cover
To remove the chassis cover, perform the following steps:
Note Removing the chassis cover does not affect your Cisco warranty. Upgrading the PIX security appliance
does not require any special tools and does not create any radio frequency leaks.
Step 1 Read the Regulatory Compliance and Safety Information document.
Step 2 Power off the security appliance and unplug the power cord.
Warning
Before working on a system that has an On/Off switch, turn OFF the power and unplug the power cord.
Step 3 Disconnect the network interface cables.
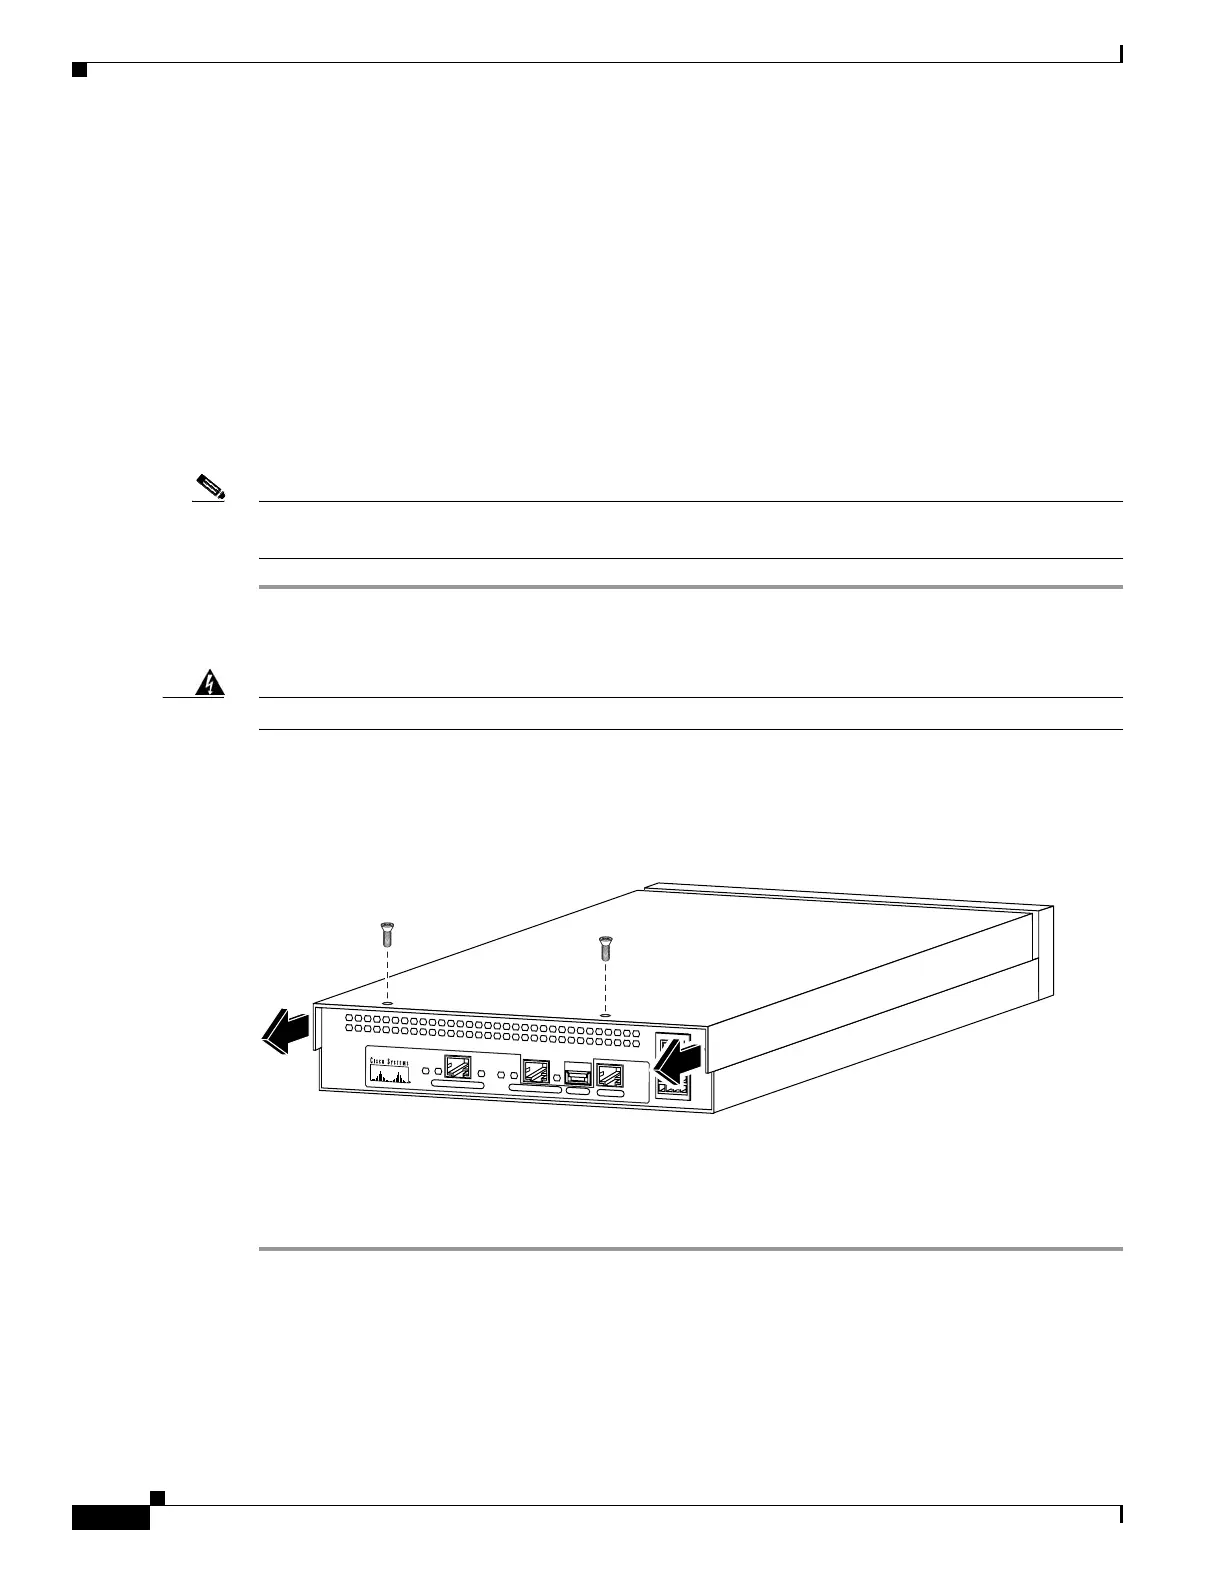
Step 4 Remove the two screws from the back of the chassis (see Figure 3-8).
Figure 3-8 Removing PIX 506/506E Chassis Cover Screws
Step 5 With the rear panel facing you, slide the chassis cover back and then lift it up off the bottom section, as
shown in Figure 3-8.
119681
C
O
N
S
O
L
E
E
T
H
E
R
N
E
T
0
A
C
T
L
IN
K
L
IN
K
D
C
P
O
W
E
R
IN
P
U
T
A
C
T
U
S
B
E
T
H
E
R
N
E
T
1
 Loading...