EasyManua.ls Logo

Craftsman 113.197250 User Manual

Craftsman 113.197250
104 pages
To Next Page IconTo Next Page
To Previous Page IconTo Previous Page
Page #22 background imageLoading...
Page #22 background image
There are five pre-set bevel angles at -90 °,
-45 °, 0°, 45 °, and 90 °. To unlock the bevel
lock when the blade is at one of these angles,
move the bevel lock all the way to the right
and turn the motor while holding the lock in
this position.
Swivel Lock
The swivel lock is used to hold the blade in the
crosscut, in-rip, or out-rip positions, and to
position the blade for molding or edging. To
unlock the swivel lock, stand facing the saw
handle and pull the swivel lock toward you.
(Figure 51)
Fig. 51- Swive! Lock - Unlocked
To lock the swivel lock, stand facing the saw
handle and push the swivel lock away from
you. (Figure 52)
Fig. 52 - Swivel Lock - Locked
The crosscut, in-rip, and out-rip positions of
tile blade are pre-set positions. To unlock tile
swivel lock when the motor is in one of these
positions, stand facing the saw handle, pull
the swivel lock all the way toward you, and
turn the motor as you hold the lock in this
position.
Rip Lock
The rip lock is used to hold the motor and
blade at a fixed position along the radial arm.
It is used during ripping to hold the blade a
desired distance from the fence while the
workpiece is fed through. It is used before
and after each crosscut to keep the blade
from moving forward on its own.
To unlock the rip lock, pull the handle toward
the front of the arm. (Figure 53)
Fig. 53 - Rip Lock - Un!ocked
To lock the rip lock, push the handle toward
the rear of the arm. (Figure 54)
Fig. 54- Rip Lock- Locked
5{_i
22

Table of Contents

Question and Answer IconNeed help?

Do you have a question about the Craftsman 113.197250 and is the answer not in the manual?

Craftsman 113.197250 Specifications

General IconGeneral
BrandCraftsman
Model113.197250
CategorySaw
LanguageEnglish

Summary

Safety Information for Radial Arm Saw Operation

Major Hazards and Safety Precautions

Details major hazards like kickback, wrong way feed, and thrown workpieces, with signal words.

Personal, Work Area, and Saw Safety Guidelines

Covers personal safety, work area safety, and general saw safety rules for safe operation.

Safety Labels and Warnings

Locates and explains safety labels on the radial arm saw for user awareness.

Assembling the Craftsman Radial Arm Saw

Unpacking and Identifying Parts

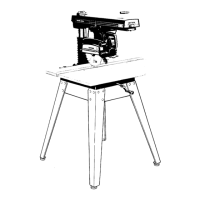
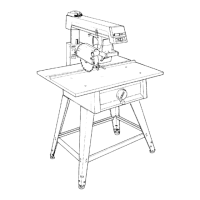
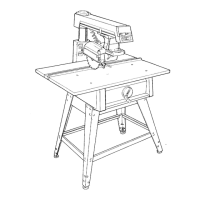
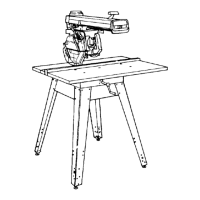
Instructions for unpacking, identifying parts for models 113.197210 and 113.197250.

Mounting Key Components

Steps for attaching the handwheel and mounting the motor securely.

Cabinet and Leg Set Assembly

Detailed instructions for assembling the 23" cabinet or the leg set for the saw.

Mounting the Saw to Cabinet or Leg Set

Procedure for securely mounting the saw assembly onto the cabinet or leg set.

Radial Saw Controls and Digital Display

On/Off Switch and Safety Key

Operation of the power switch, including safety precautions with the yellow key.

Miter, Bevel, and Swivel Locks

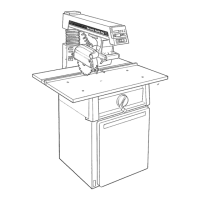
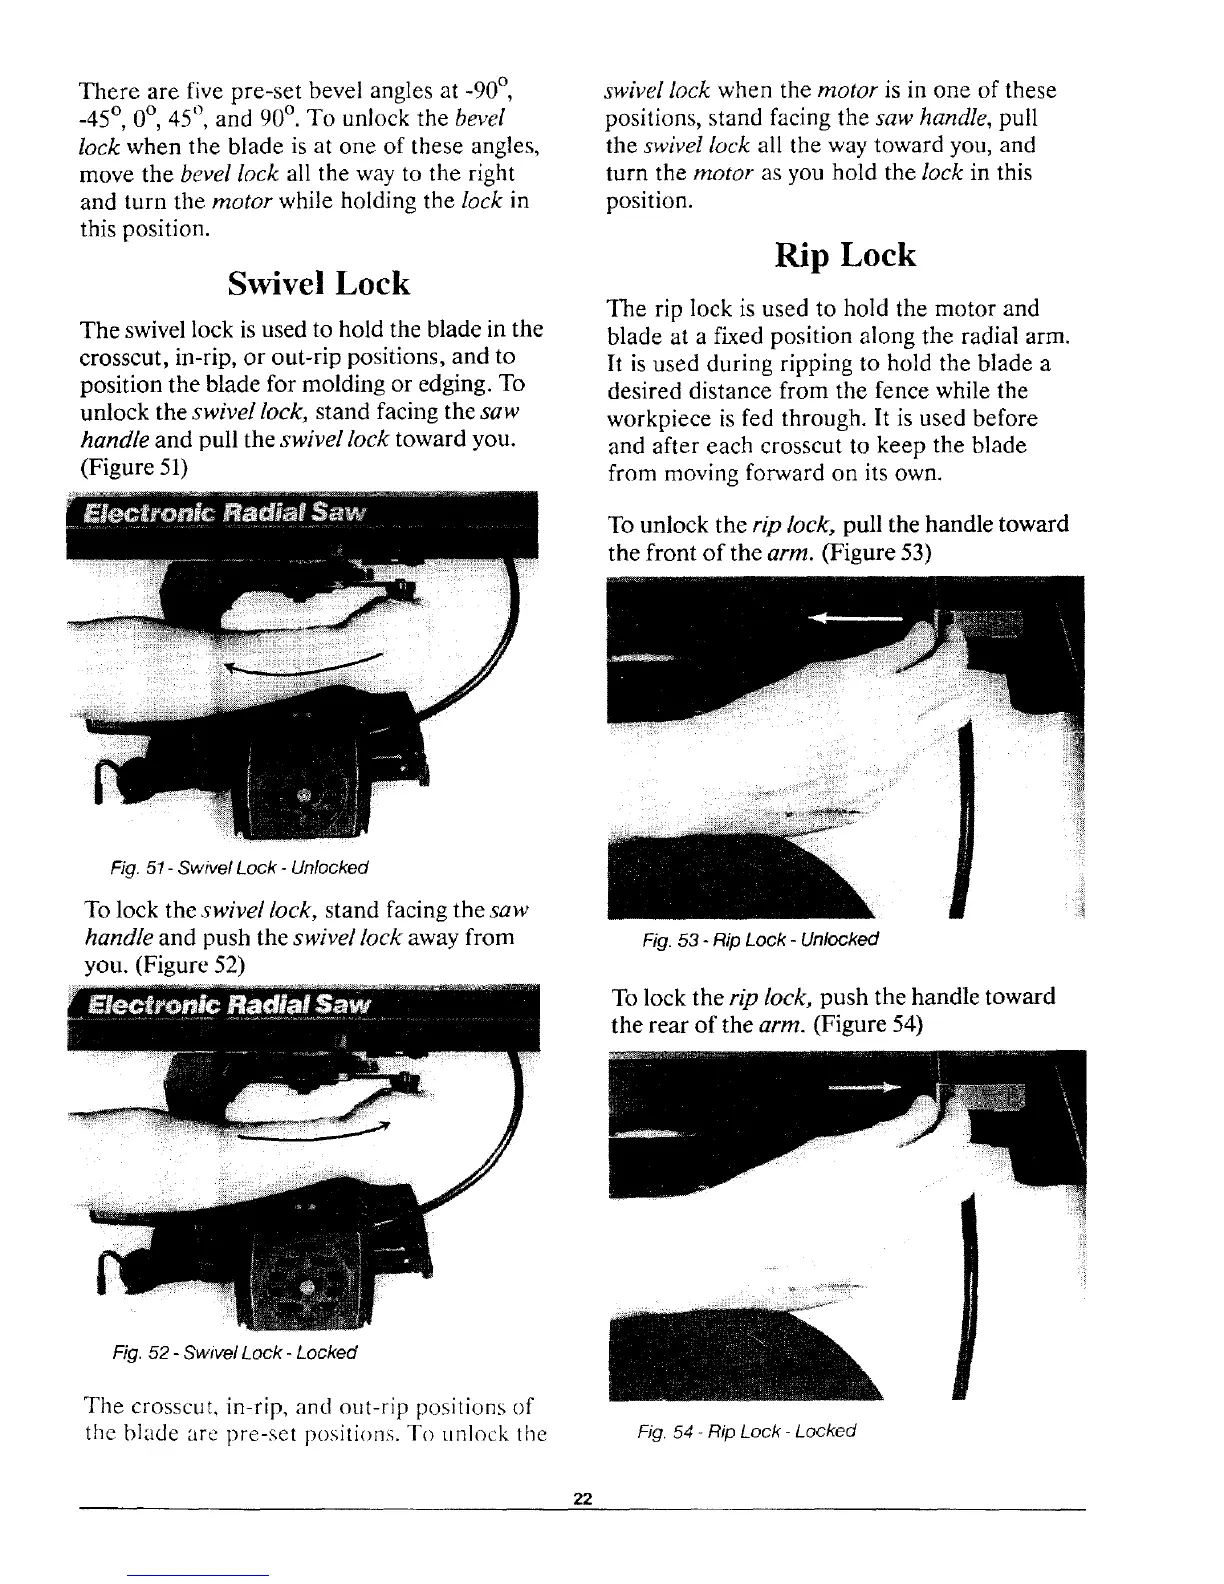
How to use and adjust locks for miter, bevel, and swivel positions for accurate cuts.

Digital Display Functions and Setup

Explanation of digital display buttons (BEVEL, MITER, ELEV, RIP) and setting references.

Ensuring Accurate Cuts Through Blade Alignment

Adjusting Elevation and Leveling Table Supports

Steps to ensure smooth arm movement and level table supports for accurate cuts.

Squaring Blade to Table and Fence

Procedures for squaring the blade to the table and fence for precise crosscuts and rips.

Making Blade Parallel to Table

Instructions for setting the blade parallel to the table for edging and preventing workpiece damage.

Performing Crosscuts and Ripping Operations

Types of Crosscuts and Safety Information

Overview of crosscut types and essential safety information for performing them.

Ripping Techniques and Safety Guidelines

Guidance on rip cuts, saw positions, workpiece handling, and safety precautions.

Using Cutting Accessories

Information on using fences, push sticks, and auxiliary fences for various cutting tasks.

Maintaining and Troubleshooting Your Radial Saw

Regular Maintenance and Lubrication

Procedures for cleaning, lubrication, and replacing parts to keep the saw in working order.

Troubleshooting Common Issues

Guides for diagnosing and resolving problems with electronics, motor, and saw operations.

Adjustments for Wear and Lock Operation

How to adjust bevel lock, swivel lock, miter lock, and rip lock for proper function.

Related product manuals