OM 1085-6 • MICROTECH III CONTROLLER 34 www.DaikinApplied.com
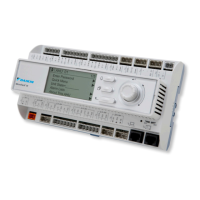
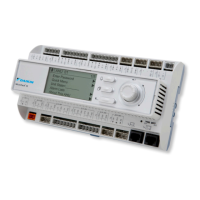
WSHP Unit Controller and I/O
Expansion Module
The following section describes common issues and the
troubleshooting steps for the unit controller with or without
an I/O expansion module. Refer to the applicable OM in
the Reference Documents section, available on www.
DaikinApplied.com, for complete details about LED activity,
faults, and additional troubleshooting topics.
Q:
A: This could be caused by incorrect voltage to the unit
controller, incorrect wiring from the unit controller to the
room sensor LED, defective hardware, or the unit is
operating in the bypass occupancy mode.
• Verify that the programming jumper is tightly installed and
in the RUN position and not PRG
• Verify that the unit controller has 24 VAC
• Verify that the unit is not operating in the bypass
occupancy mode
• Verify if the unit runs/communicates when the LED is OFF
• If it runs properly without the LED, check the LED wiring
connection
• Download application code to the unit controller
• Replace hardware, if necessary
Q:
mode or the space temperature consistently reads
higher than actual room temperature
While the unit controller has separate connections for both
return air and room temperature sensors, it is not possible
for both to be used at the same time. If both sensors are
connected, it causes the room temperature to read higher
than the actual temperature.
A: Disconnect the return air sensor.
Q:
A: High pressure trips can be caused by a faulty pressure
switch, an improperly designed water system, or possibly
a software error. High pressure switches can come loose,
especially when the compressor is running. The connection
could be compromised at the unit controller, a Molex
connector in the middle of the switch wire, or where the
wires land on the switch.
• Contact the ATS Technical Support Team at
315-282-6434 to discuss any issues that may be related
to the design of the water loop itself.
• Verify that the high pressure switch connection to the unit
controller is secured tightly to the unit controller.
• If all the options have been explored, then the issue may
Compressor software that creates nuisance high pressure
alarms. This condition is seen approximately once every
1000+ compressor cycles.
d
—
software 2506900 (v2.6 or older) OR units with
software 2506901 (v2.7 or older): update the unit
controller to v3.2 or newer and I/O expansion module
to v3.0 or newer.
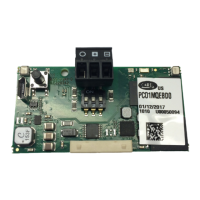
BACnet and
Communication Modules
The following section describes issues and troubleshooting
steps that apply to both BACnet and communication
modules.
Q: Cannot write to network setpoint or network space
A: The unit has been set up for thermostat control.
• Use a jumper to short JP6 on the unit controller to enable
room sensor control.
Q: Cannot write to network setpoint input but space temp
A: The room sensor setpoint adjustment has been enabled.
For , set nciLocSetEnable to “Disable” or for
BACnet, set MSV 14 to “1” (defaults are “Enable” and “2.”)
Q:
fault indicated
A:
with software v2.8 or newer, always indicates a space
temperature fault if there is an open or short on both the
room sensor and the return air sensor inputs. This occurs
regardless of a network input for the space temperature. In
unit controller software v2.9 and newer, the network input
can be used without a hardwired sensor connection.
• Install a 10K ohm resistor on either the room sensor input
or return air sensor input
• Upgrade unit controller and I/O expansion module
software to version to v2.9 or newer.
Q:
alarm
A: A Two Speed Compressor, Multi-Fan Speed (Series1) unit
installed with a room sensor may experience an alarm
• Replace the unit controller software with v1.2 or newer.
Refer to the "MicroTech III WSHP Software Compatibility"
compatibility among auxiliary boards, if attached.
• Change the unit to thermostat control by shorting the JP6
— Until the replacement thermostats arrive or a newer
unit to run as a single-speed compressor unit by
performing the following:
1. Disable two-speed compressor capacity by removing
jumper JP1 on the I/O expansion module.
2. Disable half-stage cooling, if applicable, by removing
jumper JP6 on the I/O expansion module.

 Loading...