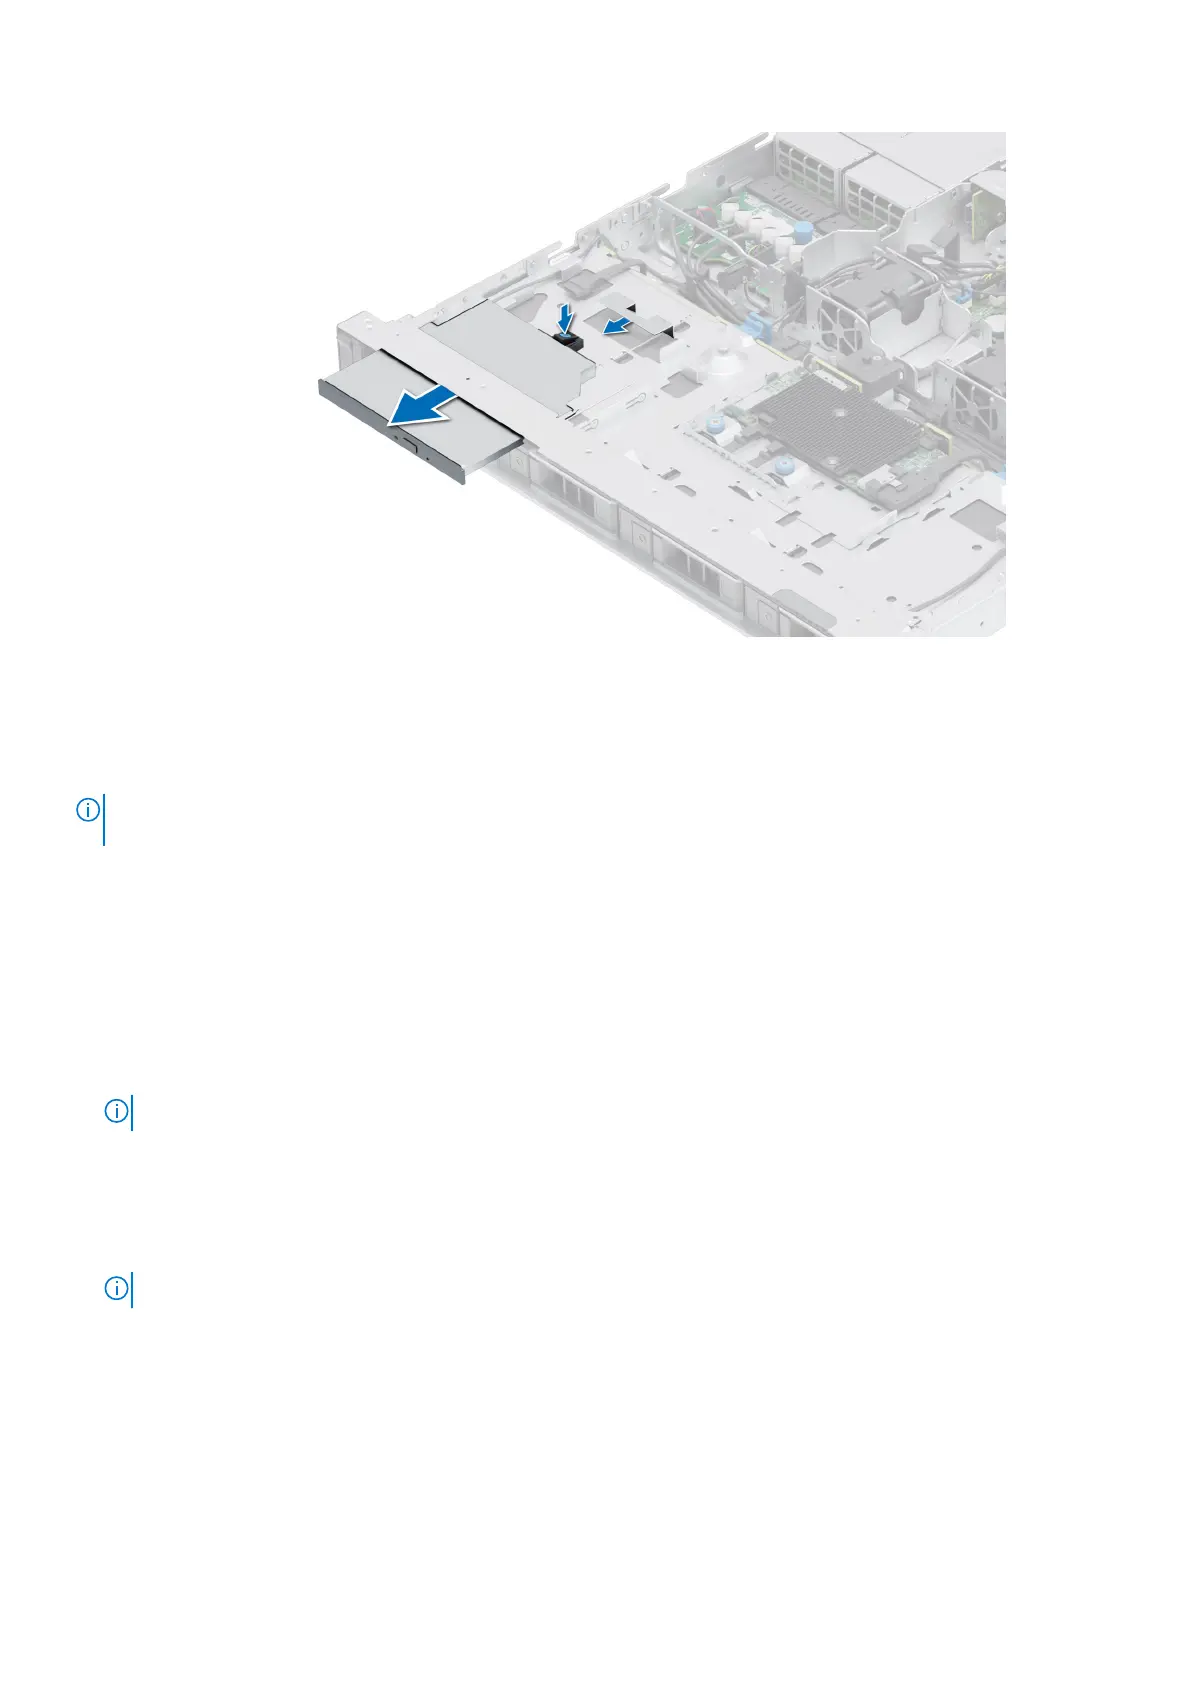
Figure 35. Removing the optical drive
Next steps
1. Replace the optical drive.
NOTE:
Blanks must be installed in empty optical drive slots to maintain FCC certification of the system. The blanks also
keep dust and dirt out of the system and aid in proper cooling and airflow inside the system.
Installing the optical drive
The procedure is the same for installing an optical drive and optical drive blank.
Prerequisites
1. Follow the safety guidelines listed in the Safety instructions.
2. Follow the procedure listed in the Before working inside your system.
3. If installed, remove the optical drive blank by releasing the latch at right or left side and pull the blank out of the system.
NOTE: Route the cable properly when you replace it to prevent the cable from being pinched or crimped.
4. If installed, remove the front bezel.
Steps
1. Insert the optical drive until the blue release tab locks in the slot on the system.
2. Align the optical drive with the optical drive slot on the front of the system.
NOTE: Route the cable properly to prevent the cable from being pinched or crimped.
Installing and removing system components 45
 Loading...