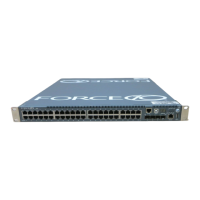
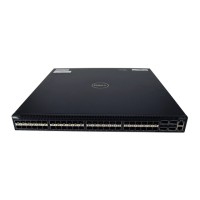
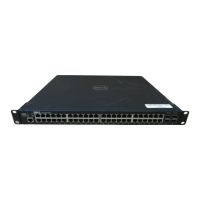
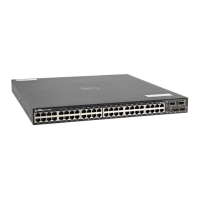
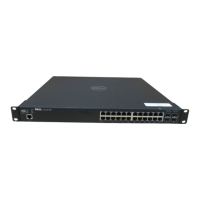
Access Ports | 37
To access the USB-B console port, follow these steps:
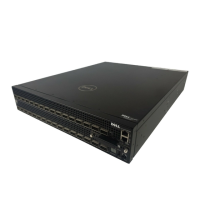
Access the Solid State Drive
A 32GB Solid State Drive (SSD) is shipped with the Z9000. You can also order the SSD separately. The
SSD acts as an external flash and is accessed as
slot0: on the system. You view and manage the SSD
contents through the CLI, similar to the flash drives.
The SSD is field replaceable and supports drives that use 12 Volts and/or 5.0 Volts. Be sure to use only
drives supported by Dell Force10.
NOTE: You cannot hot-swap the SSD. You must reboot the Z9000 to recognize a new or reseated SSD.
Step Task
1 Power on the PC (Dell Force 10 recommends using the XP operating system).
2 Connect the USB-A end of cable into an available USB port on the PC.
3 Connect the USB-B end of cable into the USB-B console port on the Z9000.
4 Power on the Z9000.
5 Install the necessary USB device drivers (you will need an internet connection).
For assistance, contact Dell Force10 Technical Support.
6 Open your terminal software emulation program to access the Z9000.
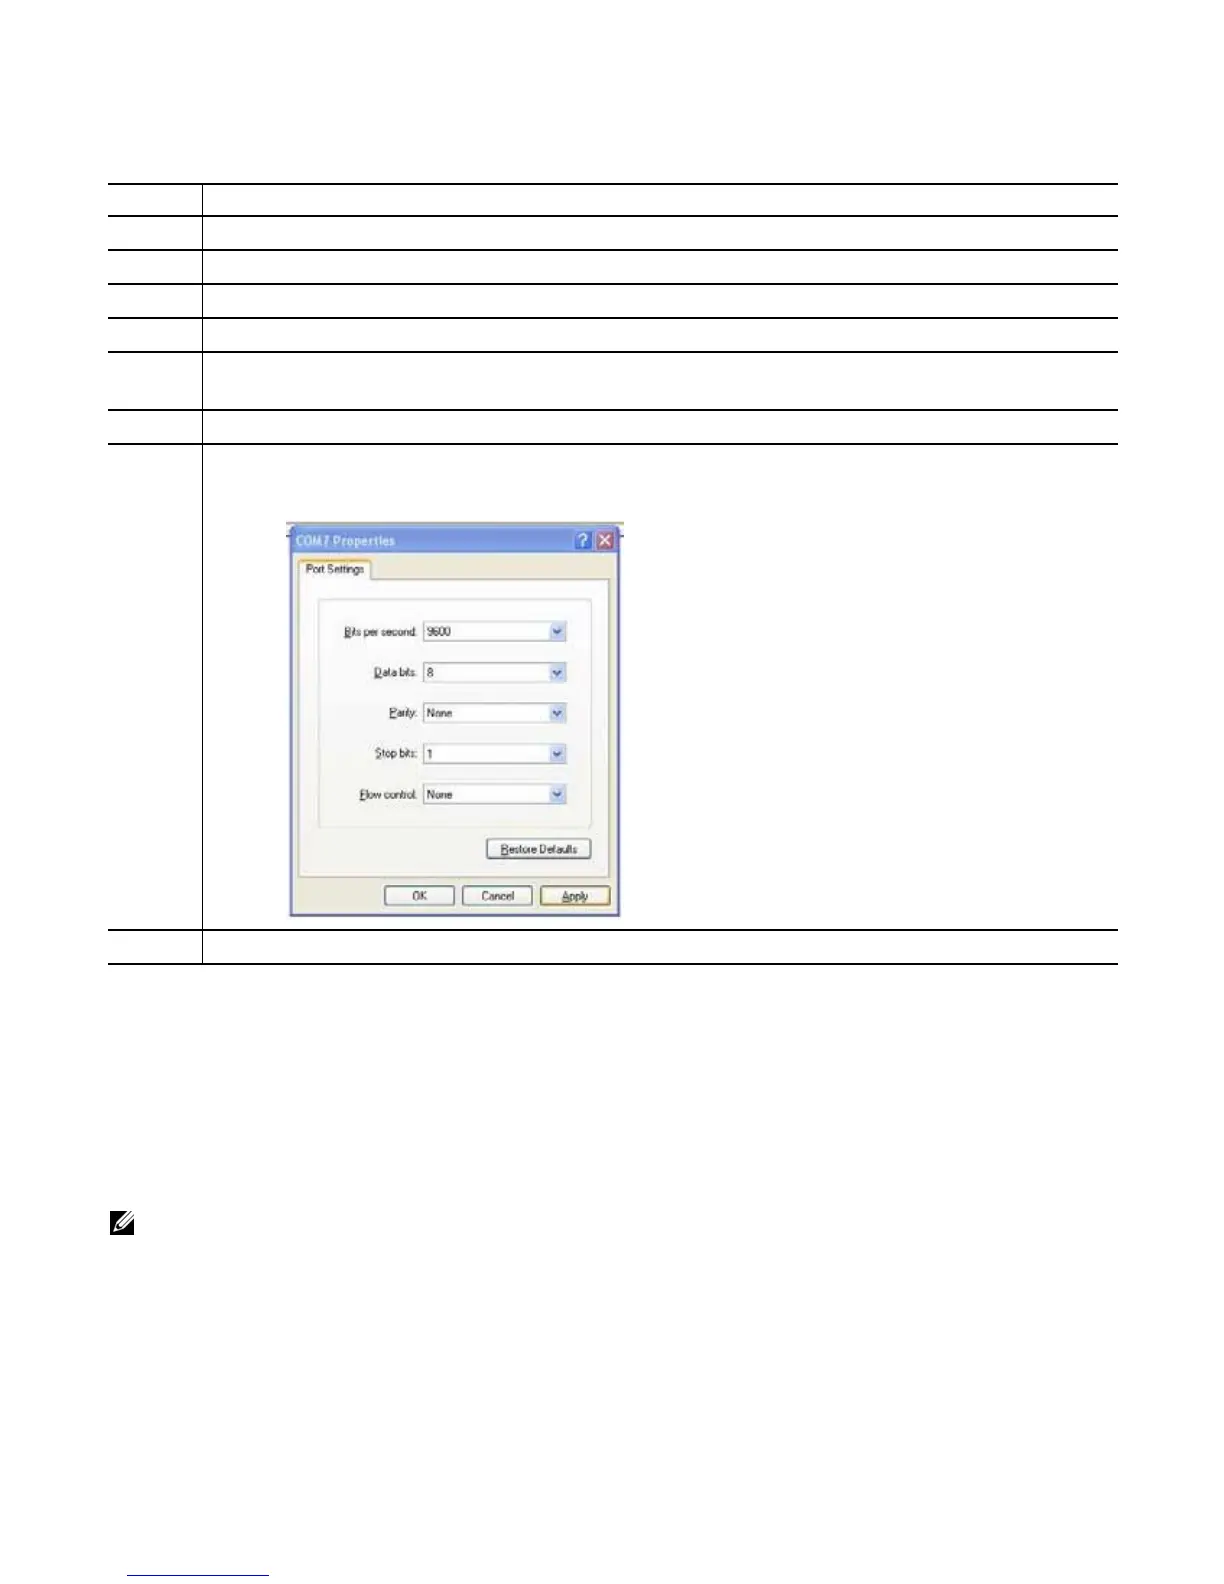
7 Set the terminal connection settings. Use the settings shown here:
• 9600 baud rate, No parity, 8 data bits, 1 stop bit, No flow control
The Command Line Interface (CLI) prompt appears (FTOS>_) when you are connected to the Z9000.
 Loading...