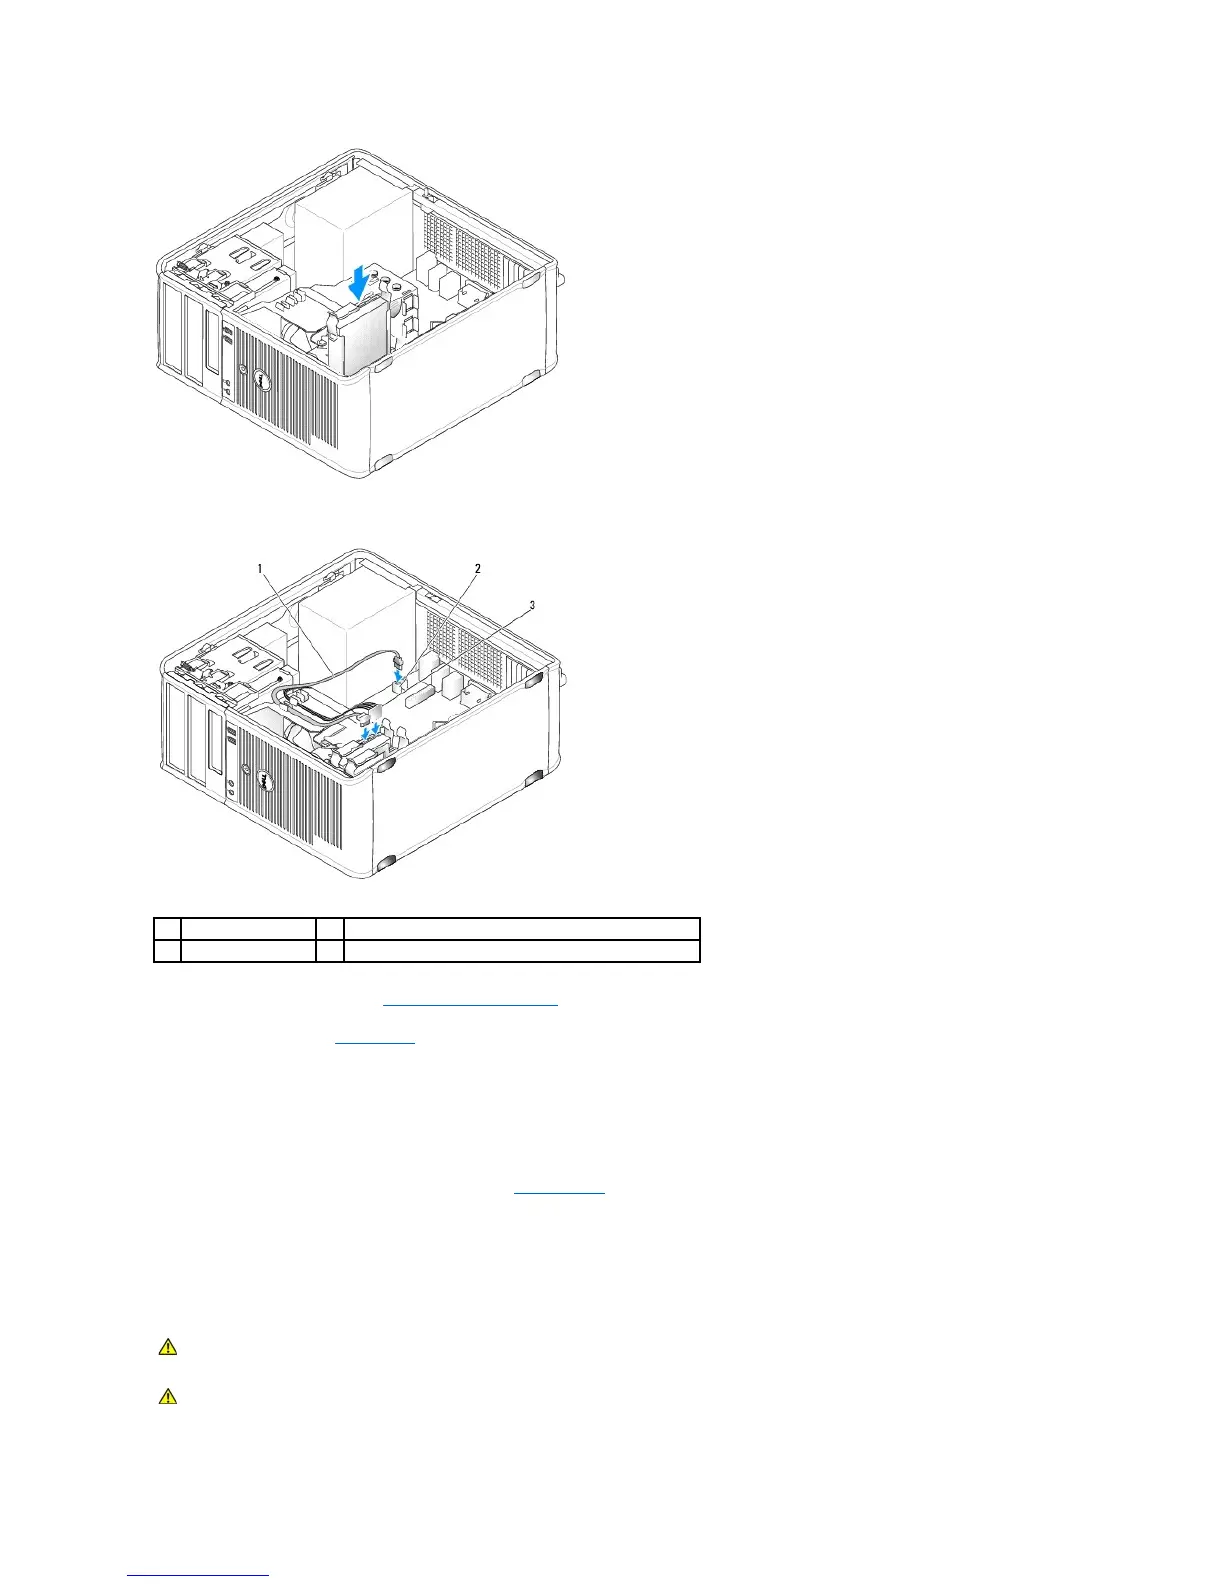
8. Locate an unused SATA connector on the system board and attach a data cable to this connector and to the second hard drive.
9. Replace the computer cover (see Replacing the Computer Cover).
10. Enter system setup (see System Setup), and update the SATA port option under the Drives option list.
11. Exit system setup, and reboot the computer.
12. Partition and logically format your drive.
See the documentation for your operating system for instructions.
13. Test the hard drive by running the Dell Diagnostics (see Dell Diagnostics).
14. If the drive you just installed is the primary drive, install your operating system on the hard drive.
Floppy Drive
WARNING: Before working inside your computer, read the safety information that shipped with your computer. For additional safety best
practices information, see the Regulatory Compliance Homepage at www.dell.com/regulatory_compliance.
 Loading...