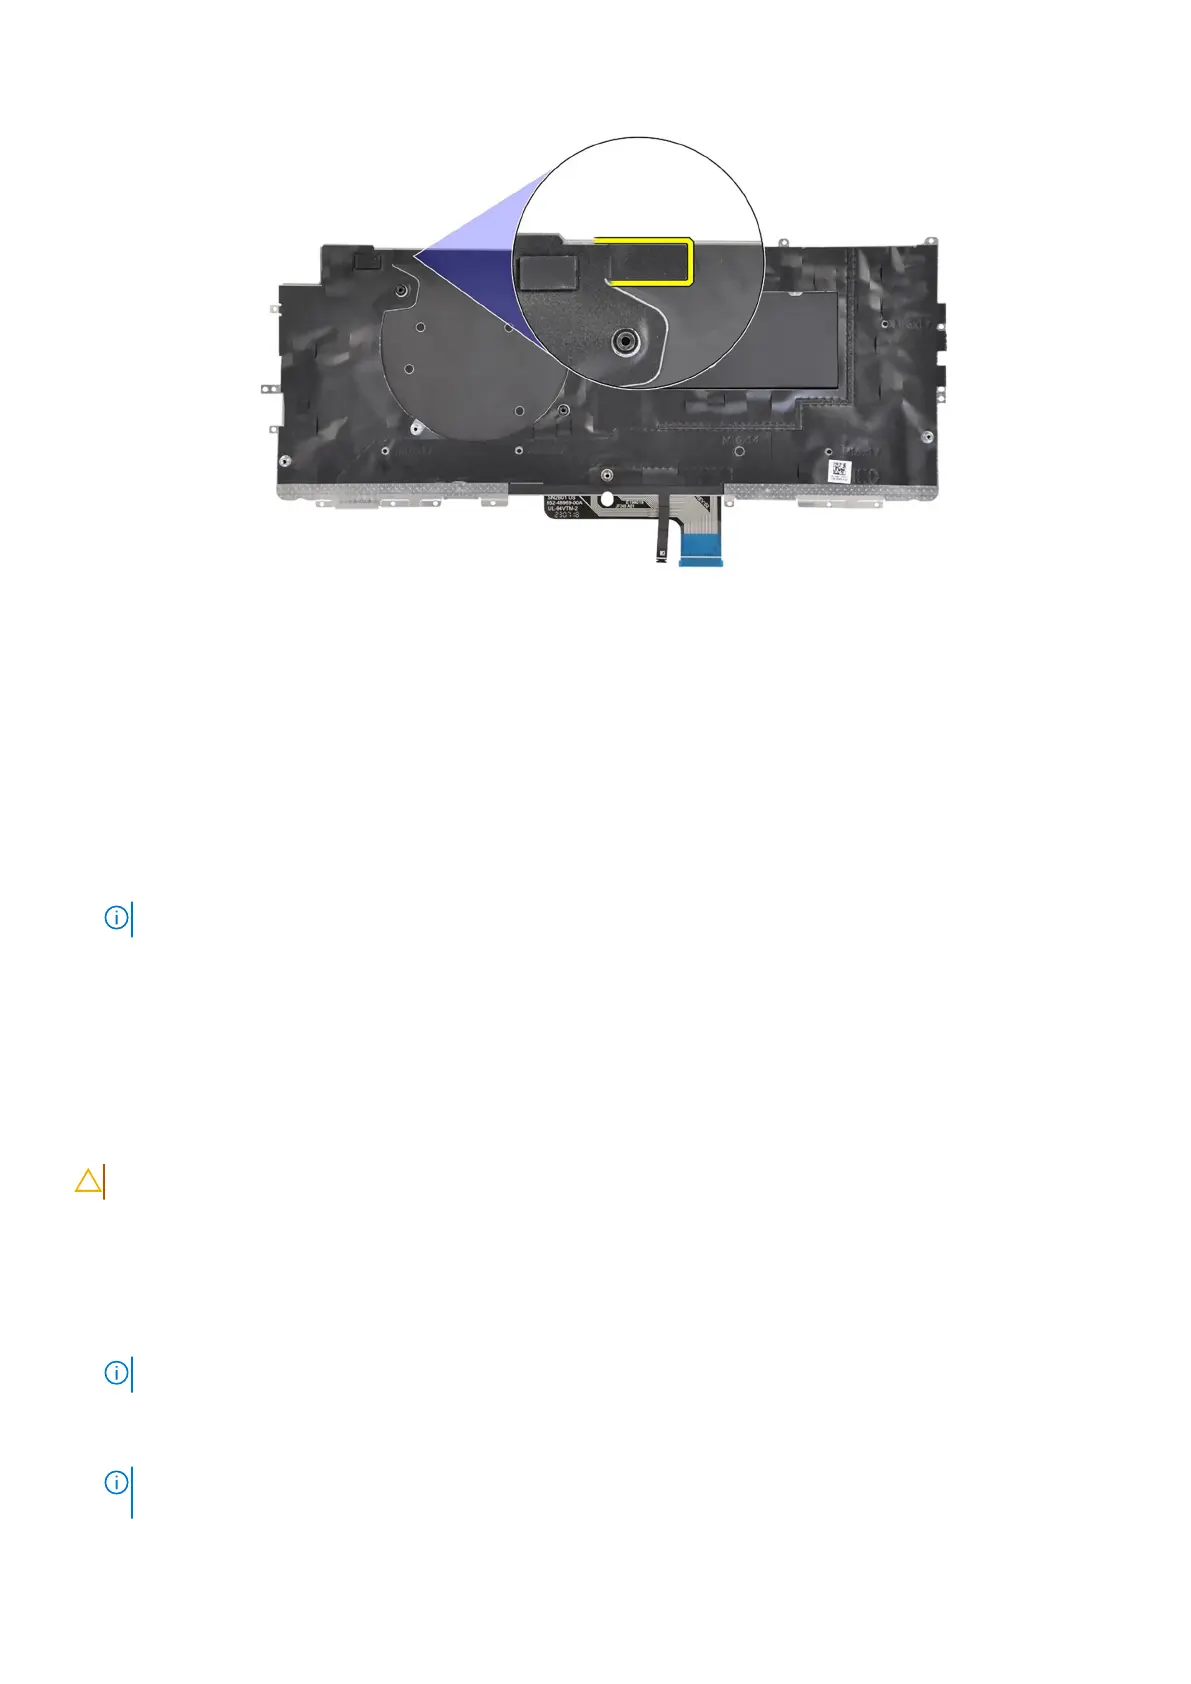
Figure 83. Installing the keyboard mylar tape
Next steps
1. Follow the procedure in Before working inside your computer.
2. Install the system board.
3. Install the Power button.
4. Install the I/O daughterboard.
5. Install the speakers.
6. Install the heat-sink.
7. Install the 2-cell battery or the 3-cell battery, whichever is applicable.
8. Install the WWAN card.
NOTE: This procedure applies only to computers shipped with a WWAN card installed.
9. Install the solid-state drive.
10. Install the base cover.
Palm-rest assembly
Removing the palm-rest assembly
CAUTION: The information in this removal section is intended for authorized service technicians only.
Prerequisites
1. Follow the procedure in Before working inside your computer.
2. Remove the base cover.
3. Remove the M.2 2230 solid-state drive.
4. Remove the WWAN card, if applicable.
NOTE: This procedure applies only to computers shipped with a WWAN card installed.
5. Remove the 2-cell battery or the 3-cell battery, whichever is applicable.
6. Remove the heat-sink.
7. Remove the WLAN-antenna module.
NOTE:
This procedure applies only to computers shipped with a WLAN-antenna module that is installed on the palm-
rest and keyboard assembly.
Removing and installing Field Replaceable Units (FRUs) 111
 Loading...


