 Loading...
Do you have a question about the Dell POWEREDGE 840 and is the answer not in the manual?
| Processor Socket | LGA 775 |
|---|---|
| Chipset | Intel 3000 |
| Memory Slots | 4 DIMM slots |
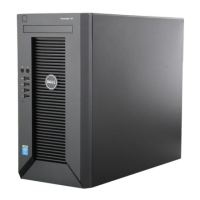
| Form Factor | Tower |
| Processor | Intel Xeon |
| Memory | Up to 8GB DDR2 |
| Drive Bays | 4 x 3.5" drive bays |
| Storage | SATA |
| RAID Support | PERC 5/i |
| Network | Embedded Broadcom NetXtreme II 5708 Gigabit Ethernet |
| Expansion Slots | 2 PCI |
| Operating System Support | Red Hat Linux |