9. Lift the system board up and out.
10. Compare the system board that you just removed with the replacement system board to ensure that they are identical.
Replacing the System Board
1. Follow the procedures in Before You Begin.
2. Gently align the system board into the chassis and slide it towards the back of the computer.
3. Replace the eight screws that secure the system board to the chassis.
4. Connect the cables that you disconnected from the system board (see System Board Components).
5. Replace the processor (see Replacing the Processor).
6. Replace the processor fan and the heat sink assembly (see Replacing the Processor Fan and Heat Sink Assembly).
7. Replace the memory modules (see Replacing the Memory Module(s)).
8. Replace any PCI and PCI Express cards on the system board, if applicable (see Replacing PCI and PCI Express Cards).
9. Replace the computer cover (see Replacing the Computer Cover).
10. Connect your computer and devices to electrical outlets, and turn them on.
11. Flash the system BIOS, as needed.
Entering the Service Tag in the BIOS.
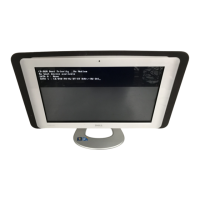
1. Turn on the computer.
2. Press <F2> during POST to enter the system setup program.
3. Navigate to the security tab and enter the service tag in the Set Service Tag field.
Back to Contents Page
 Loading...