73
OPERATING THE LASER CUTTER
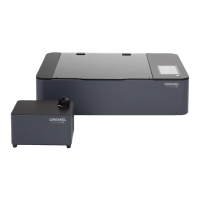
Before the Dremel LC40 Laser Cutter can
be used, a project must be created. The
project is then sent to the Dremel LC40
Laser Cutter as a job and fabrication
begins. When done, the work piece is
ready for removal from the unit. The
following steps cover the process from
beginning to end.
Sequence of Operations:
1) Create a Project.
2) Place work piece on the
Honeycomb Plate.
3) Focus the Laser Head.
4) Send the job to the Dremel LC40
Laser Cutter.
5) System check.
6) Run the Job.
7) Finish the job.
Step 1: Create a Project
Projects are constructed by opening the
workspace in the LC40 Control Software
and importing a file (or files). The files
are available from (3) sources:
A) Creating files in a graphics program.
B) Importing previously created files.
C) Using the camera capture feature.
Most files are created through the use of
software such as CorelDRAW®, Adobe
Illustrator® or other graphic software.
Depending on the software and how the
file was created, a project is developed
to run a job that will allow the Dremel
LC40 Laser Cutter to cut, engrave and/or
score the material. Table 5 below lists
several file types which can be imported
into the LC40 Control Software. Please
refer to the graphic software
manufacturer’s instructions regarding
creation of vector or image files.
Table 5 Compatible File Types and Laser Processes
Extension File Type
Laser Process
Cut Engrave Score
.SVG Vector X X
.PDF Vector/Image X X X
.JPEG Image X
.PNG Image X
 Loading...