Installing Communicator in Panel
Installing the Communicator with HS20XX Panels
NOTE: Before installing the communicator or inserting/removing SIM, ensure that system power is off and telephone line is
disconnected.
1.
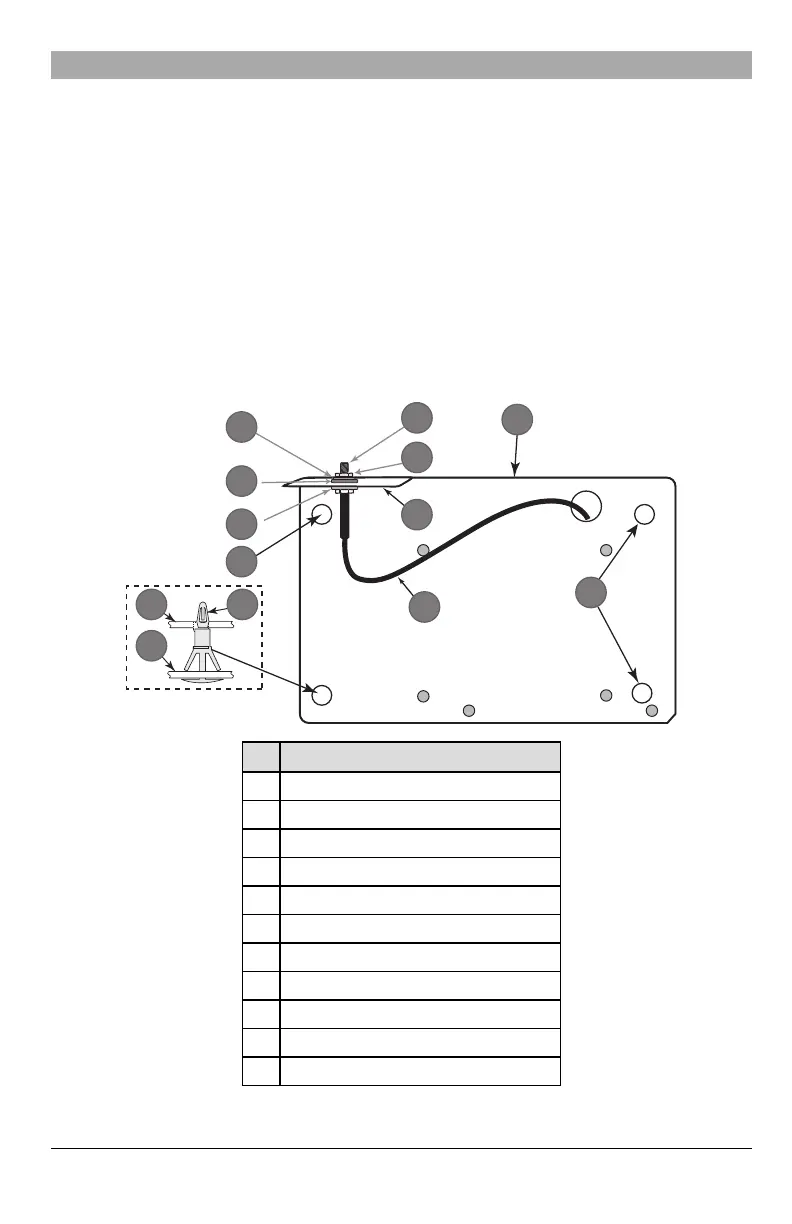
To assemble supplied mounting bracket, perform the following: (See Figure 1).
a.
Remove the 4 white plastic standoffs from the bag provided with the communicator kit.
b.
Insert the 4 standoffs through the back of the mounting bracket, into the holes at each corner. Ensure the antenna
mounting tab is facing away from you.
c.
Place the bracket on a flat, solid surface. Hold the communicator component side up and orient the 4 holes on the
communicator with the 4 standoffs protruding from the bracket. Push the communicator firmly and evenly onto the
standoffs until it is securely attached to the mounting bracket.
d.
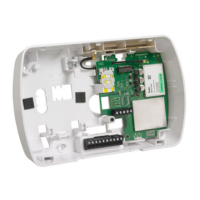
Remove the panel front cover.
e.
Remove and discard the circular knockout located in the top-right section of the panel. The knockout will be used
when connecting the antenna supplied.
f.
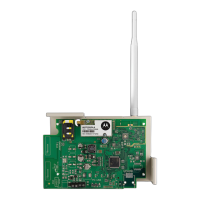
Connect the 5” (12.7 cm) antenna cable supplied to the radio by passing the connector through the knockout to
the communicator board. Push the antenna connector firmly into the socket on the cellular radio (see Figure 3).
Figure 1: Communicator Mounting Bracket
Item Description
1 External Antenna Screw Thread
2 Brass Nut
3 Brass Washer
4 Nylon Washer (flat)
5 Antenna Mounting Tab
6 Nylon Washer with bushing (thicker flat washer)
7 Antenna Cable
8 Mounting Holes
9 Mounting Plate
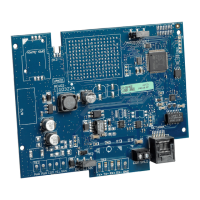
10 Communicator Board
11 Stand Off
11
 Loading...