2018.12.12
© 2017 Eaton. All rights reserved
122
TRSM0940 Service Procedures | Range Synchronizer Disassembly and Assembly
Range Synchronizer Disassembly and Assembly
Special Instructions
During disassembly, place the Synchronizer Assembly on a
clean, flat surface. Cover the Synchronizer Assembly with a
shop rag to prevent losing the
three (3) springs under pressure from
the HI Range Syn-
chronizer Pin locations.
Perform assembly on a clean flat surface slightly lower than
your
waist. Pins on the LO range synchronizer must line up
with the chamfered holes on the sliding clutch bottom.
When compressing the HI range synchronizer springs,
cover with a shop rag. This will prevent the springs from
leaving the area if compression is not achieved.
Special Tools
Typical service tools
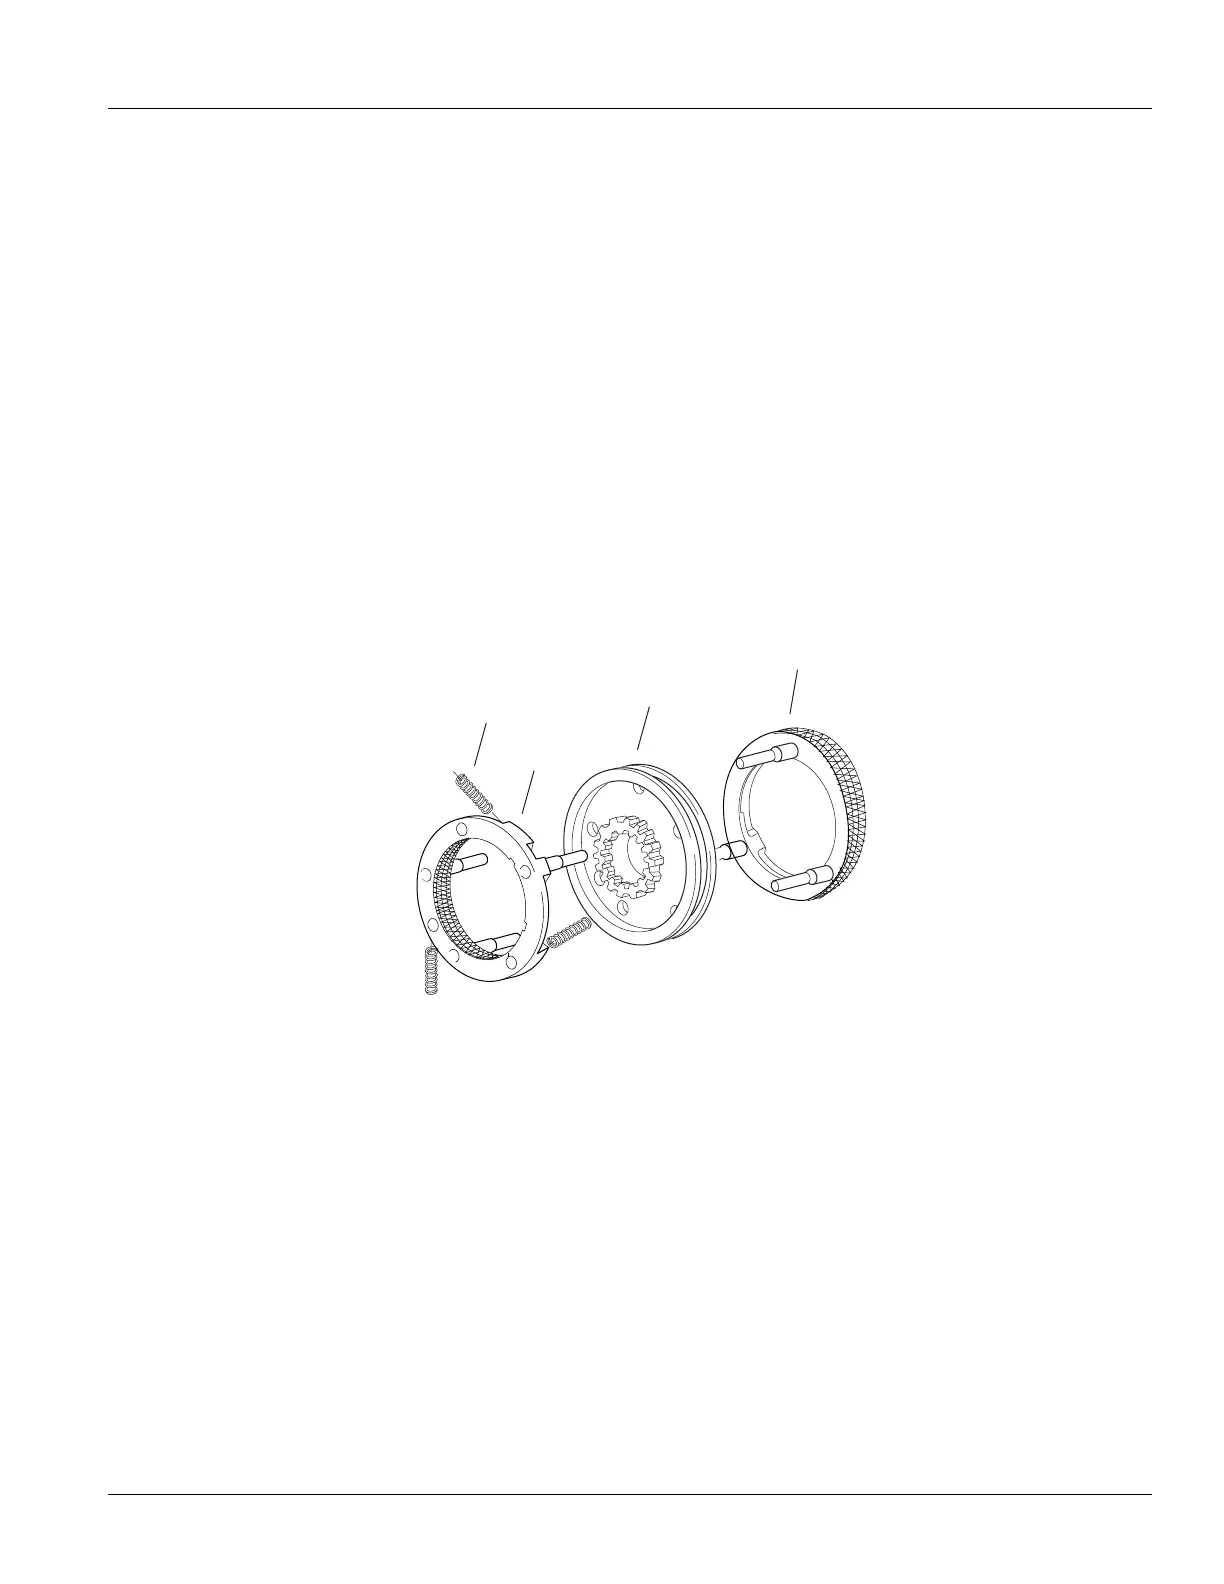
Component Identification
1. Spring
2. Synchronizer Assembly
3. Sliding Clutch
4. Synchronizer Assembly
 Loading...