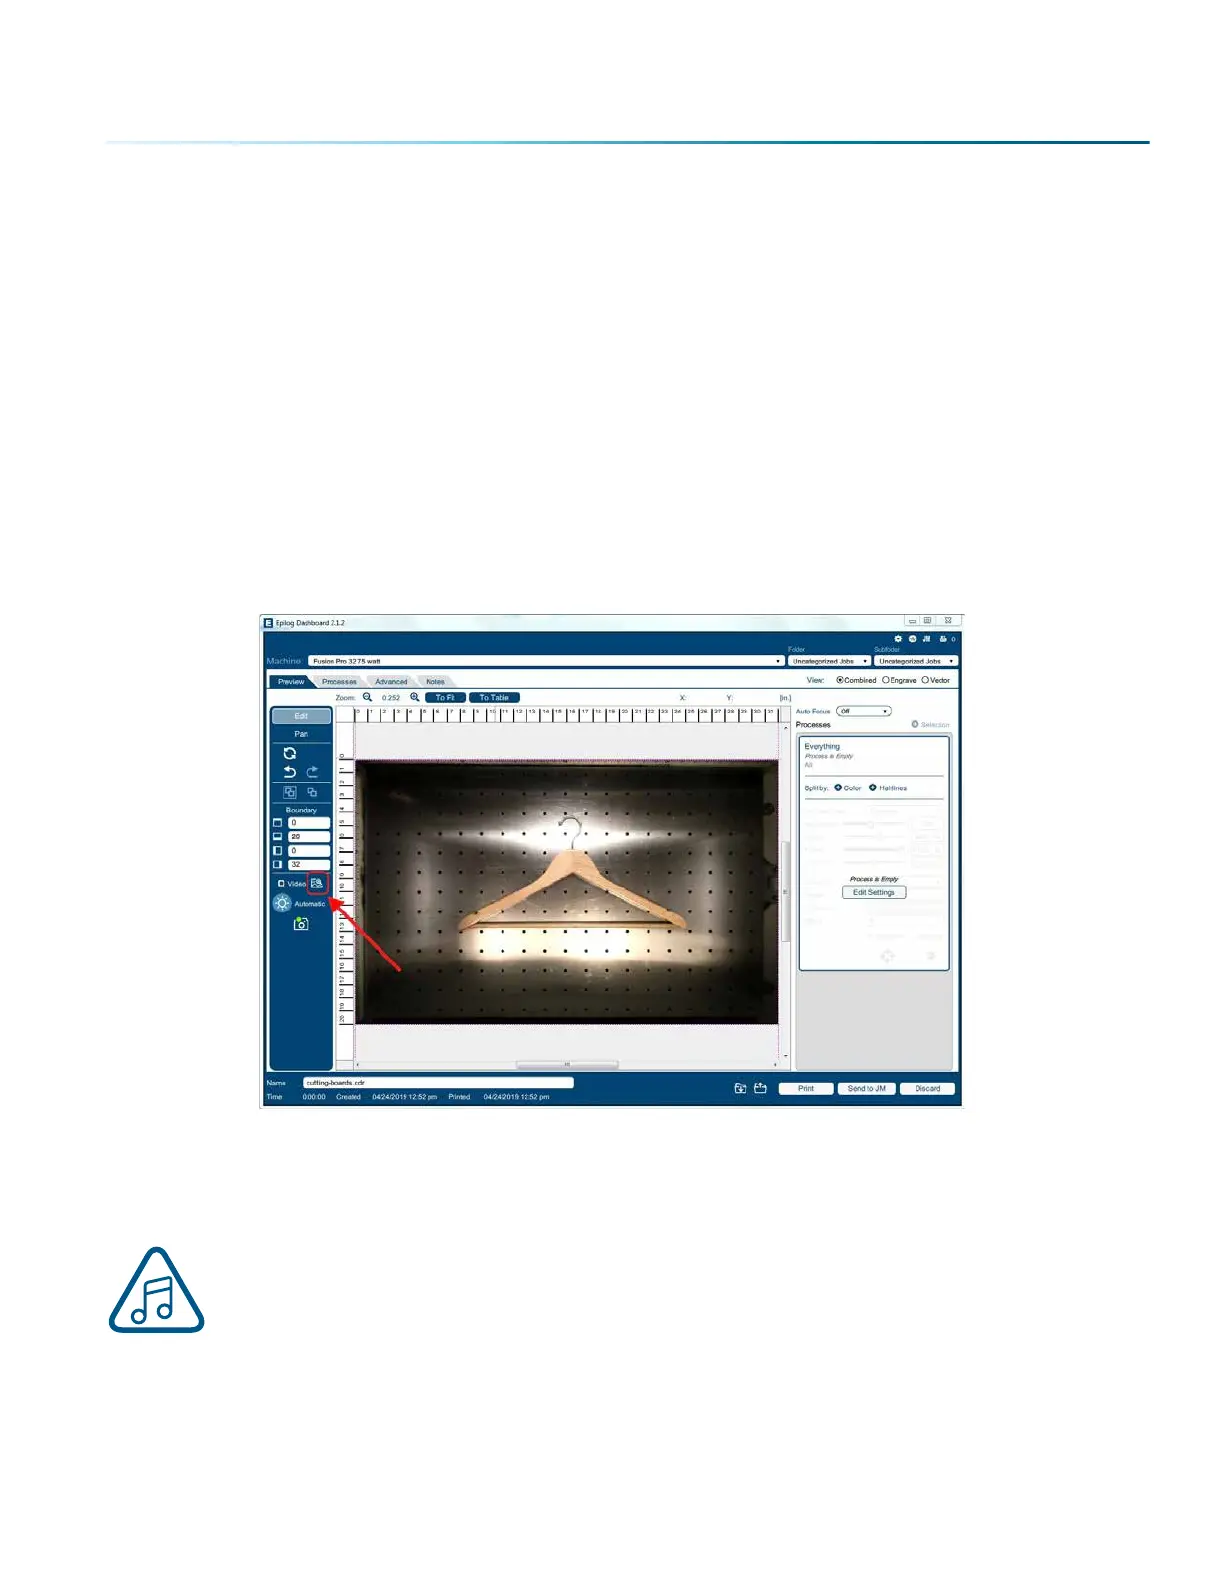
Editing Artwork with Live View
Occasionally you may want to edit your engraving artwork to fit a uniquely shaped object. With the IRIS™
Camera on the Fusion Pro, you can copy the live preview image of your engraving piece and open it up
in your preferred graphic soware. From there you may adjust your graphic accordingly to the shape
of your engraving piece. In this example we will create a custom curve for text to follow, for engraving a
quote onto a clothes hanger.
1. First, place the object you want to engrave on the engraving table, then close the top door of the
machine.
2. Focus the table height to your workpiece.
3. Once the live preview of the table appears in the Dashboard, click on the “Copy Background
Image” button.
4. Open up your preferred graphic soware and paste the image into a new document, with the
table size as the dimensions of your document. In this example we used Corel Draw with the Fusion
Pro 32, so our document size is 32” x 20”.
Note: In CorelDraw you can lock the background image into place by right clicking on the
image and selecting “Lock Object”.
- 75 -
SECTION 5: THE LASER DASHBOARD

 Loading...


