Maintenance 13. Radiating Unit
G10 / G20 Rev.20 219
Remove the arm top cover.
For details, refer to Maintenance 3. Covers.
Remove two insulation lock ties that secure the Joint #2 motor and plate.
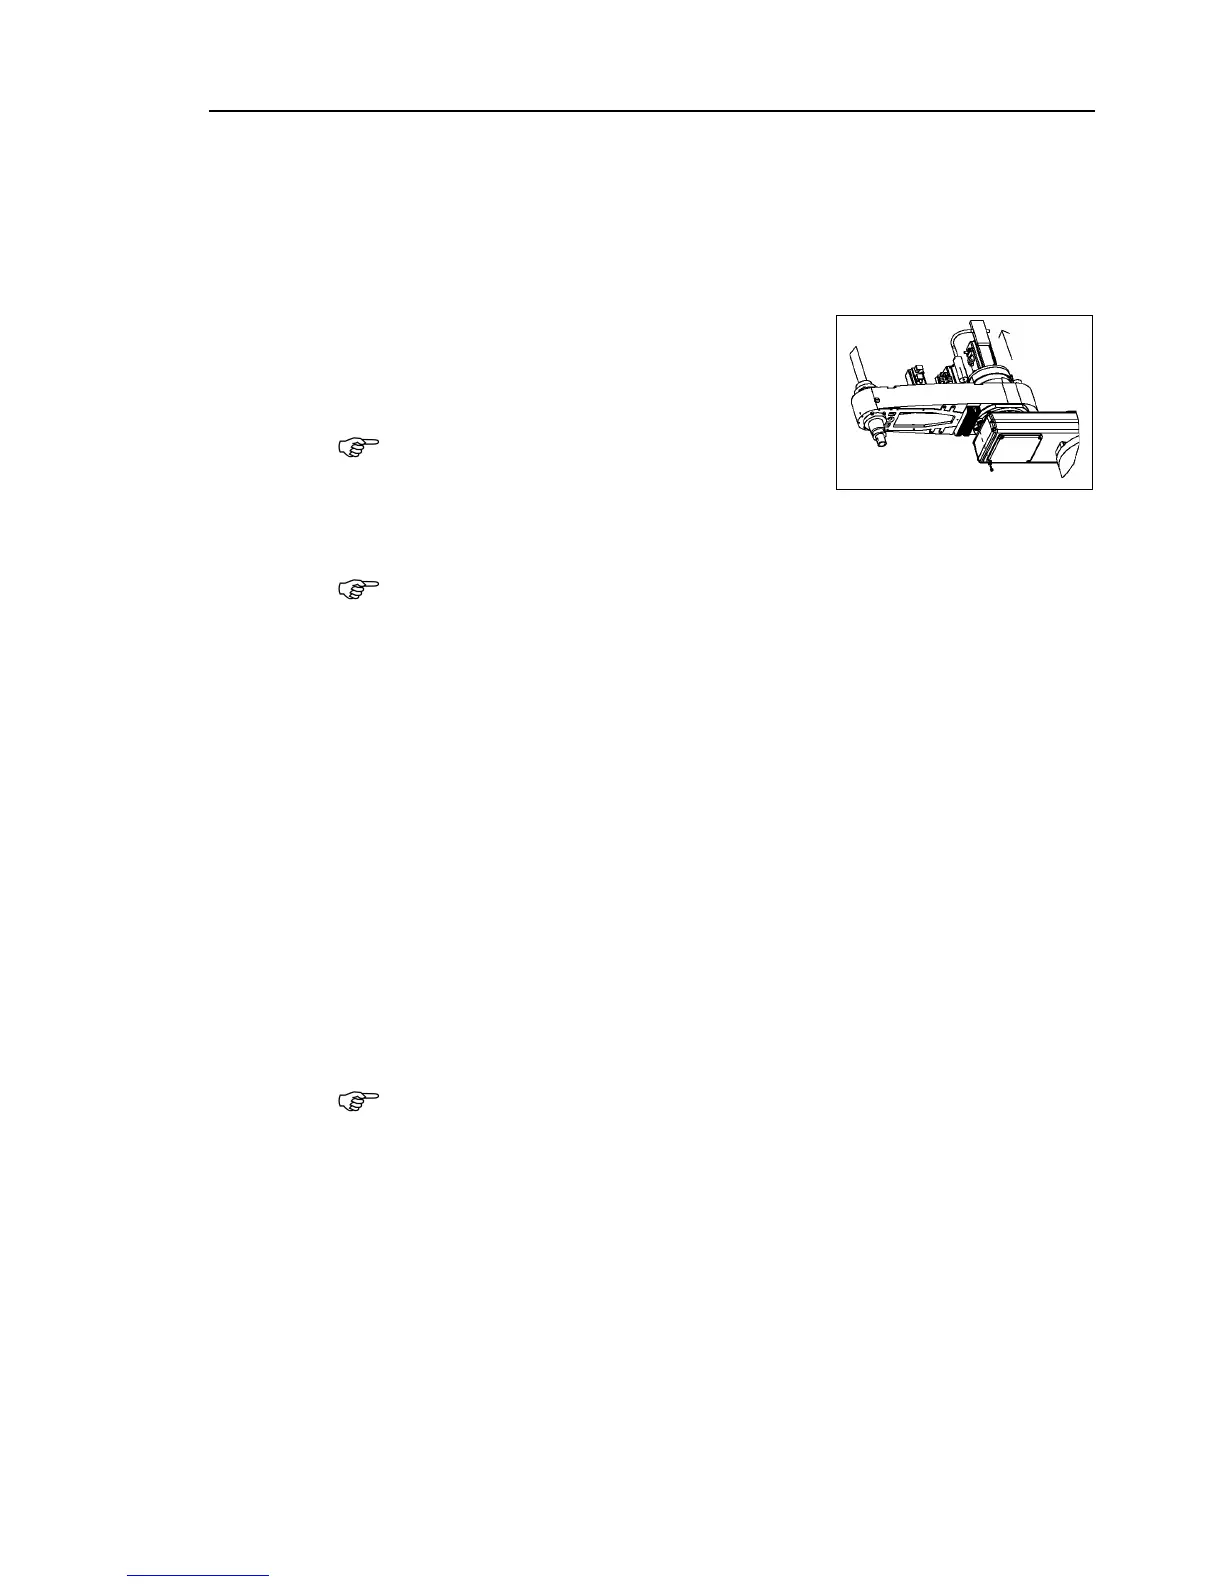
Remove the mounting bolt located in the
radiating unit side of heat sink (
cap bolt (fully threaded)).
The radiating unit side is the right side from the
arm forefront.
Pull out the radiating unit upward.
e careful not to pull out the plate too from the pipe.
Insert the radiating unit to the arm from above.
Make sure the gray color side of radiating
sheet faces to the plate.
To do so, put the plate as upper side as
Press the plate to the Joint #2 motor and secure the plate and motor using the
insulation lock ties in two
points (up/down) of the plate.
Be careful not to catch the motor cable.
heat sink mounting bolt with the pillar.
old the pillar with the spanners to avoid it from rotating.
For details, refer to Maintenance 3. Covers.
, be sure to keep the plate attached to the pipe.
 Loading...


